The Cave of Desperation is a Dimensional Circle dungeon in Throne and Liberty (TL) where players must face the powerful wildkin, Lacune. This guide will walk you through how to defeat Lacune, the recommended weapon combos, a step-by-step dungeon walkthrough, and the rewards you can expect upon completing this challenging dungeon.
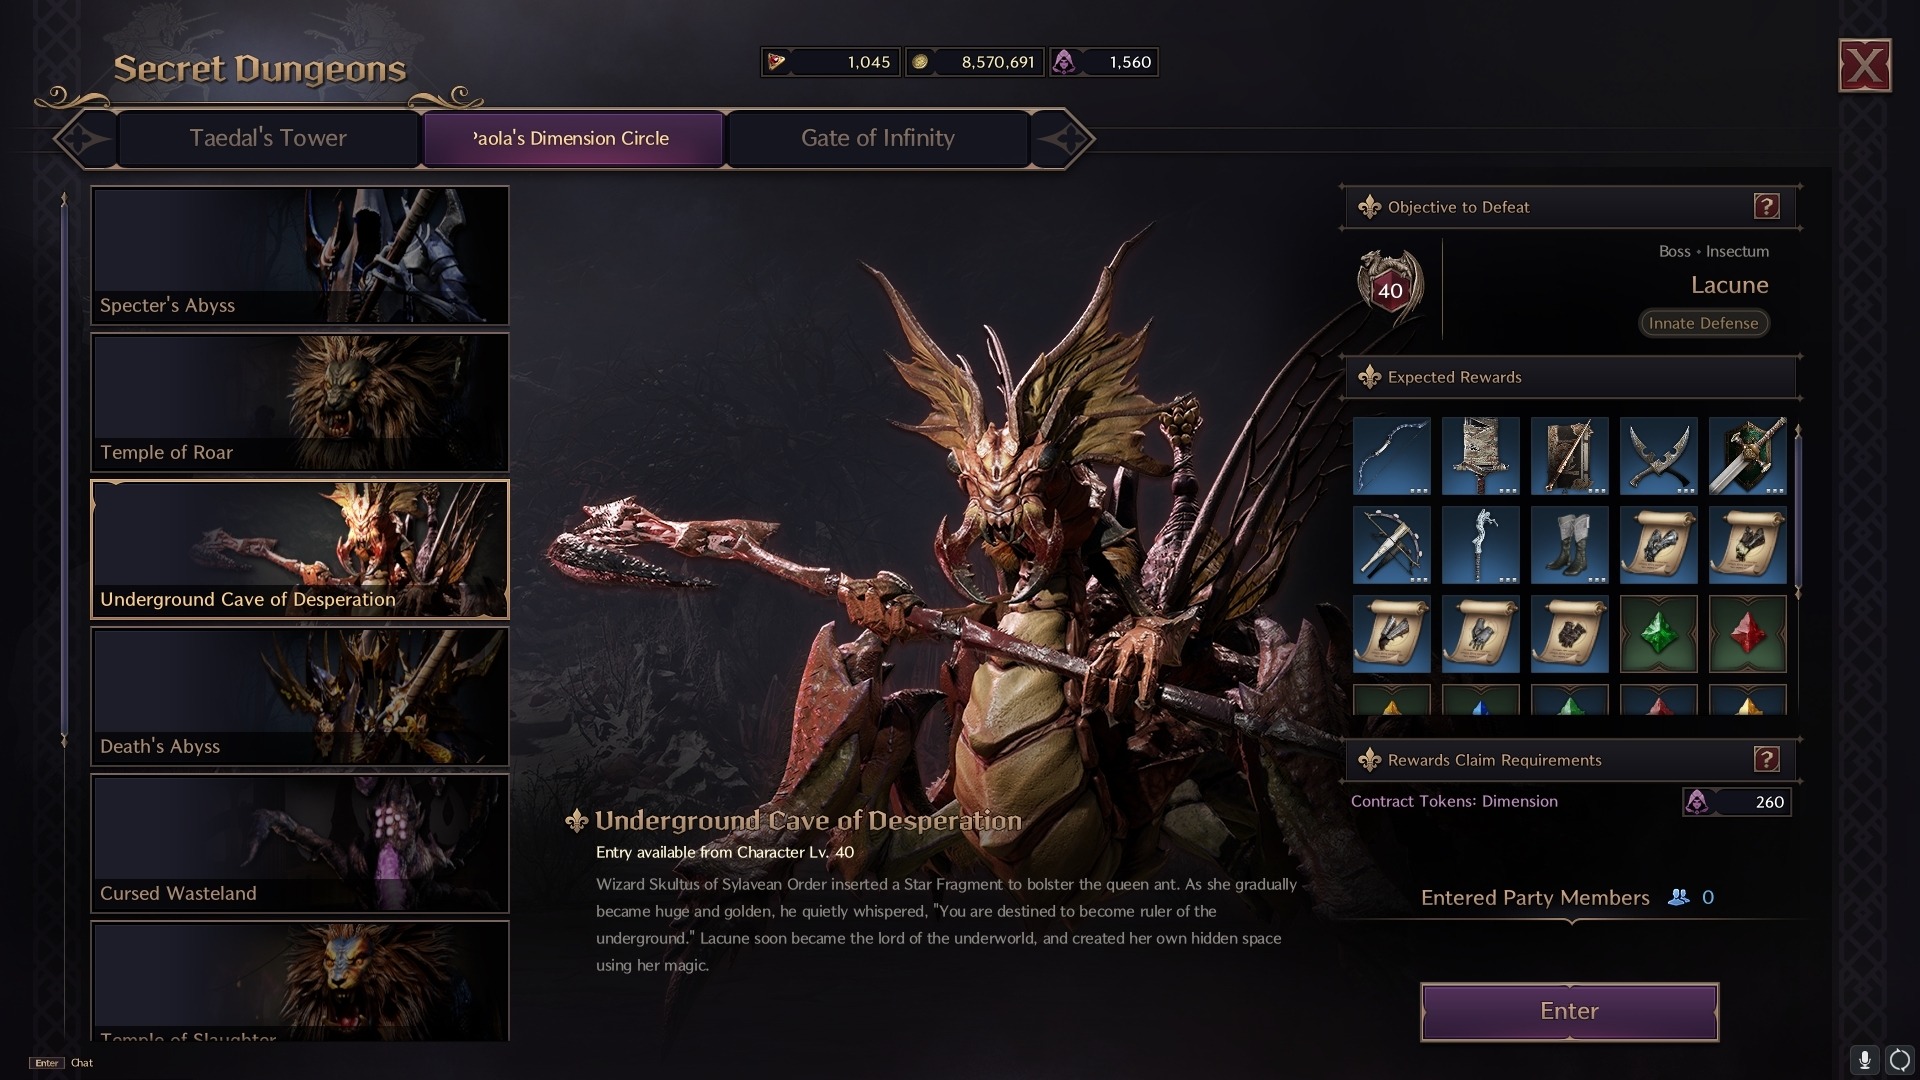
Table of Contents
- Cave of Desperation Overview
- How to Defeat Lacune
- Recommended Weapon Combos
- Cave of Desperation Walkthrough
- Rewards and Drops
Cave of Desperation Overview
- Required Level: Level 40
- Dungeon Type: Dimensional Circle
- Contract Token: Needed to enter
- Minimum Combat Power: 1200
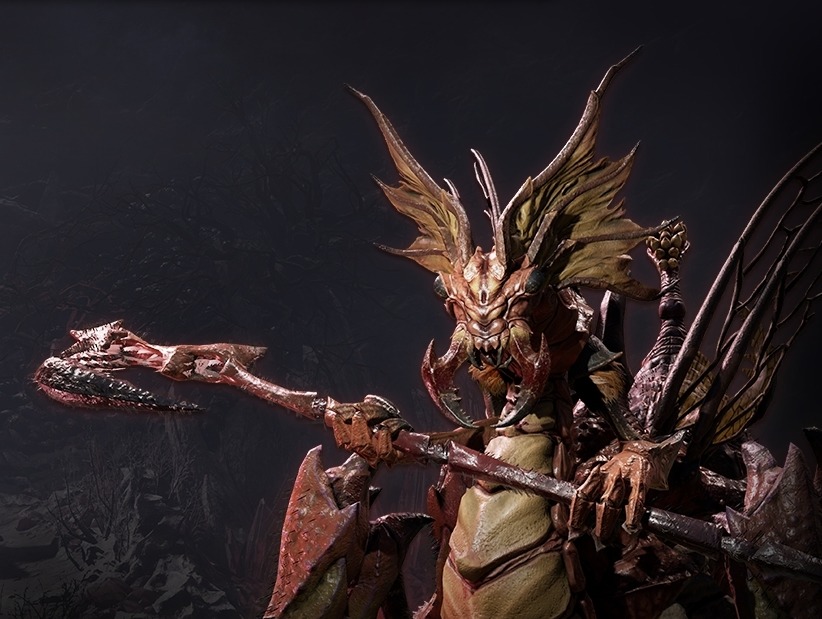
The Cave of Desperation was created when the queen ant, Lacune, was gifted a Star Fragment by the wizard Skultus of the Sylavean Order. This fragment greatly increased her size and power, turning her chitinous armor into a golden hue. Empowered by this, Lacune established dominion over the underworld from her secret throne.
How to Defeat Lacune
Lacune Overview
Lacune, the final boss of the Cave of Desperation, is a Wildkin type with the ability to bolster her defense through her innate power. Her fight involves a mix of AoE attacks, poison phases, and mob interactions, requiring careful coordination.
Lacune Mechanics
Blood Mist AoE Attack
When Lacune begins chanting in a foreign language, a red mist appears on the ground, signaling the imminent emergence of a large pillar. Quickly move to the pillar to avoid the devastating Blood Mist AoE attack, which can wipe out your entire party if not evaded.
Jump Down and Defeat the Gem Ant
After the Blood Mist phase, Lacune will hover and shoot poison. At this point, jump off the pillar and head towards the platform where the Gem Ant spawns. Defeat the Gem Ant to bring Lacune back to the ground, allowing your party to resume the assault.
Lacune Attack Patterns
Weak Mist Attack
Lacune occasionally uses a faster version of her Blood Mist AoE attack. While this deals less damage, it can still cause problems if left unchecked. Continue attacking her to interrupt this move.
Punch Attack
Lacune will attempt to punch a single target, dealing heavy damage. Timing your defensive skill perfectly will allow you to parry this attack, reducing its impact.
Larvae Stun Attack
Similar to the Mutant Princess Ant, Lacune releases larvae that latch onto players. If these larvae explode, they will stun players by knocking them into the air. Transfer the larvae to other players by moving close to them to minimize the overall crowd control effects when they detonate.
Recommended Weapon Combos
| Weapon Combo | Role | Explanation |
|---|---|---|
| Greatsword / Sword and Shield | Tank | This is the best tanking setup, ideal for clearing mobs and soaking up damage for your team before facing Lacune. |
| Longbow / Crossbow | DPS | Ranged DPS is crucial in this fight, and this combo allows you to safely deal damage from a distance. |
| Dagger / Crossbow | DPS | Another great DPS combo, focused on maximizing damage output, especially during Lacune’s ground phase. |
| Wand / Staff | Support | Essential for healing the team, especially the tank. Also provides additional offensive abilities to support your party. |
Cave of Desperation Walkthrough
Defeating Mutant Princess Ant
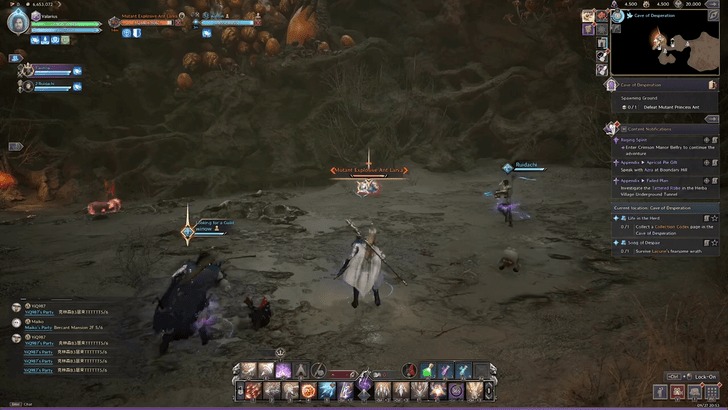
As you enter the dungeon, your first encounter will be with the Mutant Princess Ant. To spawn this miniboss, you must destroy all the ant larvae scattered in the area. Once the Mutant Princess Ant appears, focus on avoiding its larvae attacks by transferring the larvae between players until they turn green.
Poison Sac Room and Mutant Giant Acid Ant
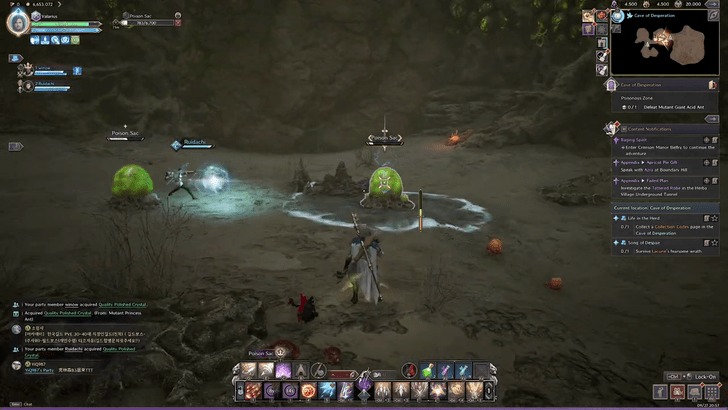
Proceed to the next room where you’ll need to destroy the poison sacs. This will spawn Poisonous Worker Ants, which must be dealt with before a large ant egg appears. Destroy the egg to spawn the Mutant Giant Acid Ant. Be cautious of its acid pool attack, which will attempt to pull players towards it. Time your parries correctly to mitigate this damage.
Rewards and Drops
Completing the Cave of Desperation can grant players a variety of valuable rewards, including rare materials, weapons, and armor. Additionally, the final encounter with Lacune has the chance to drop exclusive items that will aid you in future challenges.
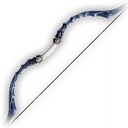 | Furious Sniper’s Longbow | 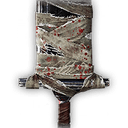 | Ruthless Worshiper’s Two-Handed Sword |
 | Enrageded Mitran Branch |  | Brutal Slaughter Dagger |
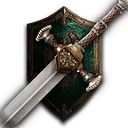 | Strike Battlefield Sword | 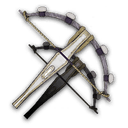 | Enraged Quick Sniper’s Crossbow |
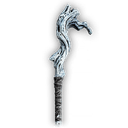 | Destiny Worship Barbaric Staff |  | Impure Witch’s Worship Raiment |
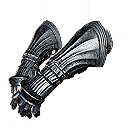 | Dark Destruction Iron Gloves | 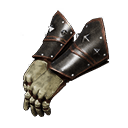 | Moonlight Wind Bracer |
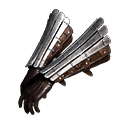 | Flying Dragon Scale Gloves | 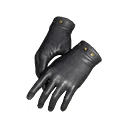 | Blessings of Mother Nature Cloth Gloves |
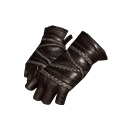 | Icy Storm Cloth Gloves |  | Rare Polished Crystal |
 | Fermented Rotein | 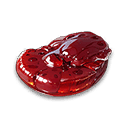 | Mana Blood |
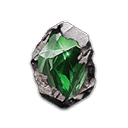 | Quality Polished Crystal |


