Taedal’s Tower 10th Floor: Commander’s Shadow Strike

In this guide we tell you everything you need to know to complete the 10th floor of the Secret Dungeon Taedal’s Tower: Commander’s Shadow Strike. Defeat the boss Oblivion Skeleton Commander to continue to the next floor.

To access the 10th floor of Taedal’s Tower you must first complete the 9th floor: Dance of the Flashing Sword, check out this guide for more details.

Still not sure what Taedal’s Tower is all about or how to get in? Don’t worry, find out everything you need to know about the Taedal Tower at this link: What is and How to Enter Taedal’s Tower Dungeon

Taedal’s Tower 10th Floor: Commander’s Shadow Strike

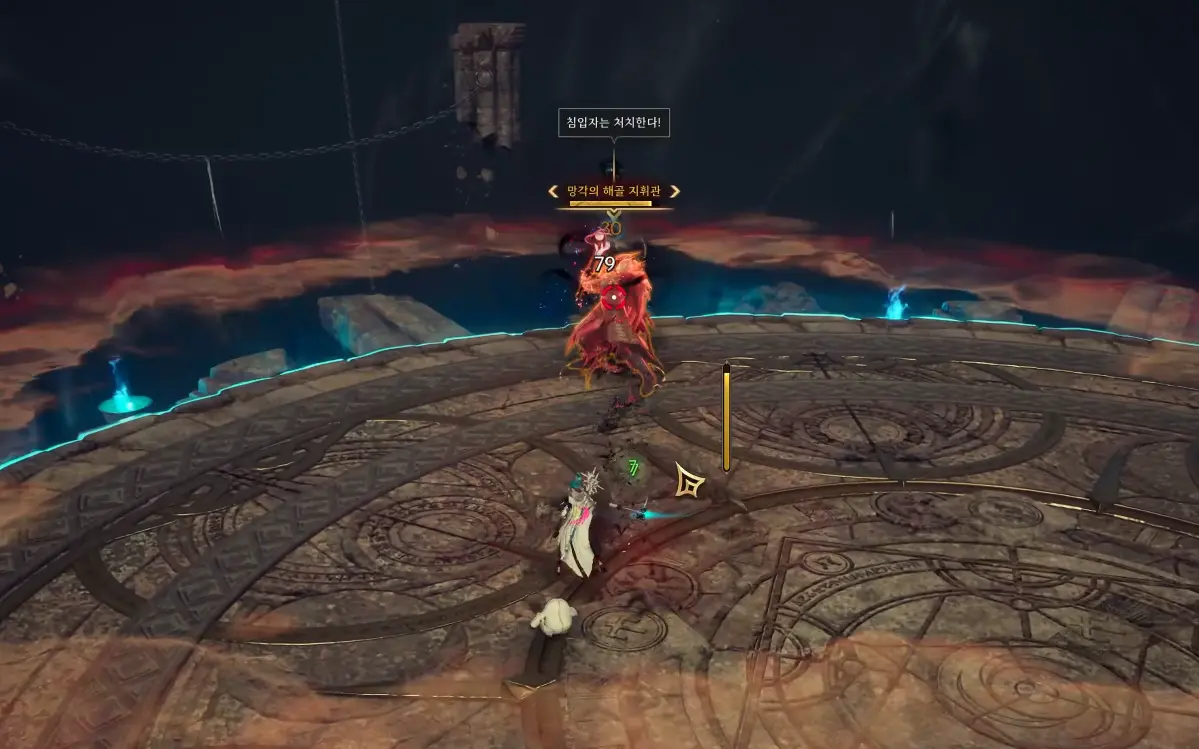
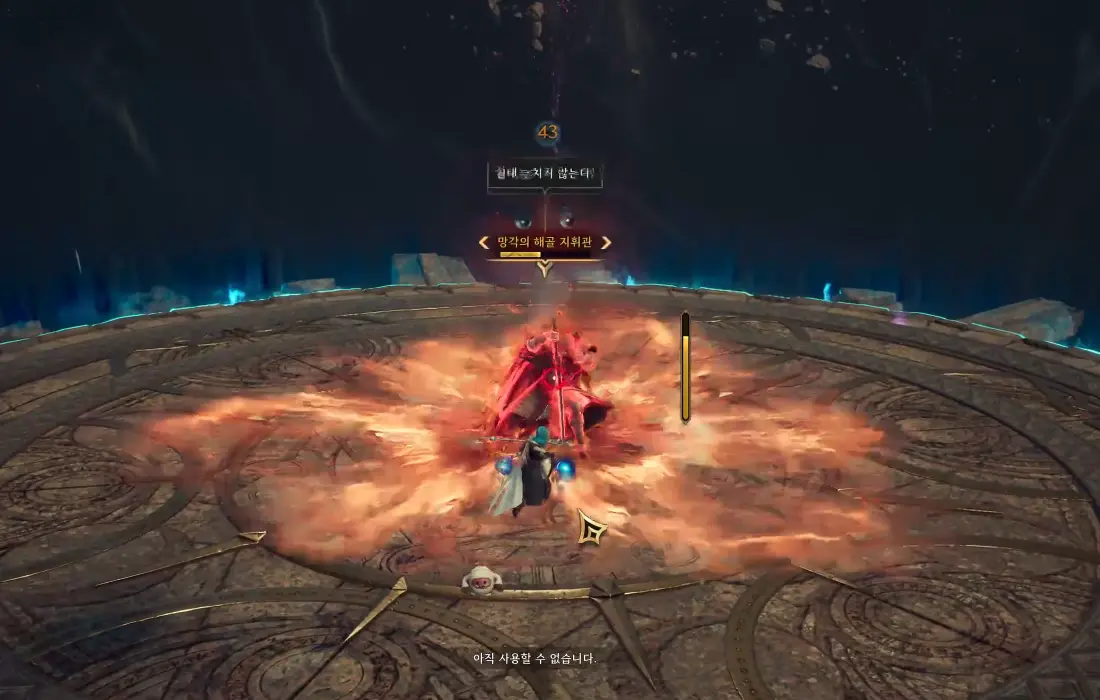
Oblivion Skeleton Commander Strategy

Jump

Oblivion Skeleton Commander will perform a high jump and upon falling will create a shockwave that generates damage throughout the arena. The only way to avoid this hit is to jump at the right moment, just before the boss hits the ground. Don’t let your guard down, the boss can repeat this attack two times in a row.
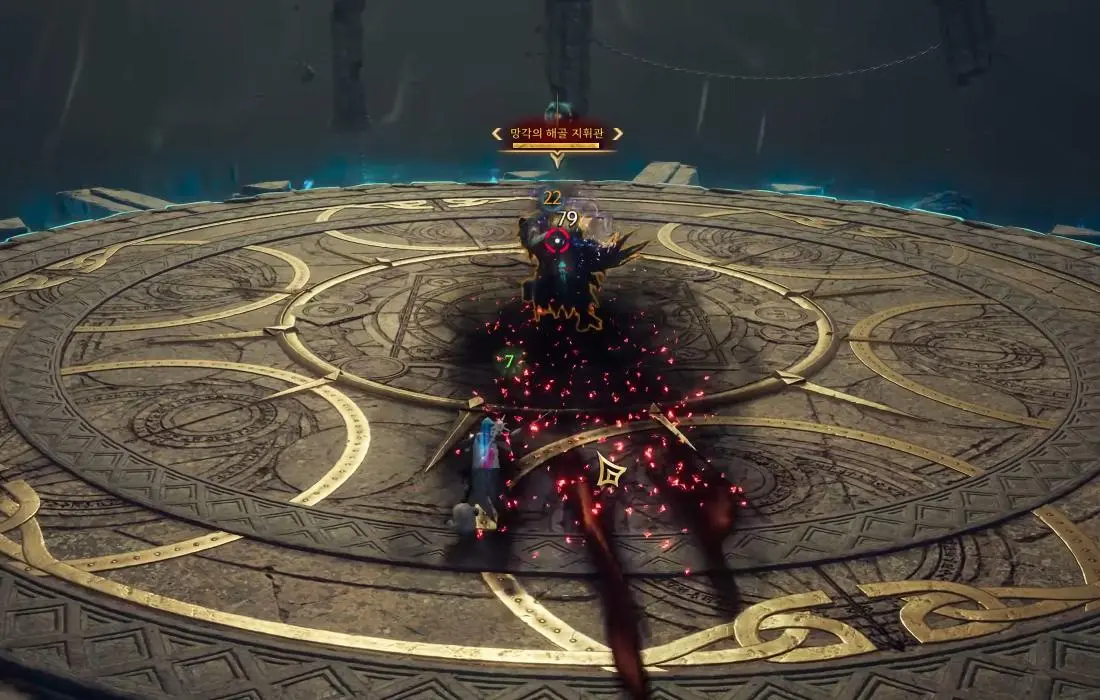
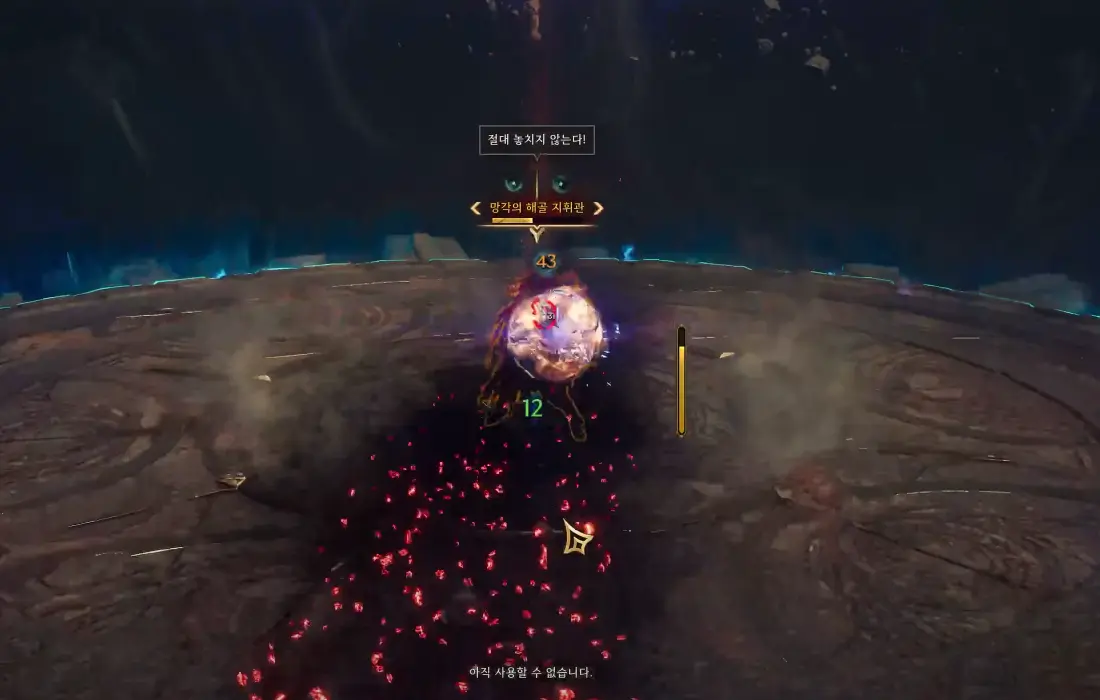
Pull

It throws dark energy forward and immediately pulls it towards itself, dragging you if you are in its path. Try not to stay in front of the boss, move and position yourself sideways.
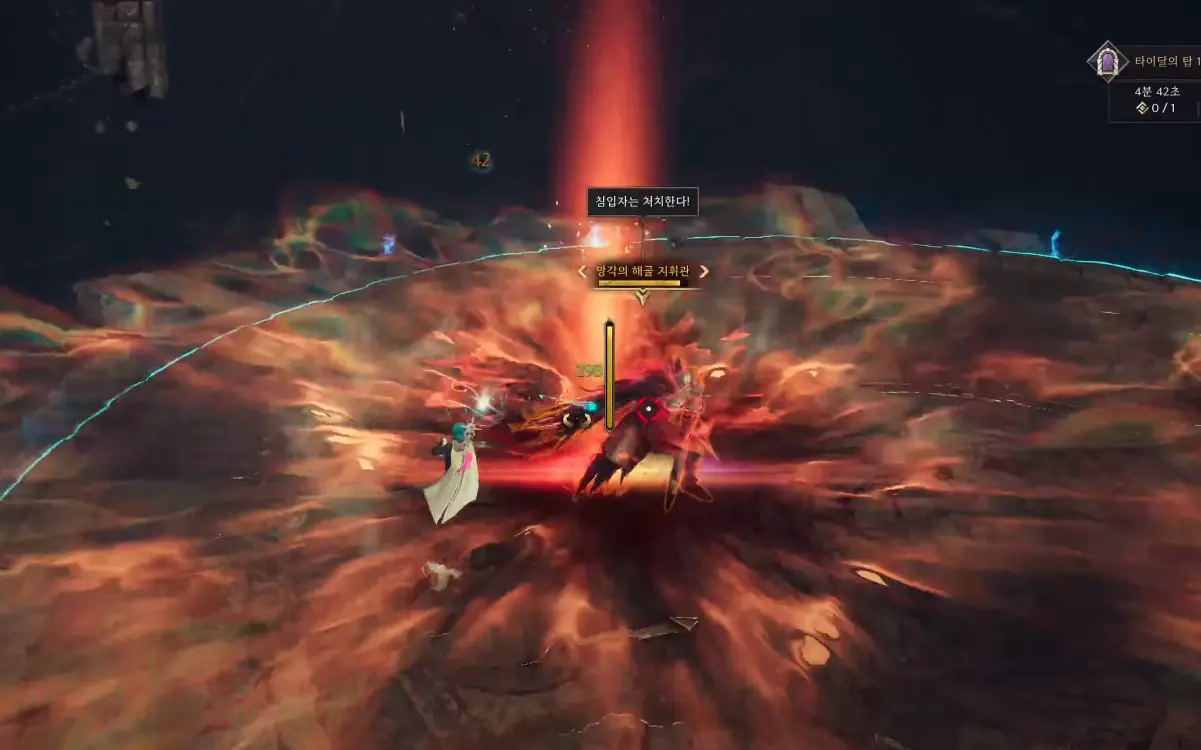
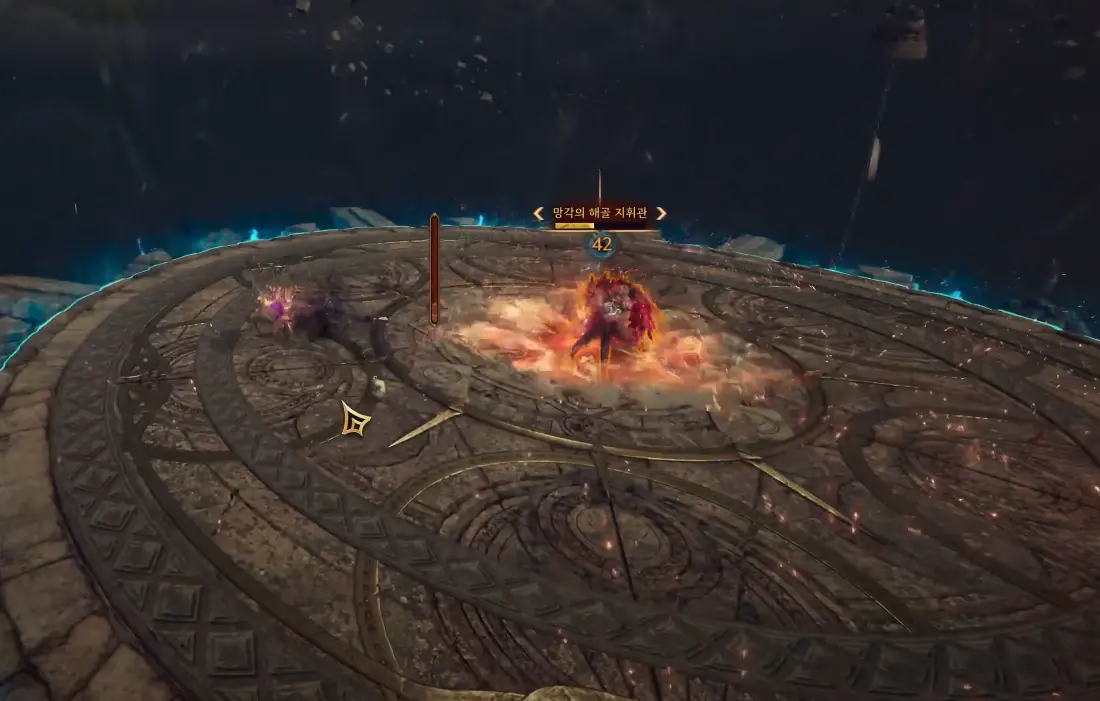
Jump & Pull

When Oblivion Skeleton Commander’s HP drops below half, he will jump and immediately perform a Pull that you won’t be able to avoid evade. After being pulled in, move away quickly to escape the expolsive attack he will launch next.
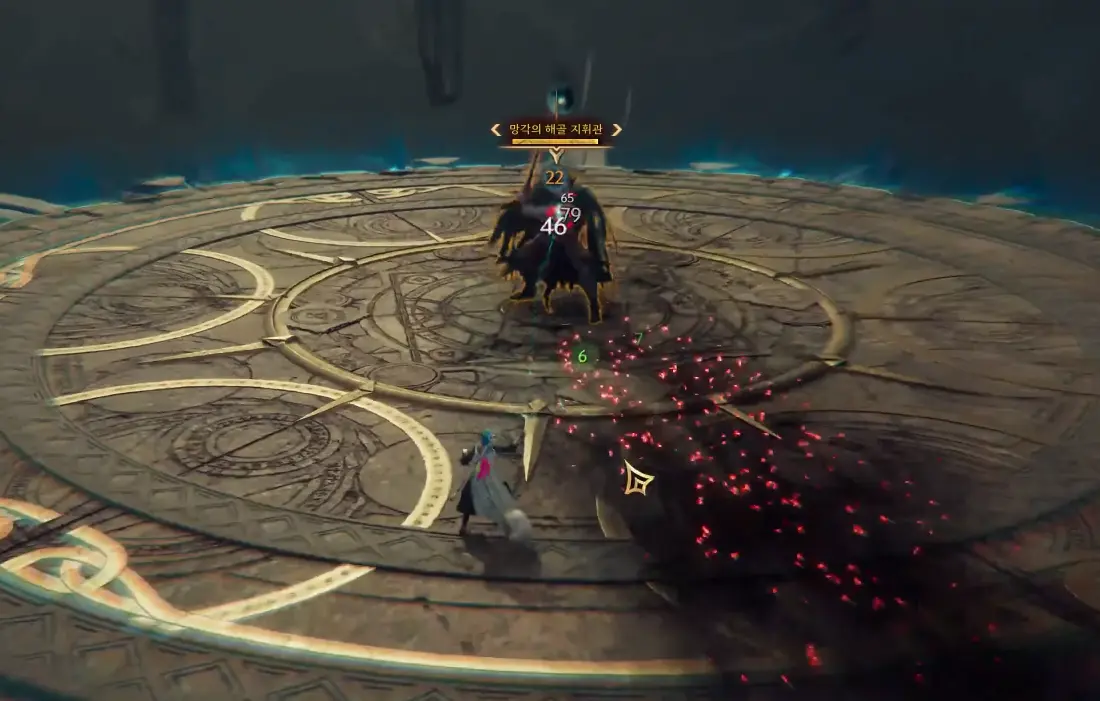
Rush

The boss will perform a rush to approach your position causing a stun.

Rewards

  • Morph: Velvet Raven (Glide)
  • Rare Weapon Growthstone x1
  • Rare Armor Growthstone x2
  • Rare Accessory Growthstone x1
  • Recovery Crystal x20
  • 13536 Coins
  • 19864 EXP

Community

InteractiveMap.App

Throne and Liberty Interactive Map

Dungeons

Throne and Liberty: Molgras and Murdock Dungeon

This guide will walk you through one of the first solo dungeons, also known as Halls of Illusion. These dungeons offer unique bosses and...
Dungeons

Throne and Liberty: Chapel of Madness Dungeon Guide

Overview of Chapel of Madness Chapel of Madness is a 3-Star Dimensional Circle Dungeon in Throne and Liberty (TL). Players must battle Grayeye, a powerful...
Dungeons

Throne and Liberty: Complete Guide to Limuny Bercant & Halls of...

Limuny Bercant Overview Limuny Bercant is a powerful undead boss in Throne and Liberty (TL), found within the Halls of Tragedy Dungeon. She possesses deadly...
Dungeons

Throne and Liberty – Rancorwood Dungeon Guide: How to Defeat King...

Rancorwood is a 3-Star Dimensional Circle dungeon in Throne and Liberty (TL) where players must face King Khanzaizin. This guide provides an overview of...
Throne and Liberty: Rune Synergy Bonuses
Guides

Throne and Liberty: Rune Synergy Bonuses

Weapon Rune Synergy Bonuses RaritySynergy BonusCommon- Strength 2- Dexterity 2- Wisdom 2- Perception 2- Bonus Damage 6- Damage Reduction 6Uncommon- Strength 2- Critical Hit Damage...
Throne and Liberty: How to get Bait
Guides

Throne and Liberty: How to get Bait

To fish in Throne and Liberty you will need bait. In this guide we tell you what it is for and how to get...
Throne and Liberty: Fortitude Stat
Guides

Throne and Liberty: Fortitude Stat

What is Fortitude? Fortitude stat aims to improve your survivability, boost your endurance, your base damage and enhances your crowd control resistance. Let's take...
Throne and Liberty: How to get Vitalstones
Guides

Throne and Liberty: How to get Vitalstones

In this short guide we tell you what Vitalstones are, how to get them and what you can do with them. Let's get started. What...