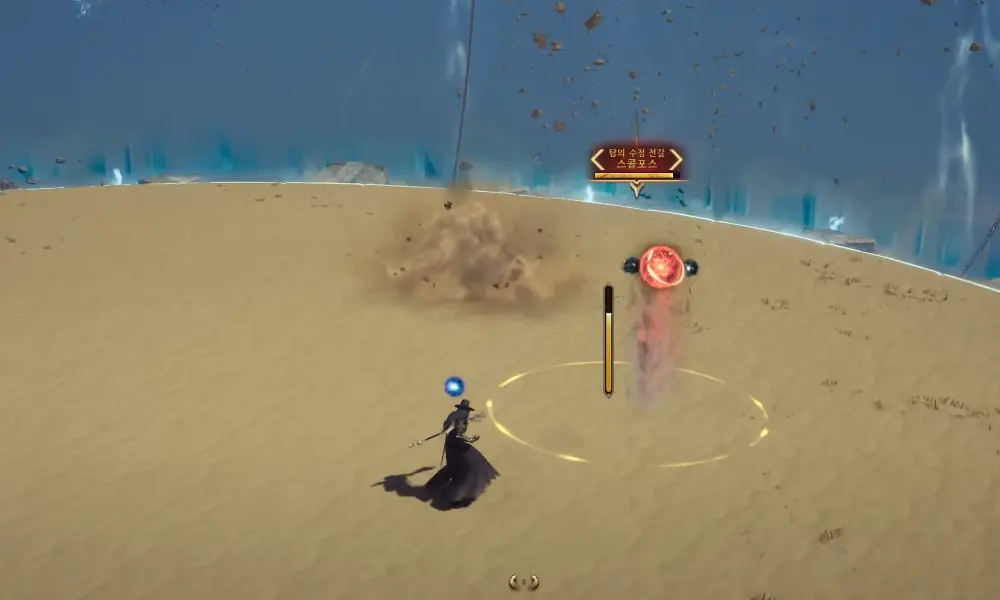
In this guide we tell you everything you need to know to complete the 12th floor of the Secret Dungeon Taedal’s Tower: Answers in the Sand. Defeat the boss Tower Crystal Scorpion Scorpos to continue to the next floor.
To access the 12th floor of Taedal’s Tower you must first complete the 11th floor: Maze of Death, check out this guide for more details.
Still not sure what Taedal’s Tower is all about or how to get in? Don’t worry, find out everything you need to know about the Taedal Tower at this link: What is and How to Enter Taedal’s Tower Dungeon
Taedal’s Tower 12th Floor: Answers in the Sand
- Complete 11th floor: Maze of Death
- Level 37+
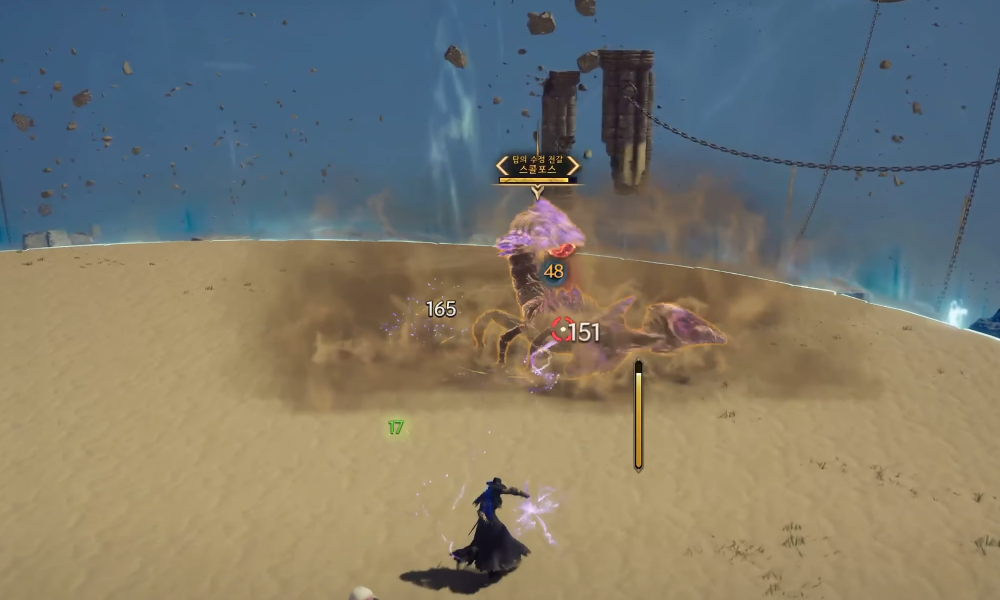
Tower Crystal Scorpion Scorpos Strategy
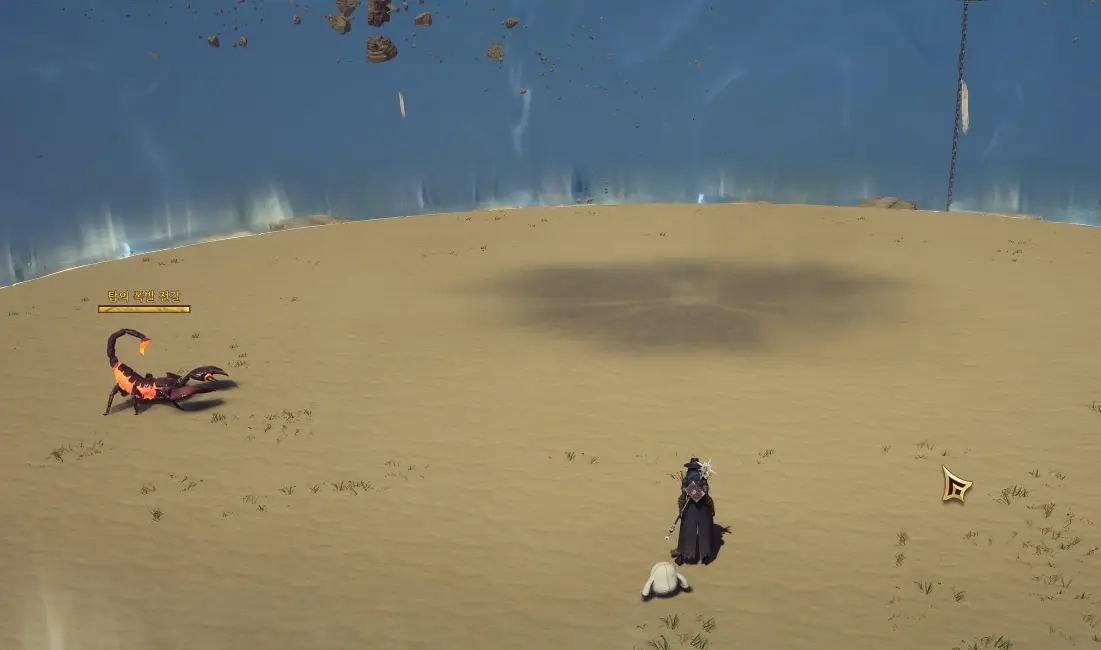
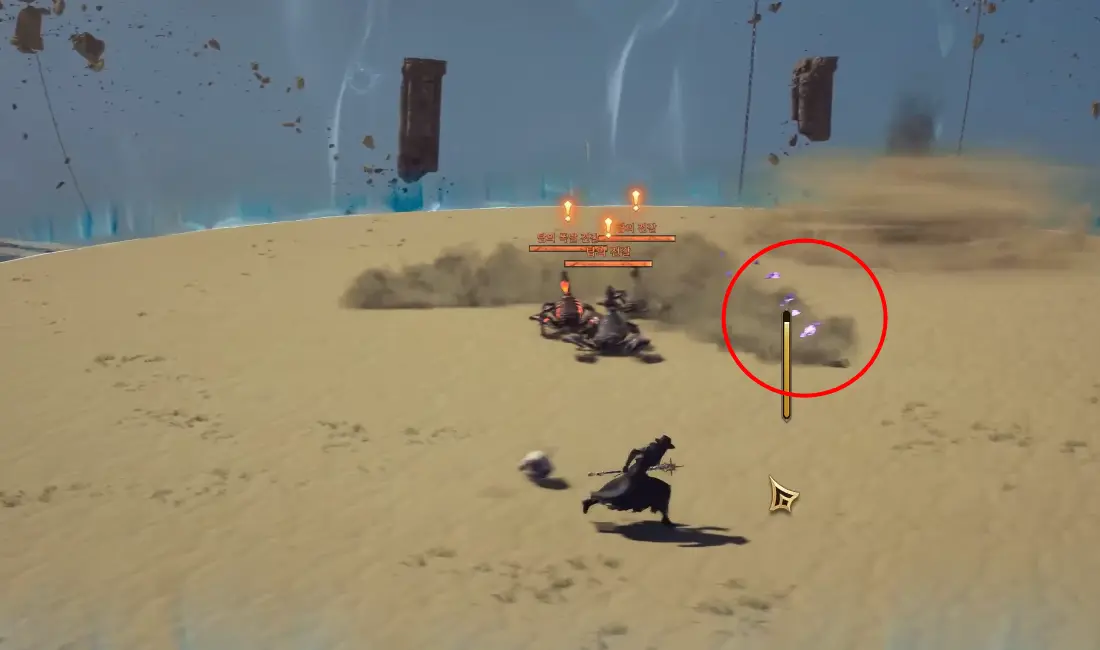
The first thing you will notice is the change of appearance of the arena, this time it will be covered with sand. You will also see a small scorpion away from the center and a kind of sand whirlpool.
Tower Explosion Scorpion
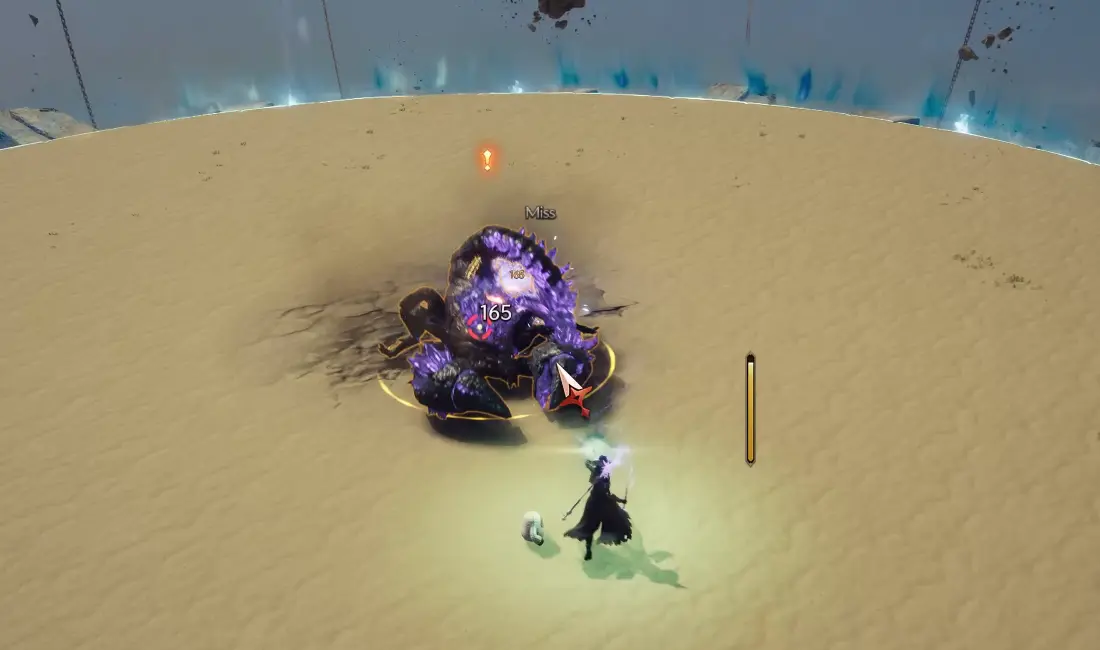
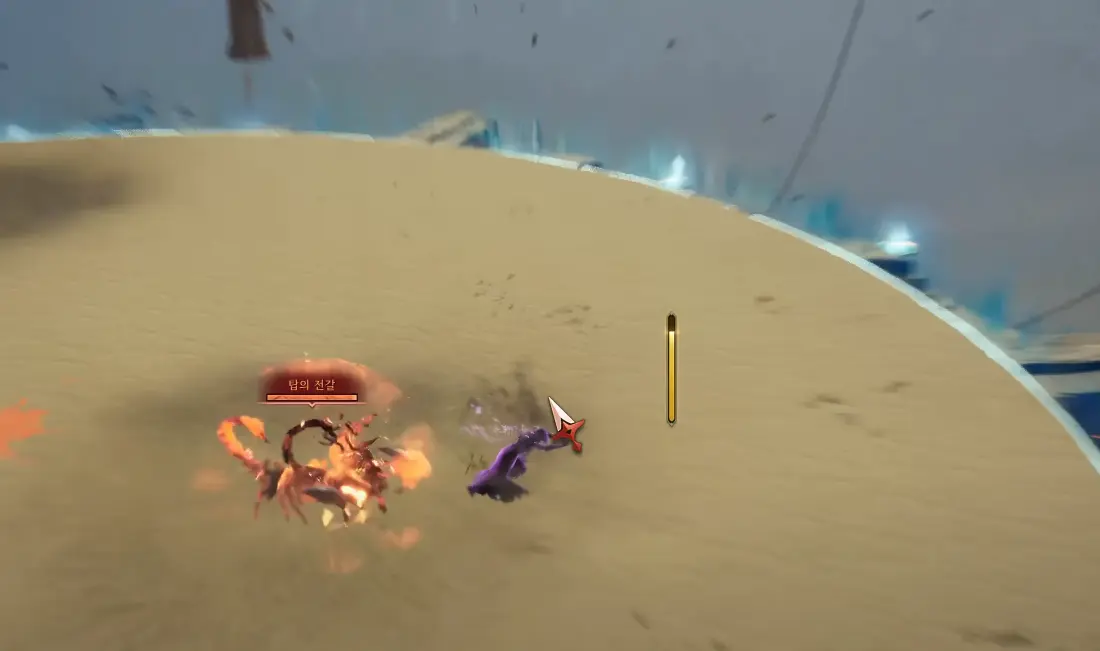
Attack the Tower Explosion Scorpion and take it to the sand whirlpool to make the real boss appear. Tower Explosion Scorpion only does melee damage, keep your distance until the position on the sand whirlpool, it will disappear and you will finally see the boss, Tower Crystal Scorpion Scorpos.

Teleport
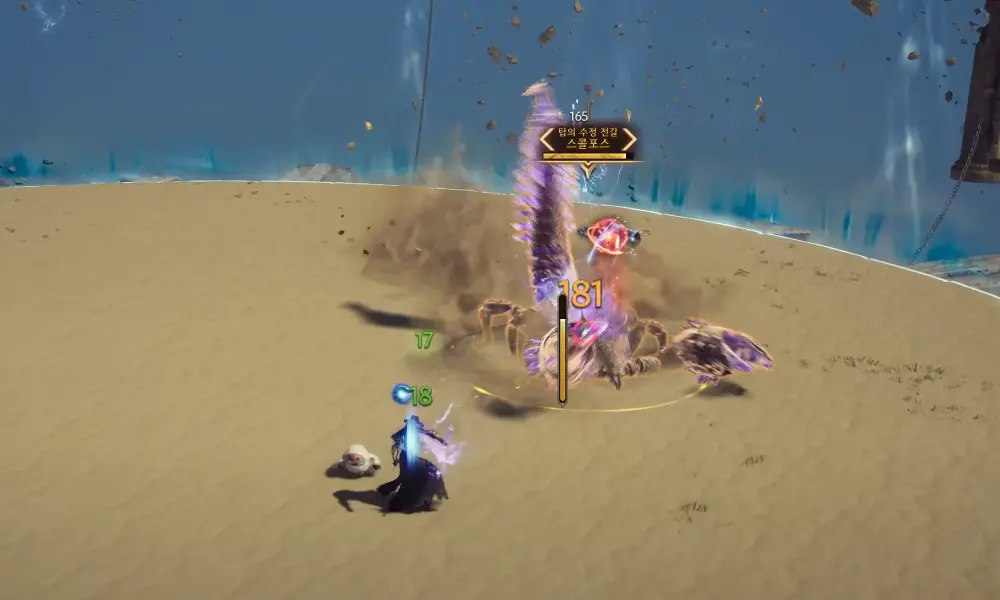
Scorpos hides in the sand and quickly reappears elsewhere. Always keep moving to avoid being next to him.
Hide
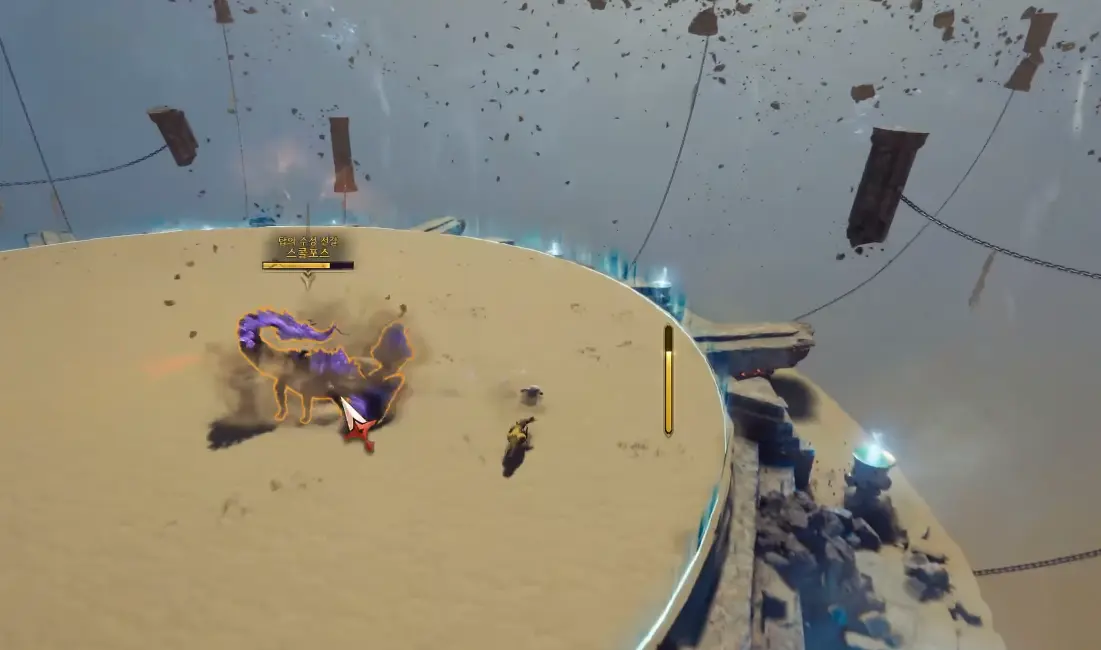
The boss hides in the sand and three Tower Explosion Scorpion and three moving patterns will appear in the arena. One of the patterns will have a purple color effect, follow it to find out where the boss is hiding. When the patterns stop moving they will disappear and a whirlpool will appear at each position. Take the Tower Explosion Scorpion to the whirlpool that appeared under the purple pattern to make the boss re-appear.
Spin
Scorpos spins rapidly creating a whirlwind of sand, keep your distance to avoid being hit.
Rewards
- Rare Weapon Growthstone x2
- Rare Armor Growthstone x4
- Rare Accessory Growthstone x2
- Quality Recovery Crystal x5
- 16243 Coins
- 23837 EXP


