In this guide we tell you everything you need to know to complete the 13th floor of the Secret Dungeon Taedal’s Tower: Drop! Lightning! Destroy!. Defeat the boss Lightning Jump Attacker to continue to the next floor.
To access the 13th floor of Taedal’s Tower you must first complete the 12th floor: Answers in the Sand, check out this guide for more details.
Still not sure what Taedal’s Tower is all about or how to get in? Don’t worry, find out everything you need to know about the Taedal Tower at this link: What is and How to Enter Taedal’s Tower Dungeon
Taedal’s Tower 13th Floor: Drop! Lightning! Destroy!
- Complete 12th floor: Answers in the Sand
- Level 38+
Lightning Jump Attacker Strategy
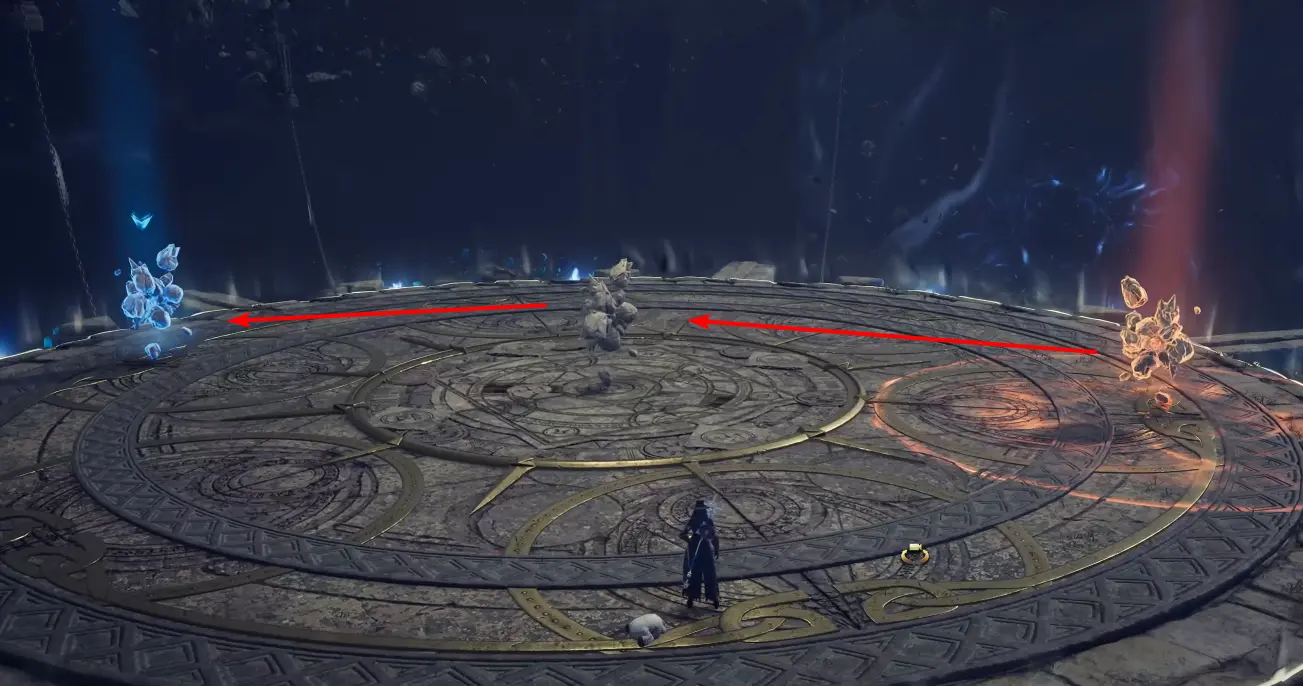
When you enter the arena you will see three rocks, you have to transfer the energy from the red rock to the blue one. Go to the red rock, activate it, continue with the next one and finish with the blue one to make the boss appear.
Jump
As its name suggests, Lightning Jump Attacker jumps. You will see him prepare himself for a moment and then jump towards your position. When he falls he generates area damage, move quickly to avoid him or block him.


Lightning Step
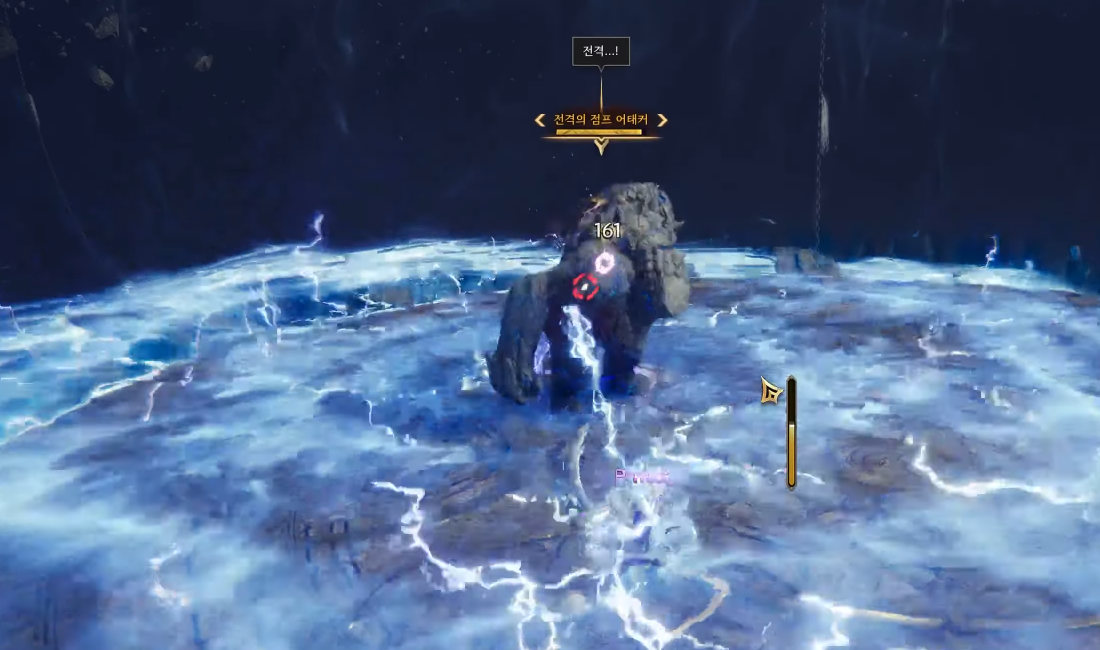
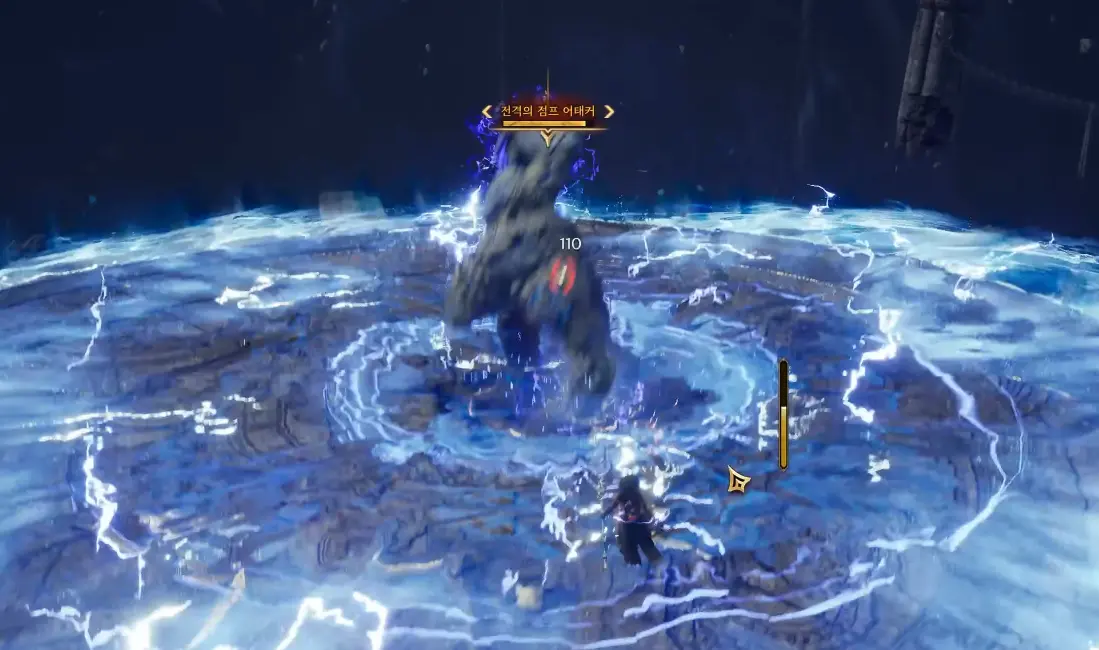
Lightning Jump Attacker lifts his foot and stomps hard generating damage in a wide area and a series of lightning bolts that sweep the arena. You can block the damage in the initial area or move away to avoid it, the rays that sweep the area can only be dodged, if they hit you you will receive significant damage and you will be paralyzed.

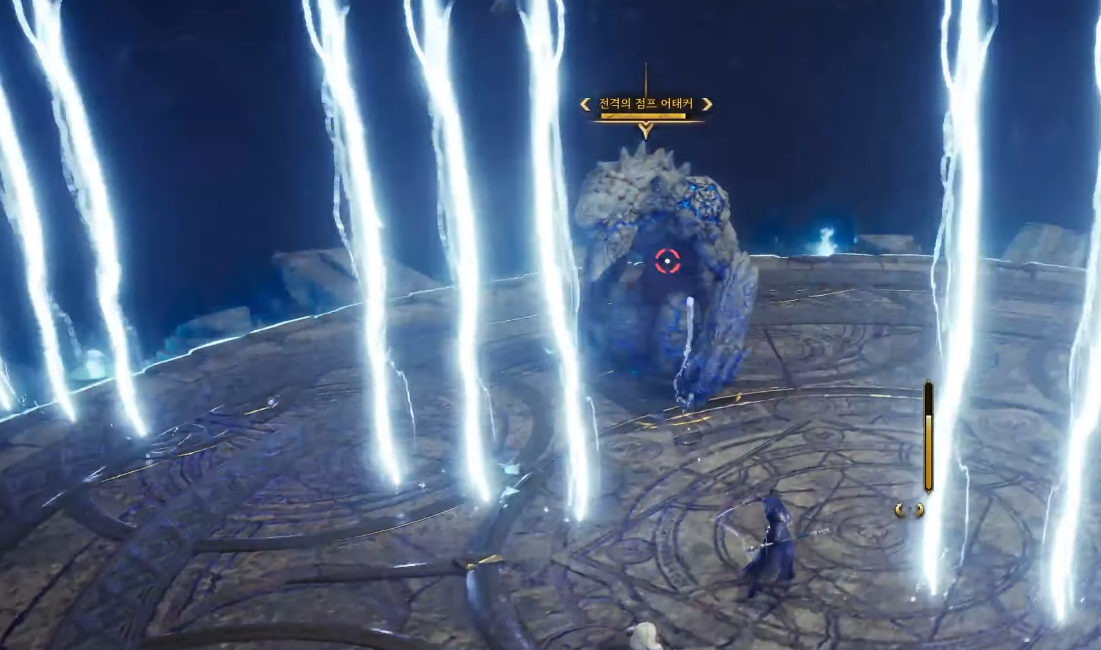
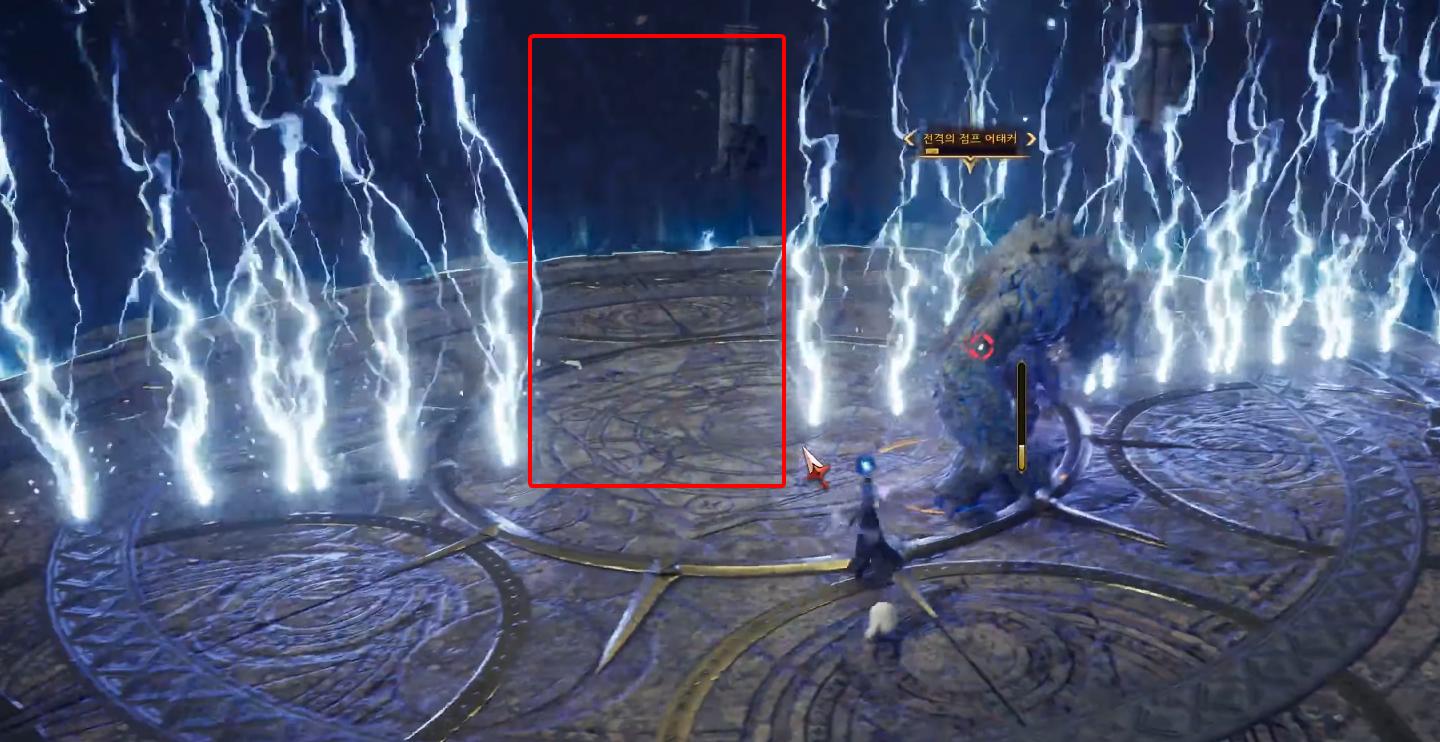
In its rage version, the area hit by lightning is enlarged and you can only avoid being hit by passing through a small lightning-free zone.
Lightning punch
The boss will hit the ground with his fists twice generating electrical damage over a wide area. If you are hit you will take damage and be paralyzed for a few seconds.
Escape
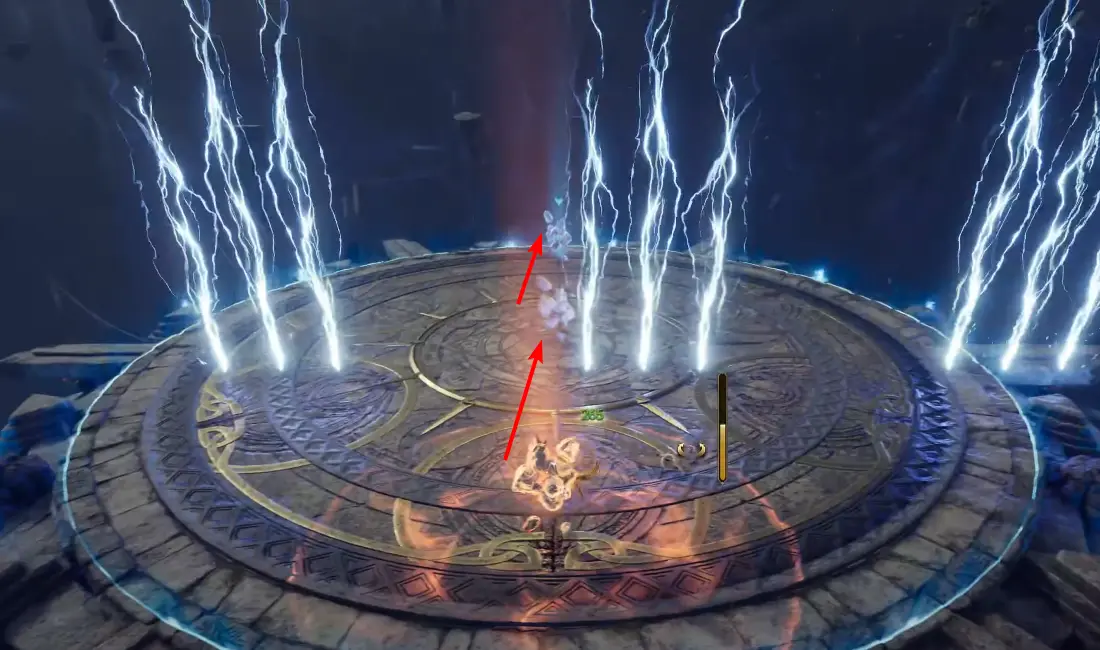
Lightning Jump Attacker jumps and disappears from the arena that is hit by a constant series of rays. The stones that you saw at the beginning appear again, locate the red stone, activate it, and move forward activating them one by one and dodging the lightnings until you get the energy to the blue rock. When you complete the route the boss will return to the fight.
Rewards
- Rare Weapon Growthstone x3
- Rare Armor Growthstone x6
- Rare Accessory Growthstone x4
- Quality Recovery Crystal x5
- 17596 Coins
- 25823 EXP


