In this guide we tell you everything you need to know to complete the 16th floor of the Secret Dungeon Taedal’s Tower: Precise Moment. Defeat the boss Immortal Guardian to continue to the next floor.
To access the 16th floor of Taedal’s Tower you must first complete the 15th floor: Stealers and Retrievers, check out this guide for more details.
Still not sure what Taedal’s Tower is all about or how to get in? Don’t worry, find out everything you need to know about the Taedal Tower at this link: What is and How to Enter Taedal’s Tower Dungeon
Taedal’s Tower 16th Floor: Precise Moment
- Complete 15th floor: Stealers and Retrievers
- Level 41+
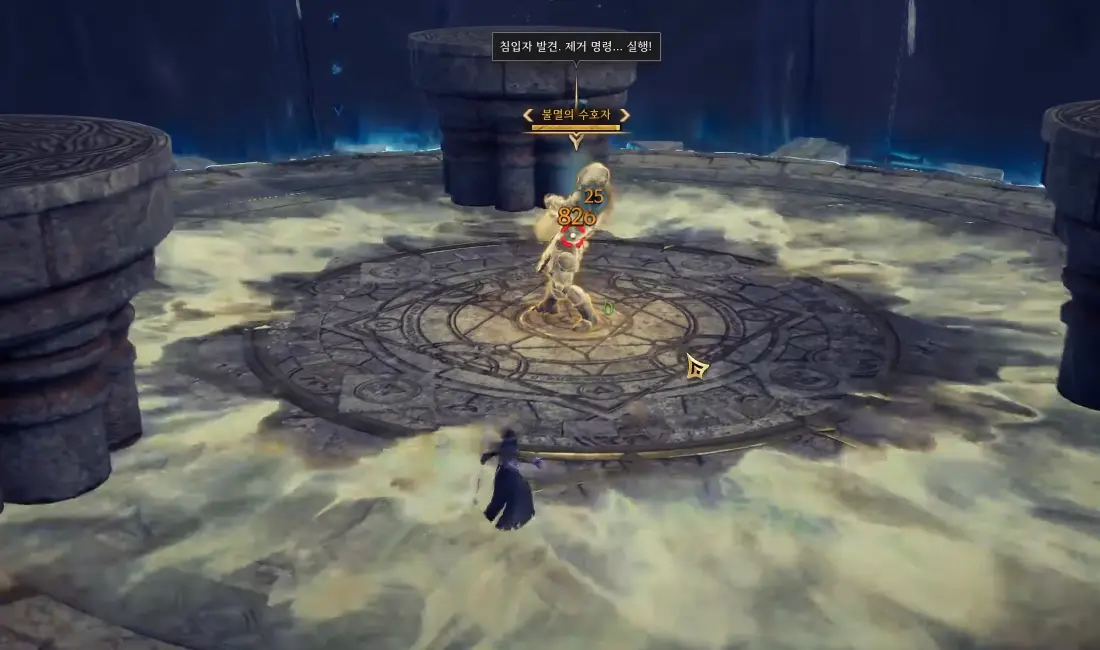
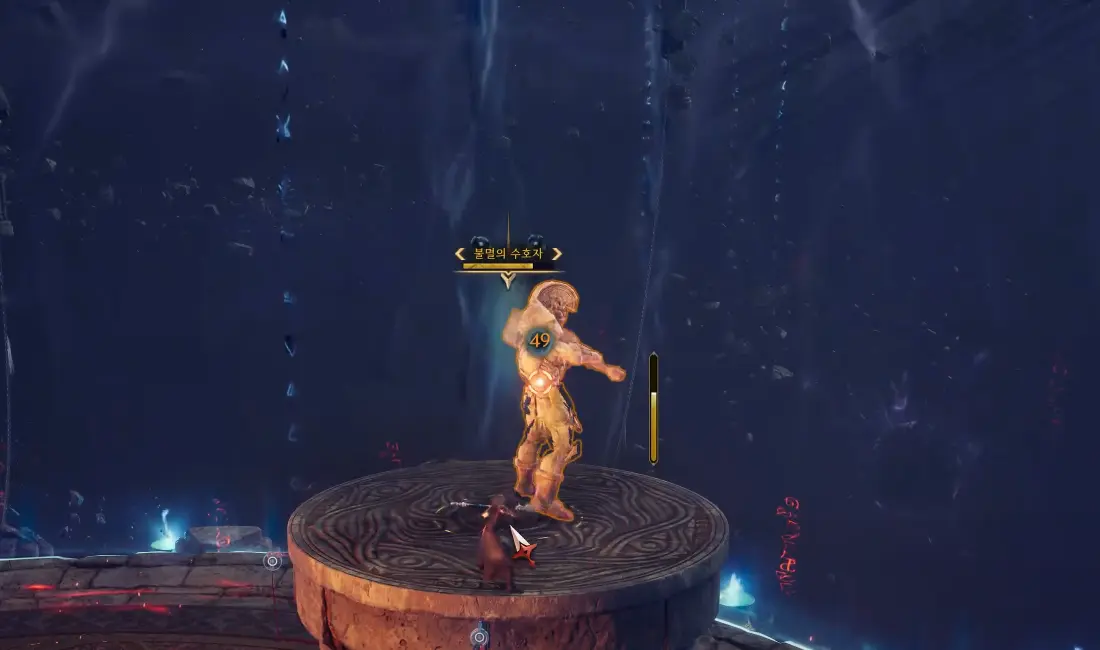
Immortal Guardian Strategy
Hammer Smash
The boss swings his hammer and as you will see a wave of energy comes towards him. Immediately after he hits the ground causing damage throughout the area. To avoid being hit jump before it hits the ground.
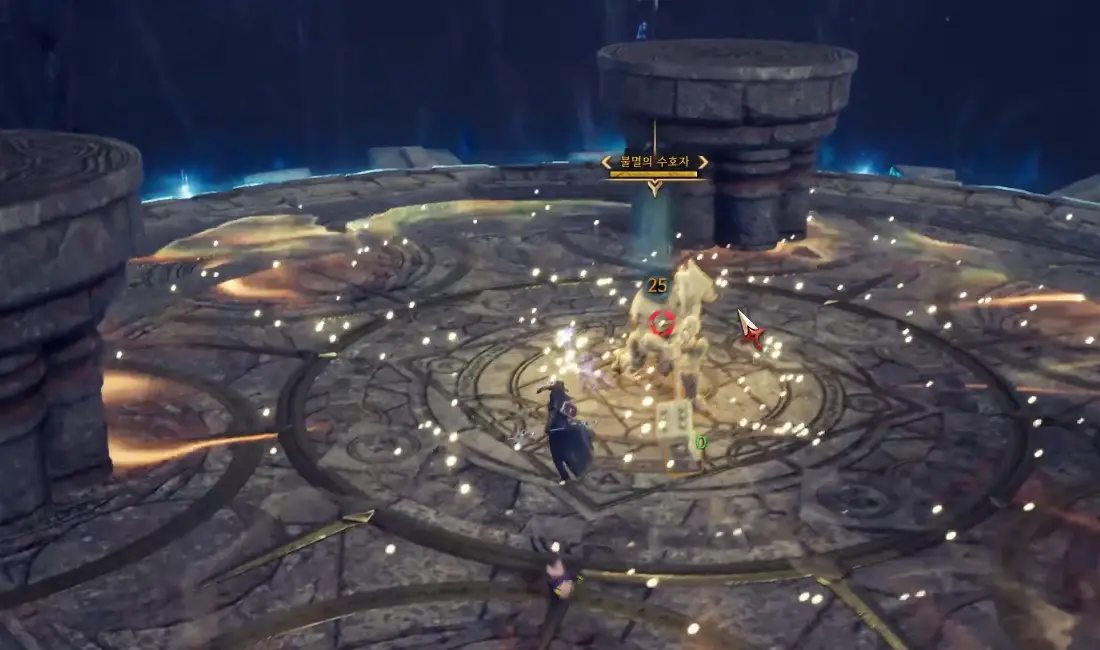
Mortal Hammer
The boss’s hammer lights up and then hits the ground heavily generating damage in the whole area. If you don’t block the attack you will receive damage and stun.

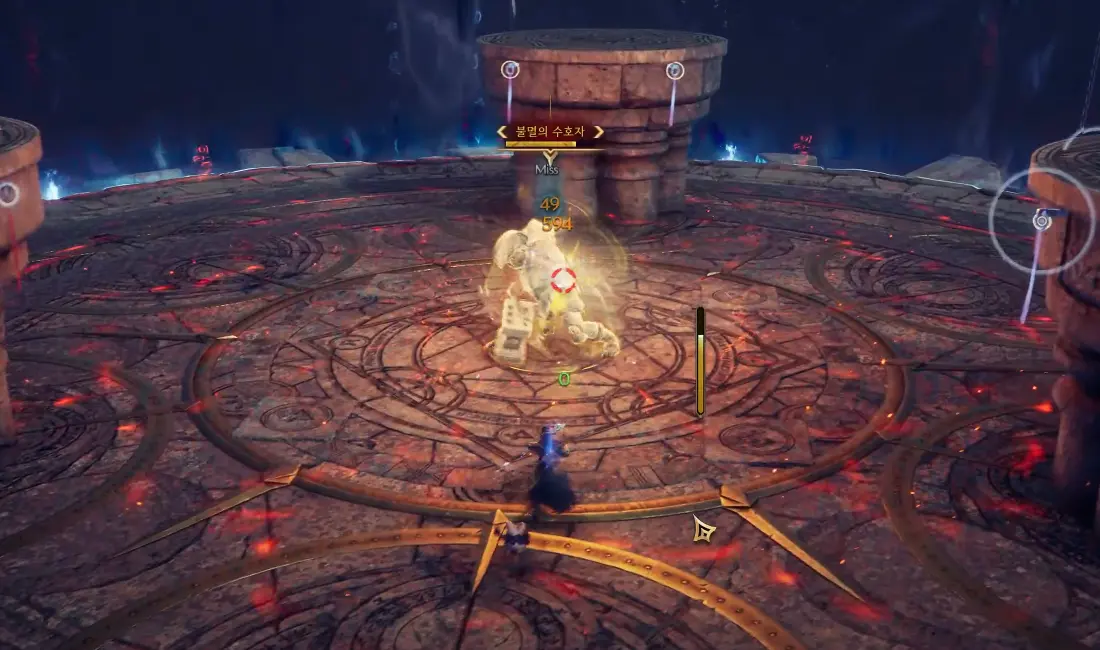
Burning floor
The boss climbs one of the three pillars and the arena floor ignites, generating high DPS damage. You can climb the pillar where the boss jumped and continue fighting, since you will be in close combat we recommend that you always try to stay at his back to avoid a good part of his attacks. Keep in mind that Immortal Guardian can change pillars, and if you decide to follow him you will take damage from the ground until you reach the new pillar.
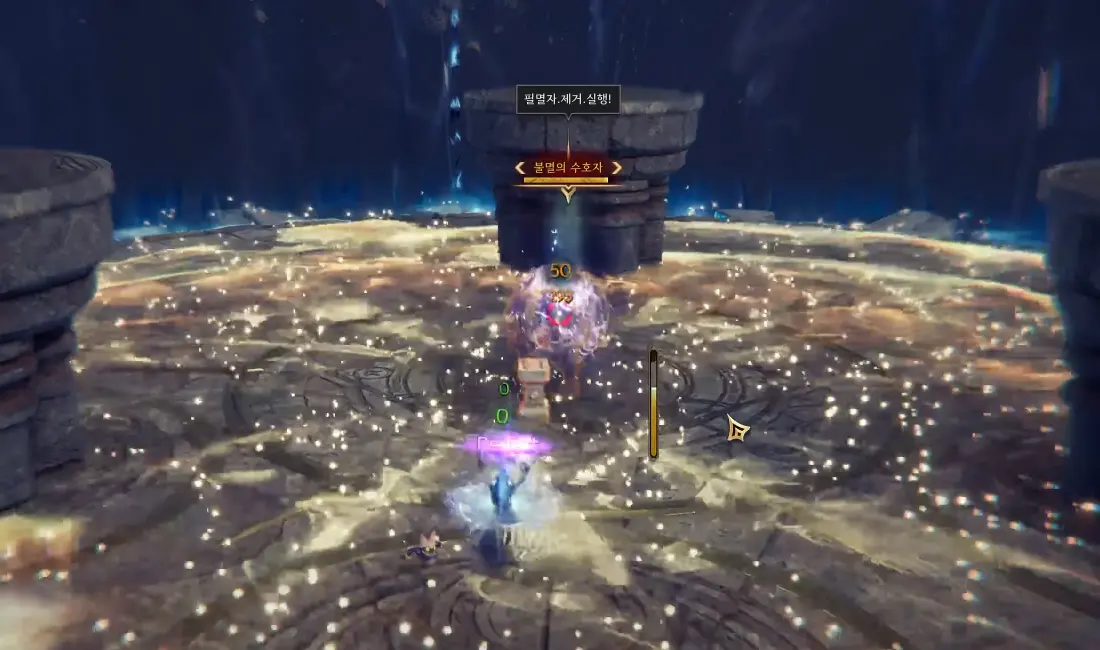
Frontal hit
The boss strikes forward with his hammer, then swings it three more times. Avoid positioning yourself in front of the boss to evade the blow.


Rewards
- Rare Weapon Growthstone x3
- Rare Armor Growthstone x6
- Rare Accessory Growthstone x4
- Quality Recovery Crystal x10
- 21657 Coins
- 31782 EXP


