In this guide we tell you everything you need to know to complete the 20th floor of the Secret Dungeon Taedal’s Tower: Revenge and Resurrection. Defeat the boss Revenger Skeleton Commander to continue to the next floor.
To access the 20th floor of Taedal’s Tower you must first complete the 19th floor: Reaching for Higher, check out this guide for more details.
Still not sure what Taedal’s Tower is all about or how to get in? Don’t worry, find out everything you need to know about the Taedal Tower at this link: What is and How to Enter Taedal’s Tower Dungeon
Taedal’s Tower 20th Floor: Revenge and Resurrection
- Complete 19th floor: Reaching for Higher
- Level 45+
Revenger Skeleton Commander Strategy
Summon
Revenger Skeleton Commander will summon a skeleton every 20 seconds during combat. You can easily eliminate them when they appear.
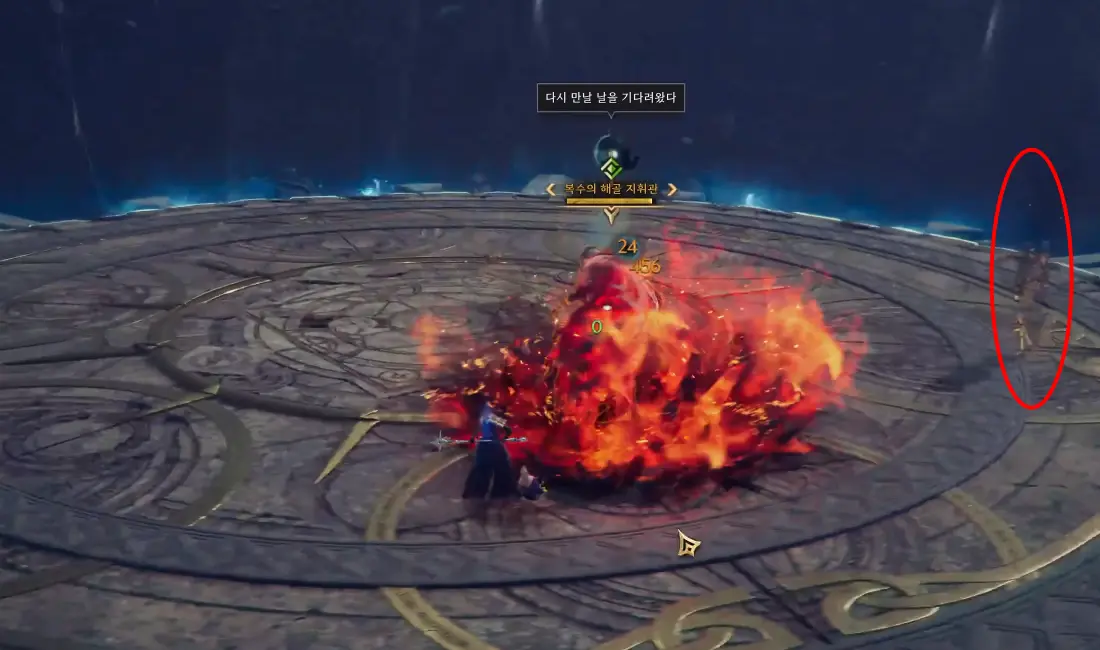

Fire Blast
The boss stops in its position for a moment charging energy and then explodes it creating a shockwave in a wide area around it. You can block this ability to avoid taking damage.


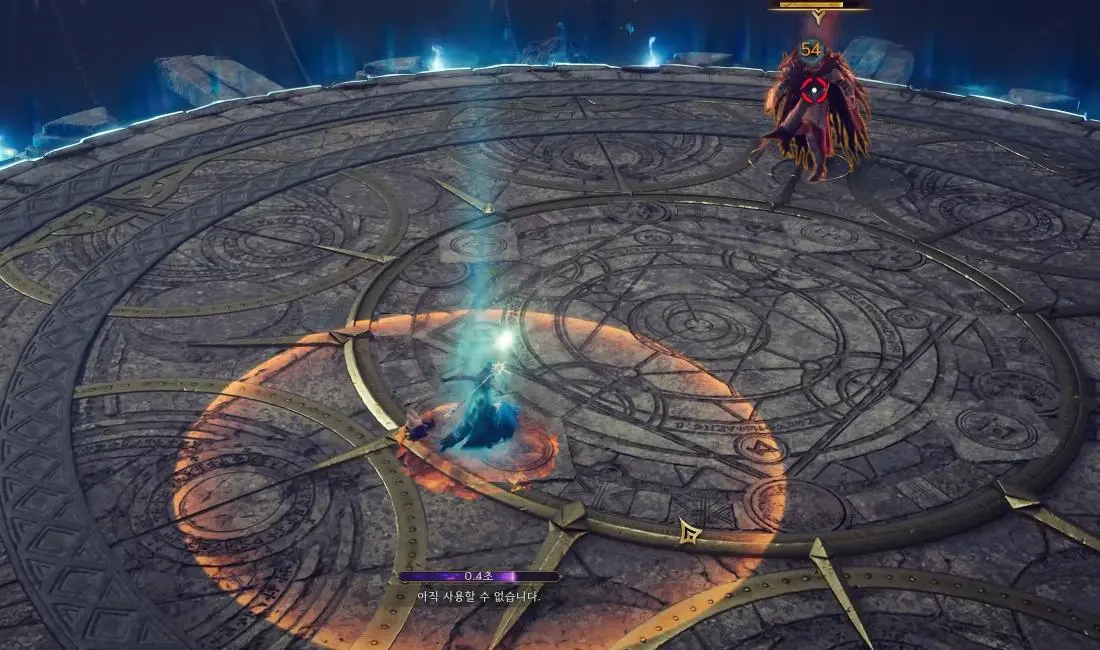
Fire Circle
You will see an area appear around you, move quickly as you will take dps damage if you stay there.

Jump
The boss jumps and when it lands in the same position it generates damage over a wide area. You can jump just before the boss hits the ground to avoid the damage.

Forward Jump
Revenger Skeleton Commander will jump towards your position. You can avoid the initial hit by moving quickly, but when he falls he will generate damage over a wide area, you can jump to avoid the damage.


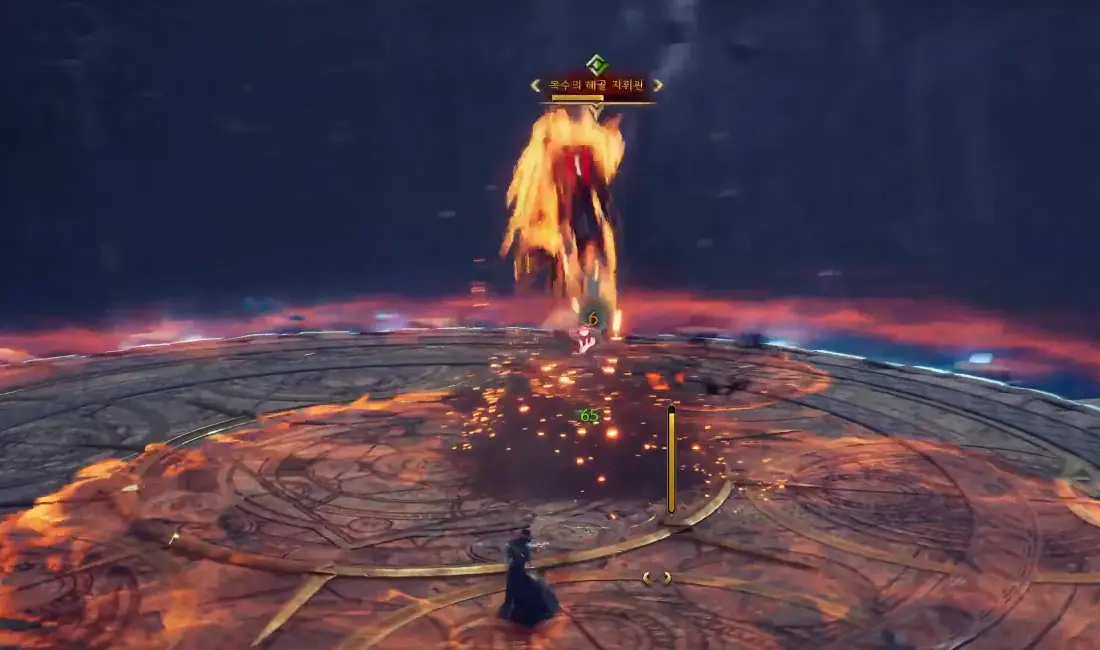
Recharge
When Revenger Skeleton Commander runs out of HP, he will float for a moment restoring his health completely, you will have to fight him again. This happens only once.

Fire Ring
After a certain battle time, a strip of the outer edge of the arena will catch fire, shrinking the arena. If you step on that area you will receive high dps damage. The affected area will enlarge every 30 seconds.


Rewards
- Morph: Fierce Tyger (Dash)
- Precious Weapon Growthstone x1
- Precious Armor Growthstone x2
- Precious Accessory Growthstone x1
- Quality Recovery Crystal x20
- 27071 Coins
- 39728 EXP


