In this guide we tell you everything you need to know to complete the 7th floor of the Secret Dungeon Taedal’s Tower: The Bound. Defeat the boss Bound Shadowmancer or Despair Dark Endforcer to continue to the next floor.
To access the 7th floor of Taedal’s Tower you must first complete the 6th floor: Finding the Piton in the Flames, check out this guide for more details.
Still not sure what Taedal’s Tower is all about or how to get in? Don’t worry, find out everything you need to know about the Taedal Tower at this link: What is and How to Enter Taedal’s Tower Dungeon
Taedal’s Tower 7th Floor: The Bound
- Complete 6th floor: Finding the Piton in the Flames
- Level 26+
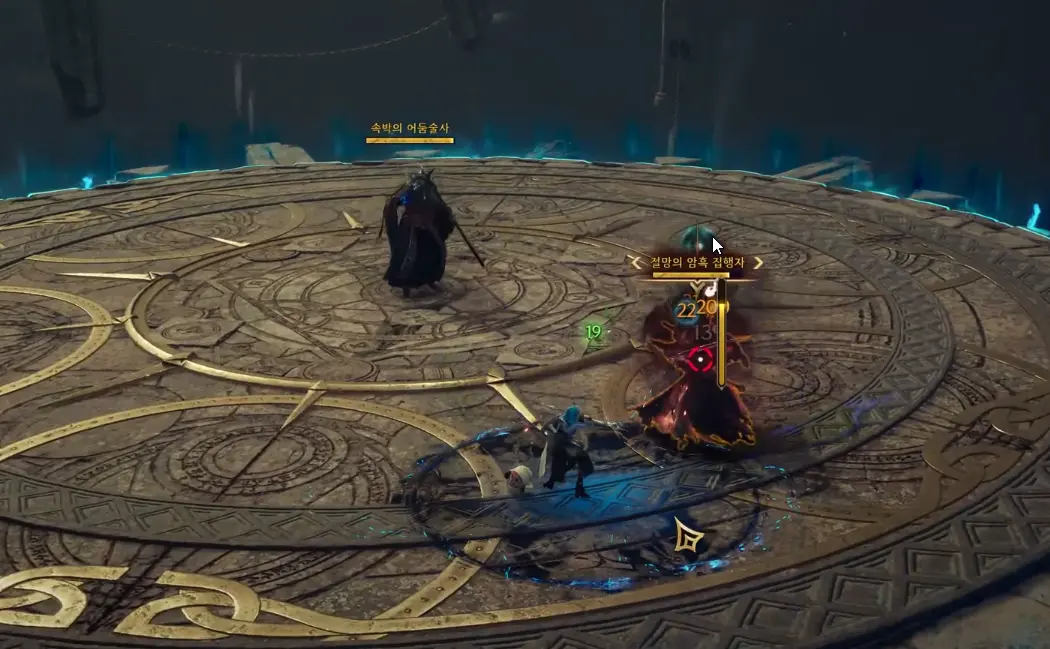
Bound Shadowmancer & Despair Dark Endforcer Strategy
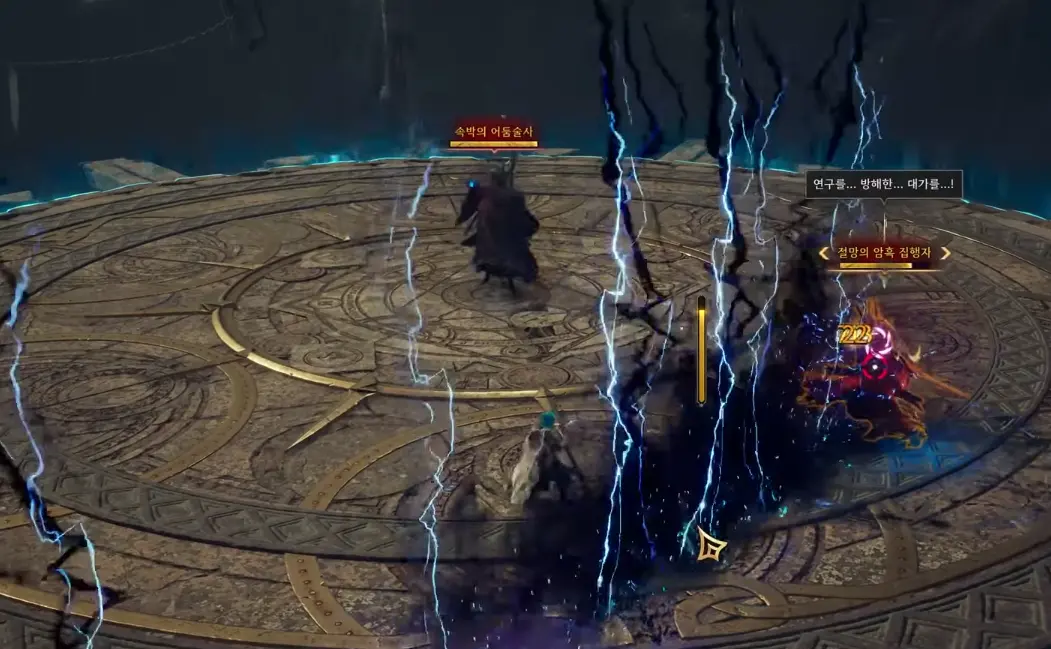
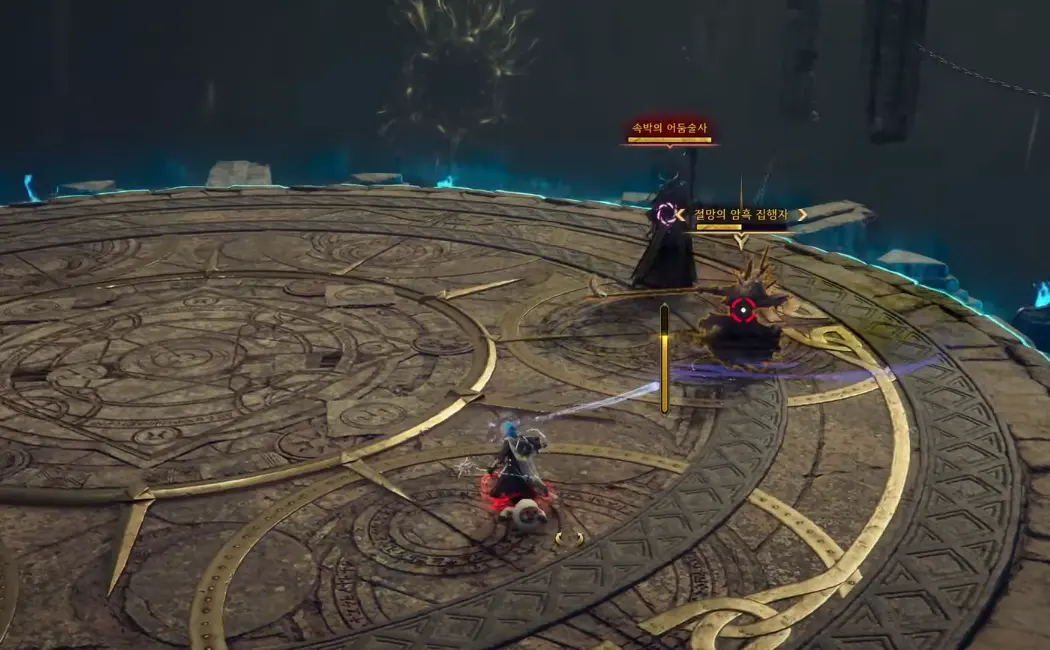
The Bound Shadowmancer boss will attack with ranged abilities, while Despair Dark Endforcer will attack with melee abilities. Both bosses will use teleport to get closer or farther away from you. Keep in mind to always avoid the blue circles that appear on the floor.
The goal of the combat is to eliminate either of the two bosses, they are intertwined, if one dies, the other dies too. Focus on attacking one and avoid both bosses’ attacks.
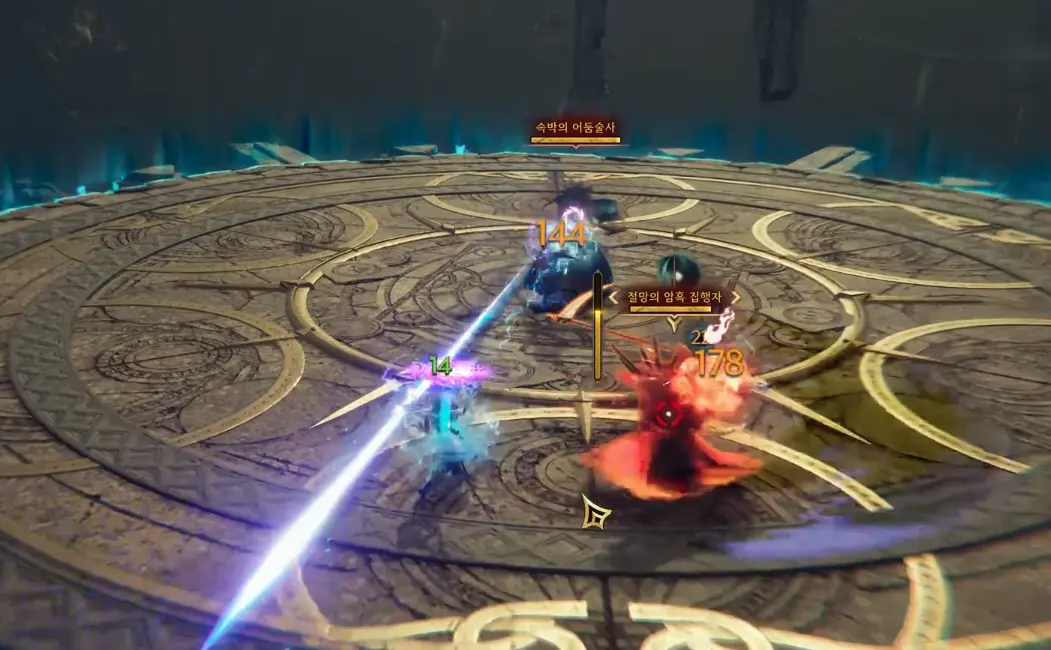
Area Strike – Bound Shadowmancer
Bound Shadowmancer turns blue and a moment later will generate damage in a wide area around him, move away to avoid the hit.
Forward Ray – Bound Shadowmancer
Launches a forward lightning attack causing high damage in its path, you can use parry to avoid it.
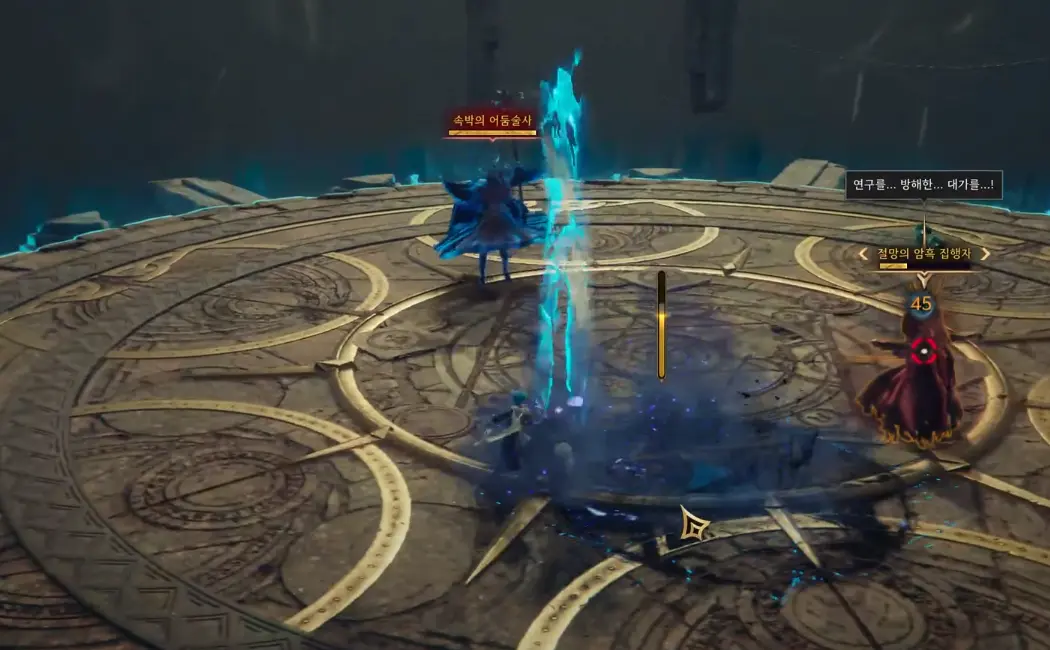
Stun Strike – Bound Shadowmancer
The Bound Shadowmancer’s staff turns blue and will launch a lightning bolt at your position from above that can stun you. This ability can be used several times in a row.
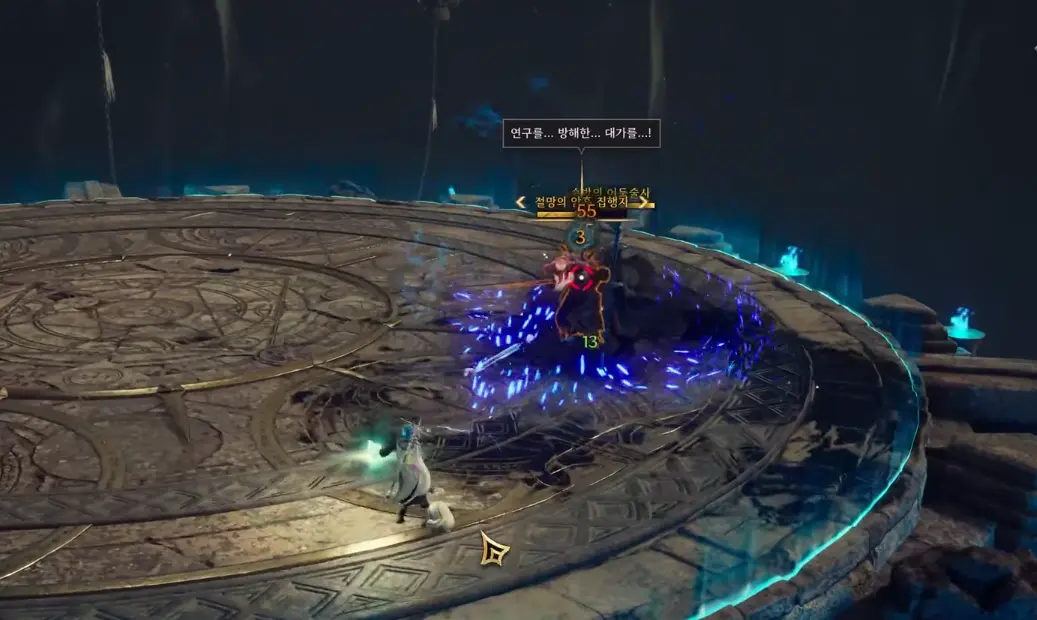
Lightning Line – Despair Dark Endforcer
You will see Despair Dark Endforcer’s scythe light up with lightning and then launch a series of lightning bolts forward. Move away from the area in front of the boss to avoid the hit.
Spin Strike – Despair Dark Endforcer
The boss spins rapidly generating damage around him with his scythe.
Rewards
- Quality Weapon Growthstone x4
- Quality Armor Growthstone x8
- Quality Accessory Growthstone x5
- Recovery Crystal x10
- 9475 Coins
- 13905 EXP


