The Cave of Destruction is a 1-star Dimensional Circle dungeon in Throne and Liberty (TL), where you must face the formidable Lequirus. Below is a comprehensive guide on how to clear the dungeon, the best weapon combos, how to defeat Lequirus, and the possible rewards and drops upon completion.

Table of Contents
- Cave of Destruction Overview
- How to Beat Lequirus
- Lequirus Mechanics
- Lequirus Attack Patterns
- Recommended Weapon Combos
- Cave of Destruction Walkthrough
- Rewards and Drops
Cave of Destruction Overview
- Required Level: 50
- Type: 1-Star Dimensional Circle
- Combat Power Minimum: 1600
- Dimensional Contract Token Cost: 300
How to Beat Lequirus
Lequirus Overview
- Type: Wildkin
- Passive Ability: Innate Defense (All Defense ▲)
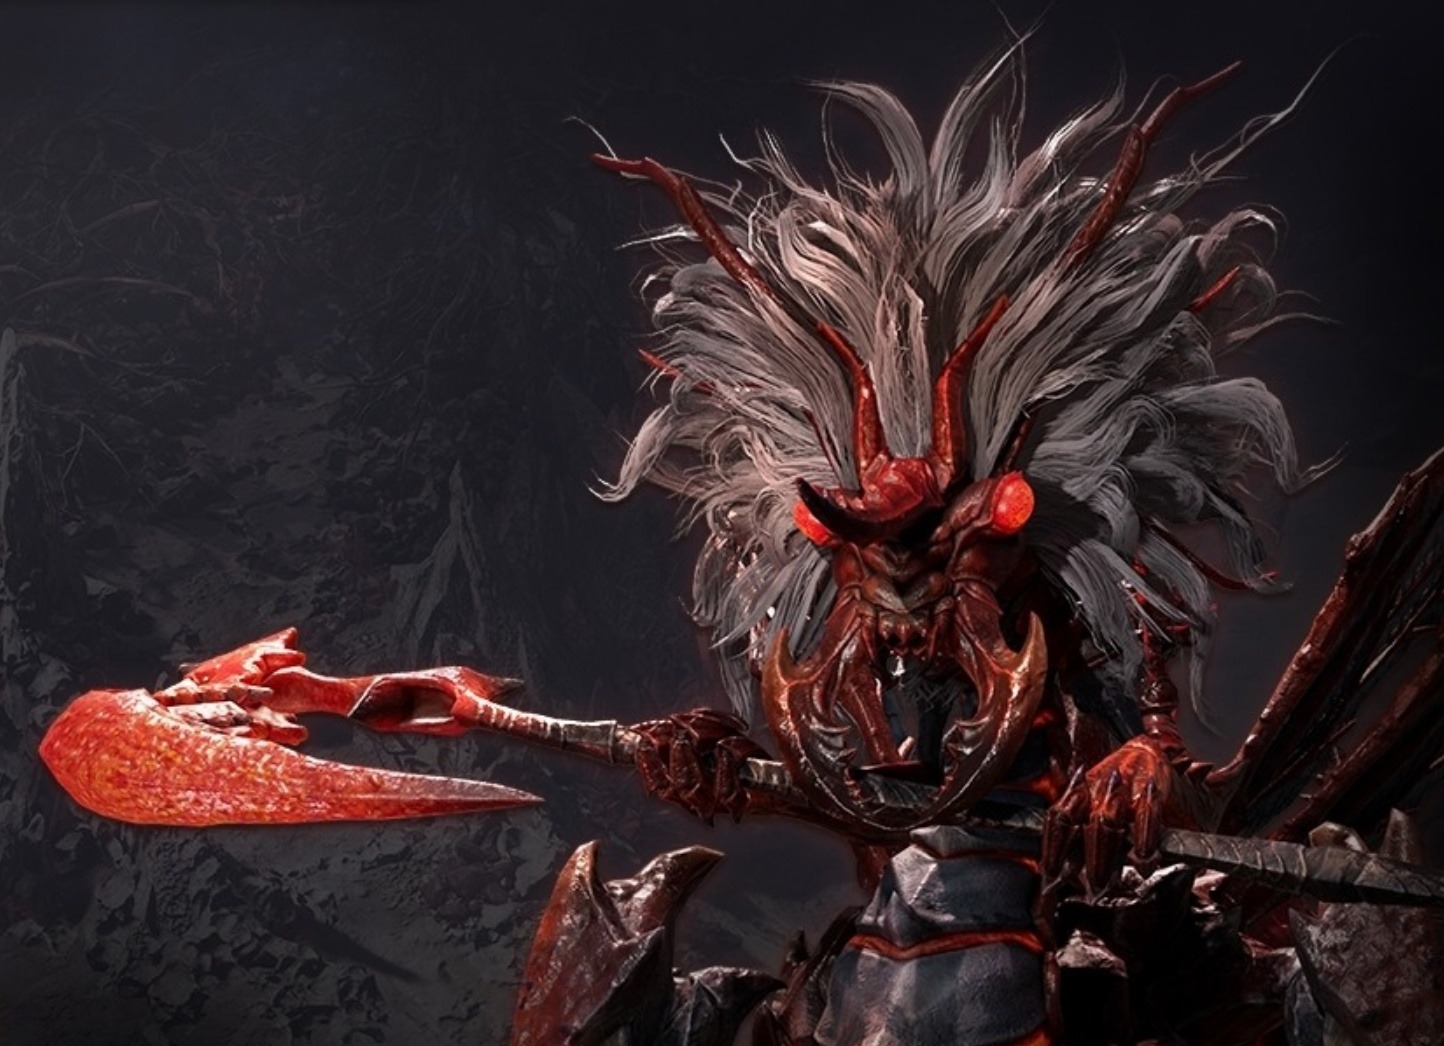
Lequirus is the final boss of the Cave of Destruction, and defeating him requires an understanding of his attack patterns and the mechanics he introduces during the fight.
Lequirus Mechanics
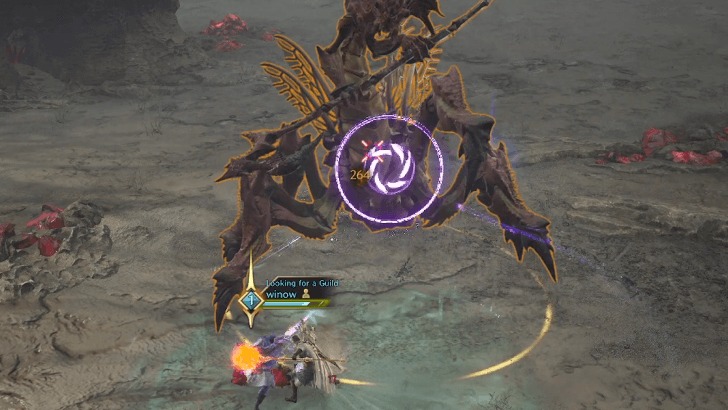
Avoiding the AoE Attack
Lequirus will unleash area-of-effect (AoE) attacks that can be deadly if not avoided. To dodge them, keep an eye on the visual and text signals that appear above his head. When this happens, move to the marked area where a pillar will spawn. Standing on the pillar will launch you upward when Lequirus executes his attack, allowing you to avoid damage.
Defeating the Colored Paralyzing Ant
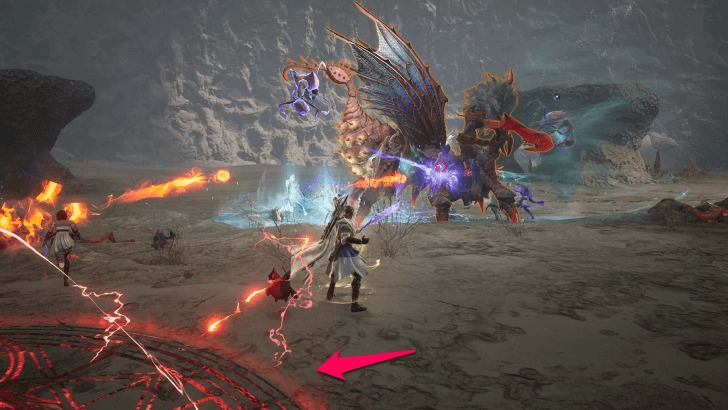
During the fight, Lequirus will spawn two ants, one red and one blue. A colored marked area will also appear on the ground. To gain an attack buff and access the marked area, kill the ant that matches the color of the marked zone.
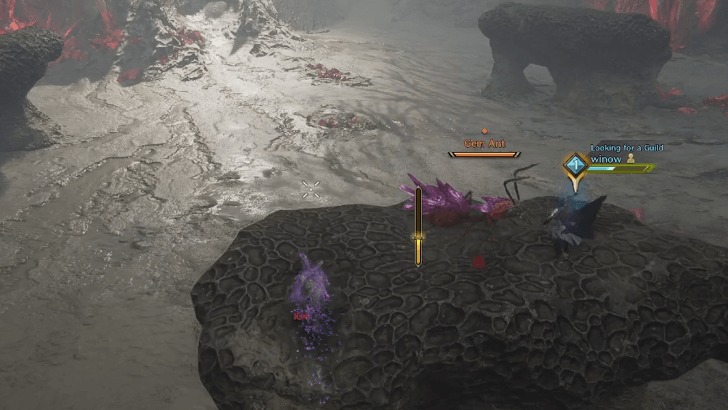
Defeating the Gem Ant
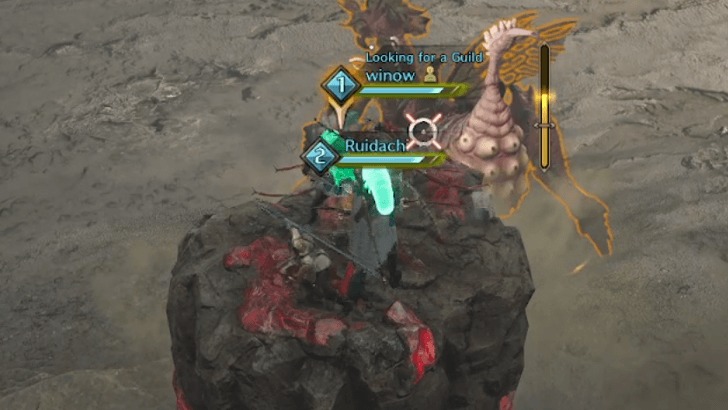
After performing his AoE attack, Lequirus will summon a Gem Ant. If you were launched into the air by the pillar, you can glide to one of the platforms where the Gem Ant spawns. Lequirus will continuously fire ranged attacks at the party until the Gem Ant is defeated.
Lequirus Attack Patterns
Fury Attack
Lequirus will perform a heavy-hitting Fury Attack after a brief wind-up. Tanks should be prepared to block this attack to mitigate its damage.
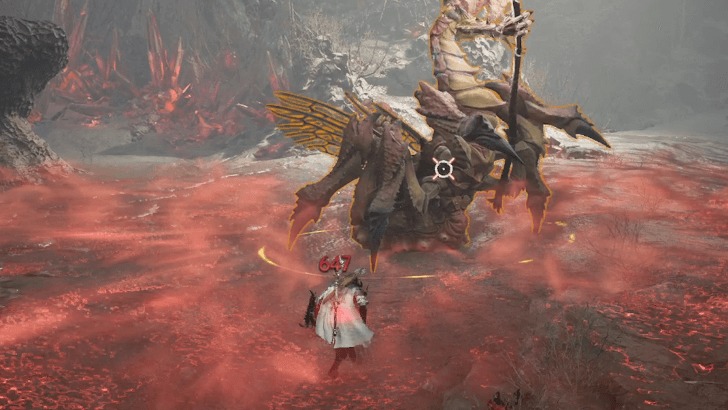
Red AoE Slam
This attack occurs when Lequirus’ aggro is focused on a player outside its melee range. Make sure the tank stays close to draw aggro and minimize the use of this attack.
Larva Spit
When Lequirus’ HP drops below 50%, he will spit larvae onto the entire party. To manage this mechanic, players should stand next to each other to merge their larvae, then spread out to others. Grouping together can simplify dealing with the larvae. Failure to manage them will result in an explosion that knocks affected players into the air and deals significant damage.

Recommended Weapon Combos for Cave of Destruction
| Weapon Combo | Recommendation | Role | Explanation |
|---|---|---|---|
| Greatsword / Sword and Shield | ★★★★★ | Tank | Excellent tank build for clearing mobs and absorbing damage for the team. |
| Longbow / Crossbow | ★★★★★ | DPS | Ideal for ranged DPS to quickly deal with Lequirus. |
| Dagger / Crossbow | ★★★★★ | DPS | Another effective DPS build, especially useful against Lequirus. |
| Wand / Staff | ★★★★ | Support | Best for healing the party and providing offensive support, especially aiding the tank. |
Cave of Destruction Walkthrough
Clear the Rooms
Fight your way through multiple rooms filled with mobs. Watch out for the exploding ants, as they deal AoE damage upon death. Try not to kill them near your teammates.
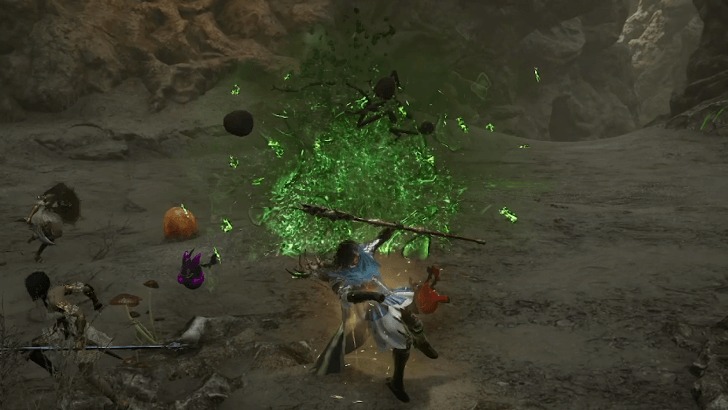
Defeat the Giant Mutant Acid Ant
After destroying the Giant Acid Ant egg, the Giant Mutant Acid Ant will spawn. Avoid the green acid it releases by moving out of the way. Be cautious of its Fury Attack, which pulls players toward it. Block to avoid being pulled in.

Rewards and Drops
Upon defeating Lequirus and completing the Cave of Destruction, players can expect to receive a variety of rewards. These include rare materials, equipment, and the opportunity to earn valuable loot from the final boss fight.
 | Lequirus’s Thorny Edge | 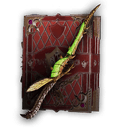 | Lequirus’s Grip |
 | Miracle of Mother Nature Clothing |  | Archpriest’s Devotion |
 | Beast King’s Gilded Bracers | 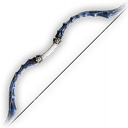 | Furious Sniper’s Longbow |
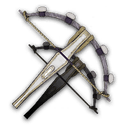 | Enraged Quick Sniper’s Crossbow | 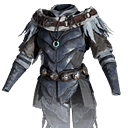 | Reflection Alter Ego Secret Art Armor |
 | Barbarian’s Cloak | 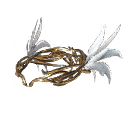 | Moonlight Sniper’s Circlet |
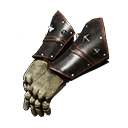 | Moonlight Wind Bracer | 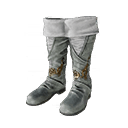 | Moonlight Grace Leather Boots |
 | Moonlight Blessing Leather Pants | 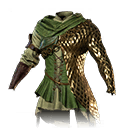 | Moonlight Blessing Secret Armor |
 | Fighter Dentwerp |
Other Drops (Materials)
Precious Rubrix, Stalon, Emeret, Marind, Ore
Precious Polished Crystal
Rare Polished Stone
Ant Wings and Mana Blood


