Death’s Abyss is a 1-Star Dimensional Circle dungeon in Throne and Liberty (TL), where players must face the formidable boss Karnix, an undead specter with devastating abilities. This guide provides a step-by-step walkthrough, strategies to defeat Karnix, and an overview of the rewards you can earn.
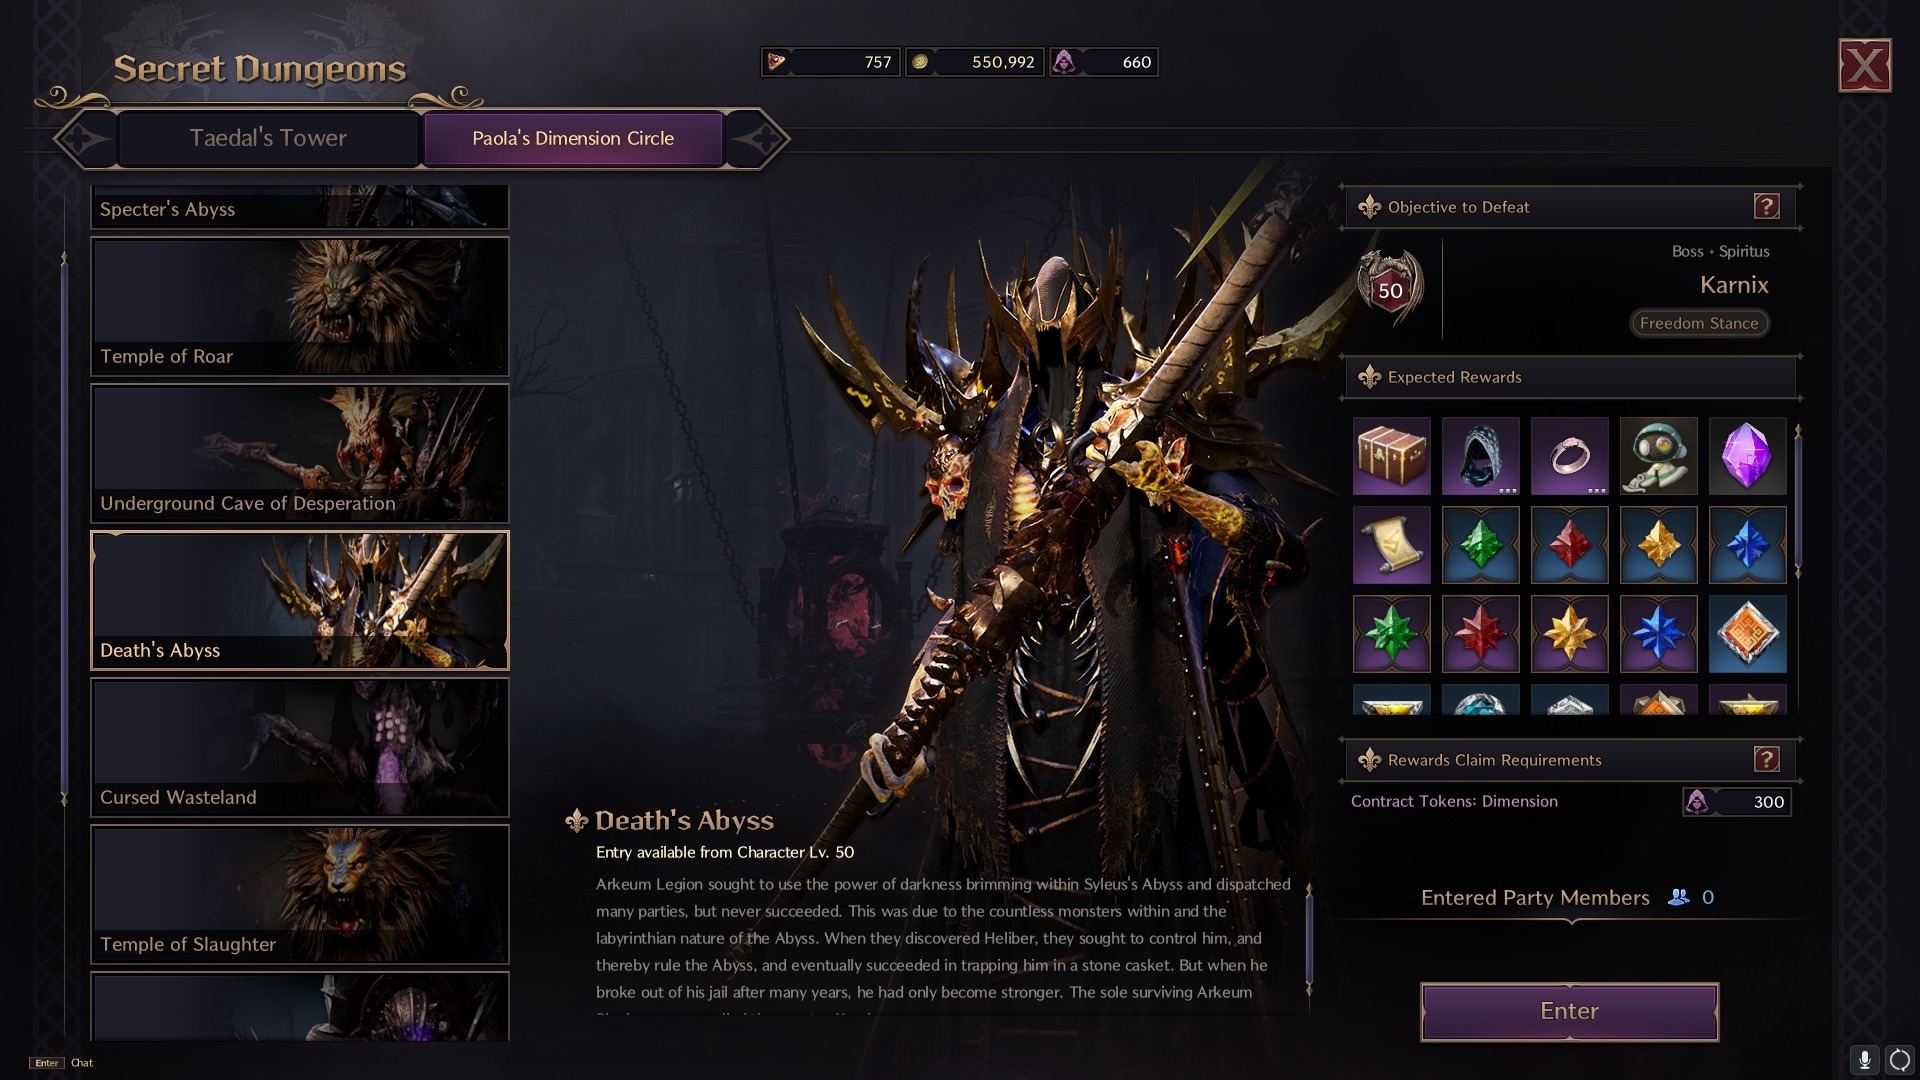
Table of Contents
- Overview of Death’s Abyss
- How to Defeat Karnix
- Recommended Weapon Combos
- Dungeon Walkthrough
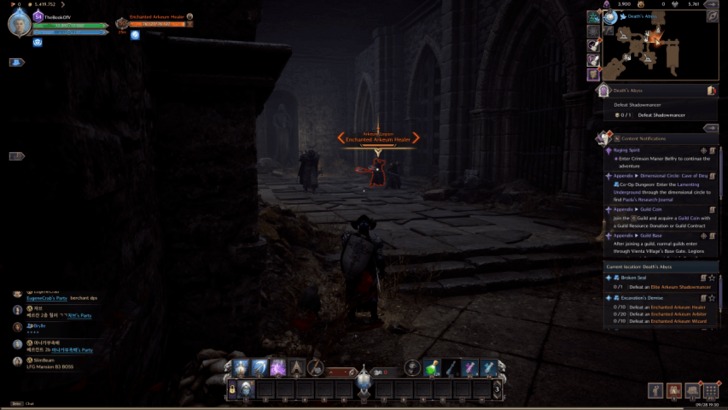
- Defeat Elite Arkeum Shadowmancer
- Defeat Elite Arkeum Riot Squad Captain
- Rewards and Drops
Overview of Death’s Abyss
- Required Level: 50
- Combat Power Requirement: 1600
- Dungeon Type: 1-Star Dimensional Circle
- Lore: The Arkeum Legion has failed numerous expeditions into Syleus’s Abyss, where Karnix and Heliber now rule. The dungeon is filled with monsters, traps, and dark power waiting to be harnessed.
How to Defeat Karnix
Karnix Overview
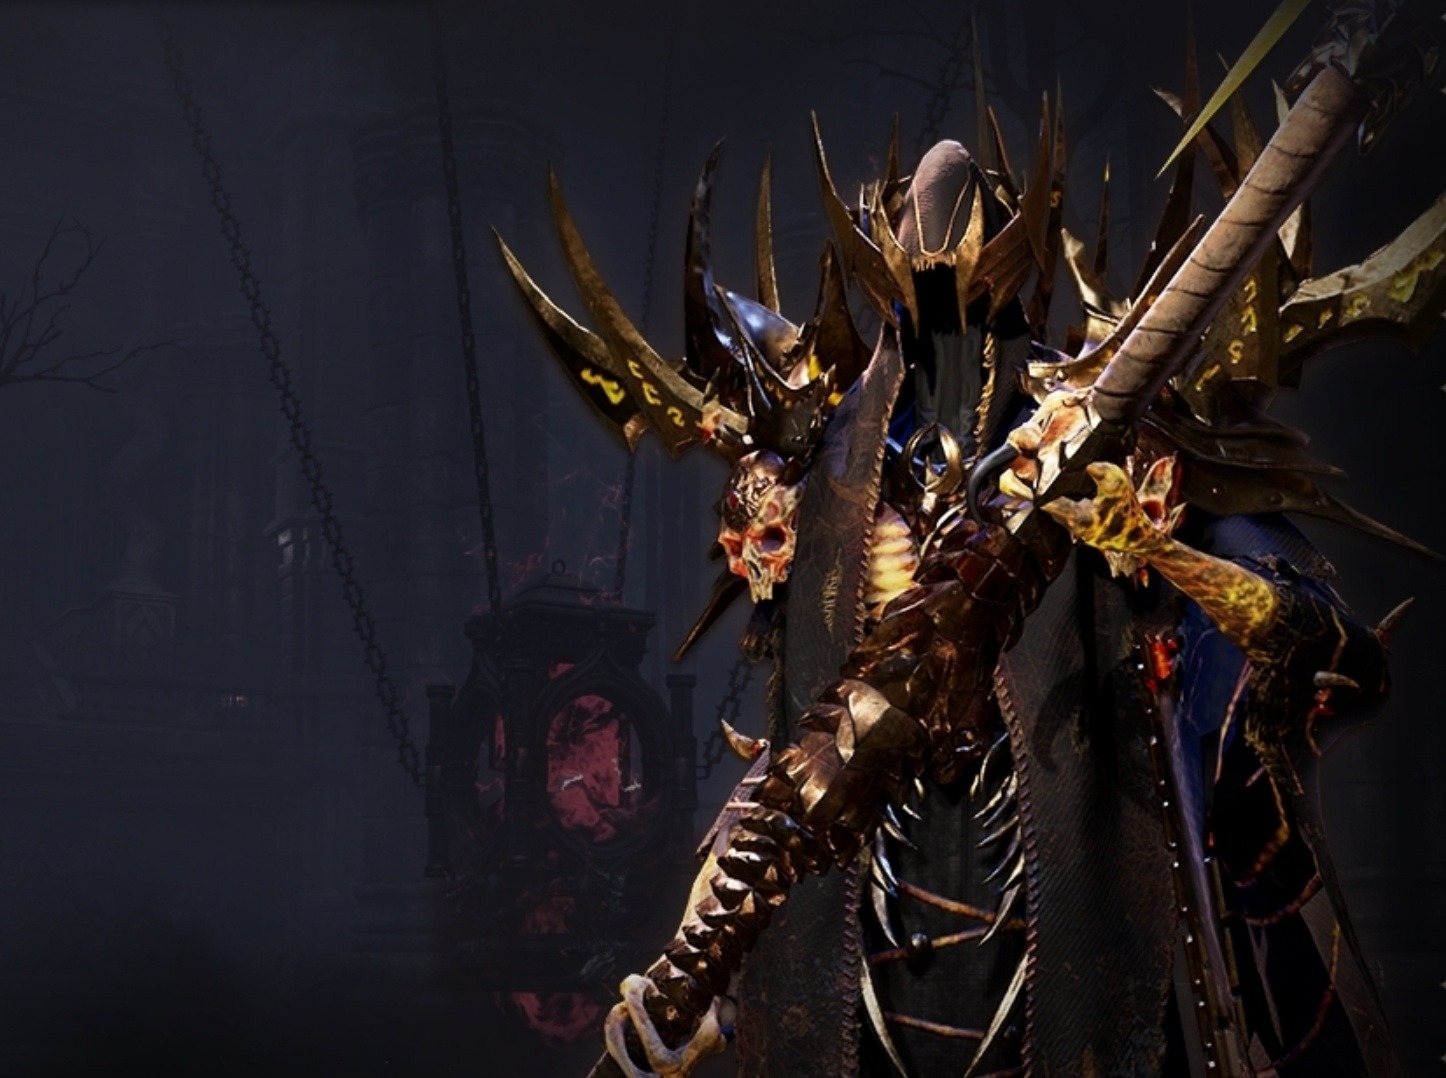
- Type: Undead
- Passive Ability: Freedom Stance – Increases resistance to bind effects.
Karnix’s Mechanics
Use Defensive Skills for Fury Attacks
Karnix doesn’t have overly complex mechanics, but you’ll need to manage its fury attacks. Keep dealing damage, dodge its attacks, and use defensive abilities to mitigate the fury strikes.
Run Around During the Spinning Scythes Attack
Karnix targets three players and summons large spinning scythes that chase them. To avoid unnecessary damage, those marked should run around the arena and keep their distance from the rest of the party until the scythes disappear.
Stay Inside the Black Circle or Use Salvation Chain
During Karnix’s most powerful attack, one player will be marked with a black circle. Karnix will teleport to this player and unleash a devastating fury attack. Two strategies can help:
- All party members gather inside the black circle to block the attack.
- Use the Salvation Chain skill (from the staff) to pull the marked player out of danger.
Karnix Attack Patterns
Teleport Attack
Teleports around the arena, unleashing wave attacks. This happens in sets of three.
Slam Attack
Charges and slams the ground with its scythe, creating a shockwave. This can be blocked.
Spinning Scythes
Targets three players, each followed by a spinning scythe. These scythes are unblockable.
Death Cleave
Marks a player with a black circle, teleports to them, and performs a cleaving attack. This is blockable only if the party is inside the circle.
Recommended Weapon Combos
| Weapon Combo | Role | Description |
|---|---|---|
| Greatsword / Sword and Shield | Tank | Perfect for tanking enemies before reaching Karnix. |
| Longbow / Crossbow | DPS | Ideal for ranged damage as Karnix teleports around the arena. |
| Dagger / Crossbow | DPS | Effective for both melee and ranged DPS. |
| Wand / Staff | Support | Provides healing and damage, with Salvation Chain to counter Karnix’s attacks. |
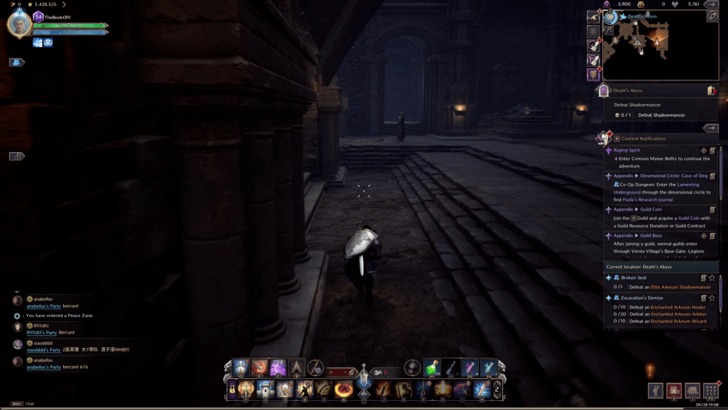
Dungeon Walkthrough
First Room
Take the leftmost path, avoiding unnecessary fights. Defeat enemies in your way, but avoid the Enchanted Arkeum Arbiter patrolling the center.
First Hallway
In the first section of the hallway, an Archer and a Healer guard the top of the stairs. Wait until the Arbiter patrols away, then engage it. Once defeated, take out the guards.
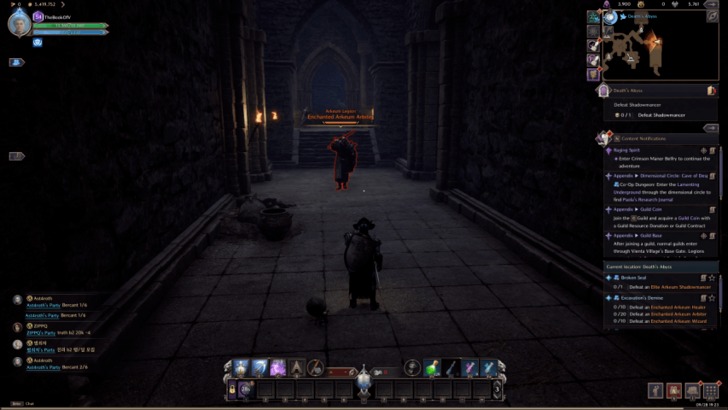
Second Hallway Section
The second section is filled with two Arbiters, a Wizard, and a Healer. Focus on the Healer first to prevent it from undoing your progress. After defeating all enemies, the gate to the second room will open.
Second Room
Similar to the first room, take the left path and avoid combat as much as possible.

Third Room (Mini Boss)
Here, you will face the first mini-boss, the Elite Arkeum Shadowmancer. Move straight towards the boss and avoid unnecessary fights.
Mini Boss: Elite Arkeum Shadowmancer
This boss has a guaranteed kill attack that traps and lifts three players. Interrupt this move with hard crowd control (like stuns) to prevent deaths.

Activating the Levers
After defeating the mini boss, return to the hallway to activate two levers. If your party has a Dagger user, they can use Camouflage Cloak to sneak past enemies and activate a lever while the rest of the party handles the second. Otherwise, split into two groups or stay together to activate both levers one at a time.
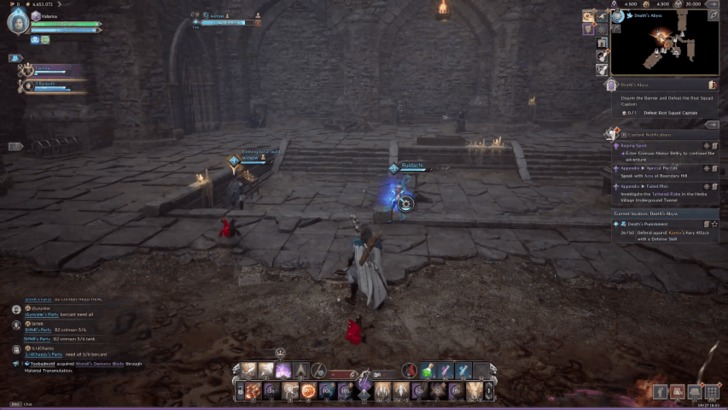
Fourth Room
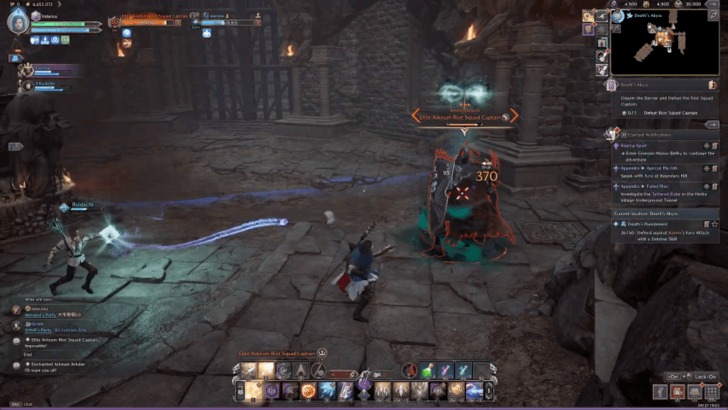
Once the levers are activated, the gate to the fourth room will open. Here you’ll encounter the Elite Arkeum Riot Squad Captain, the second mini boss. Defeat it to unlock the gate to the final boss, Karnix.
Defeat Elite Arkeum Shadowmancer
During this attack, the mini-boss traps and lifts three players. The only way to avoid their death is by applying hard crowd control, such as a stun, to the mini-boss while it’s executing the move, effectively stopping the attack before it finishes.
The Elite Arkeum Shadowmancer doesn’t have any complex mechanics to defeat it, but it does possess an attack that guarantees death if it goes through, making the fight challenging.
Defeat Elite Arkeum Riot Squad Captain
The Riot Squad Captain has the same attacks as other Arkeum Arbiters, with an additional move where it shields itself and performs an AoE attack. Keep damaging it while the shield is up, and use a stun when the shield turns red to stop the AoE attack.
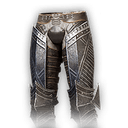
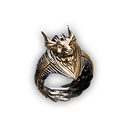
Rewards and Drops
Upon completing Death’s Abyss, players can receive a variety of loot, including equipment, rare materials, and tokens essential for future upgrades. The exact rewards vary depending on performance and RNG factors, but players can expect high-value items upon defeating Karnix.
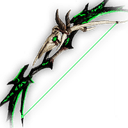 | Karnix’s Hell Bow |  | Karnix’s Nether Sword |
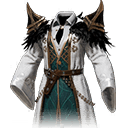 | Transcendental Saint Raiment | 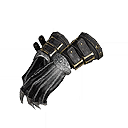 | Grim Judicato’s Touch |
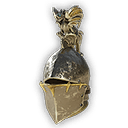 | Hell Guide’s Visor |  | Abyssal Crystal Ring |
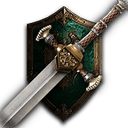 | Strike Battlefield Sword | 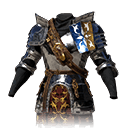 | Great Spirit’s Grace Resistance Armor |
 | Wild Resistance Bracelet | 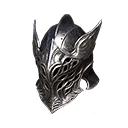 | Dark Warrior’s Visor |
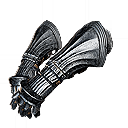 | Dark Destruction Iron Gloves | 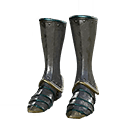 | Darkness Distorted Plate Boots |
 | Dark Worship Magic Gaiters | 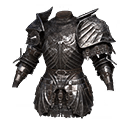 | Dark Warrior’s Resistance Armor |
 | Brawler’s Ring |  | Tormented Writer Glynt |
Other Drops (Materials)
- Precious Rubrix, Stalon, Emeret, Marind, Ore
- Precious Polished Crystal
- Rare Polished Stone
- Reaper’s Soul and Mana Blood


