Complete Demon’s Test: Junobote’s Examination Paper to get Kamarshea Guardian’s Pledge
First you must find Junobote’s Examination Paper in Manawastes to activate the Exploration Codex: Demon’s test. Interacting with it will take you to Path of Penance to complete the tests.
[SPOILER ALERT] In this guide you will find the solutions to each of the tests, so if you prefer to do it on your own, we recommend you not to read any further.
First Test | Demon’s Test
Rotate the Shadow to Solve Junobote’s Problem
You will receive some mysterious clues to help you with the puzzle:
- The beast runs on four legs
- The beast dreams of the skies
- Power grows on the head of the beast
- The darkness against the light shall fulfill the desire
The idea is that with the shadow cast by the objects you can create the image described in the riddle, a 4-legged beast, dreaming of the sky (it has wings) with power growing from its head (a horn). Rotate the Horse, Eagle and Sword statues by interacting with them (F) until you get the shadow you see below.
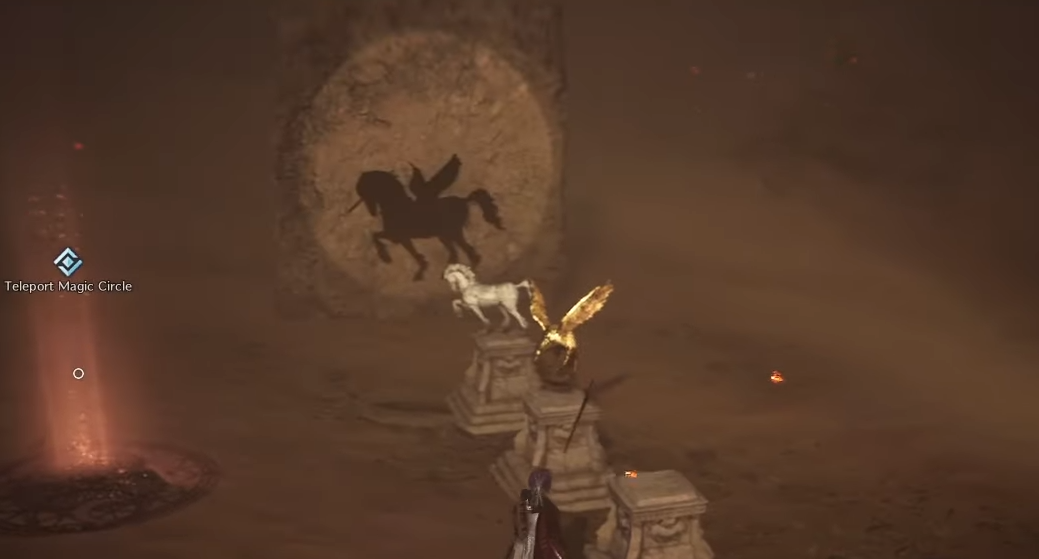
After completing the quest, the “Teleport Magic Circle” portal will appear to continue to the next test.
Second Test | Demon’s Test
Start the Next Trial via the Statue
To pass this test you have to reproduce the correct melody with the statue and the crystals. The clues of the puzzle are as follows.
- Sounds create resonance
- Resonance with rules create knowledge
- The conection of sounds creates new knowledge
- Here, I leave my knowledge: savor it
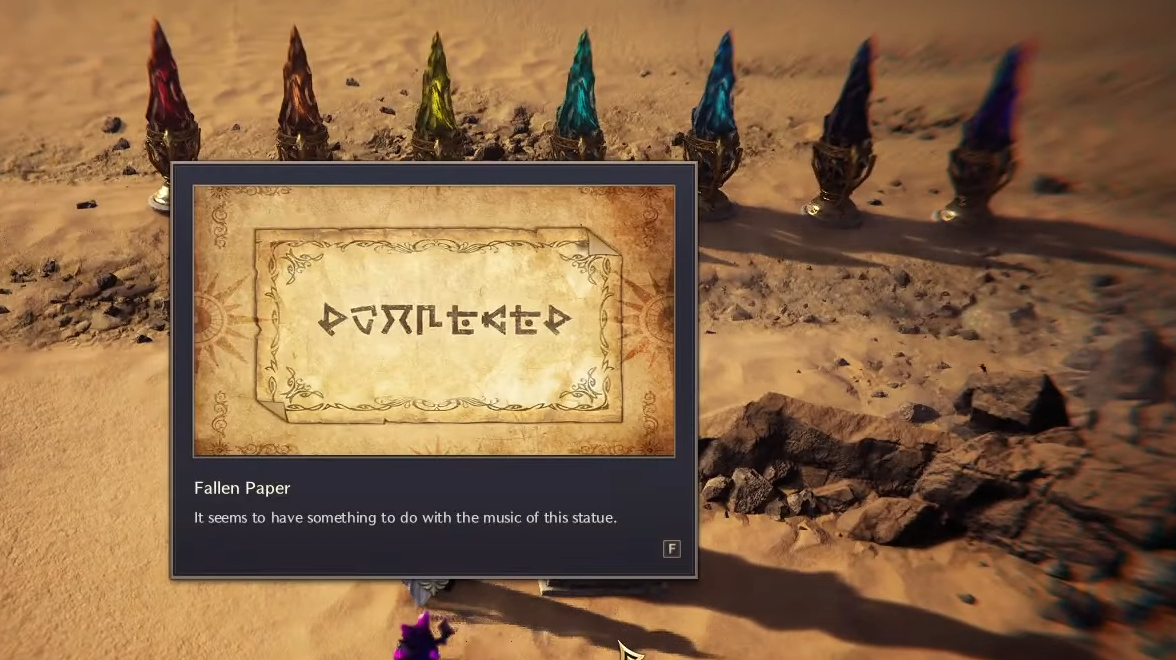
Examine the Fallen Paper to the left of the statue to get an extra clue about the order in which you should play the notes.
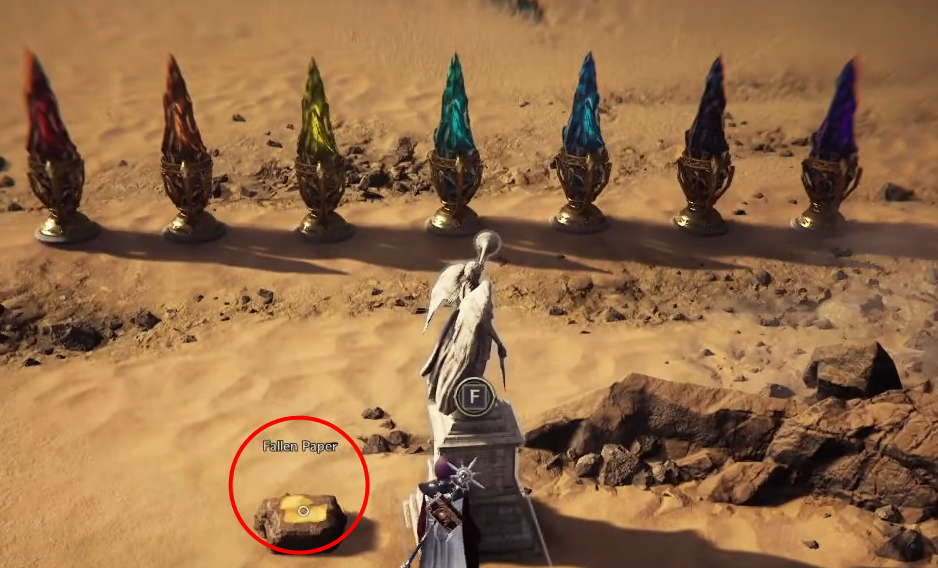
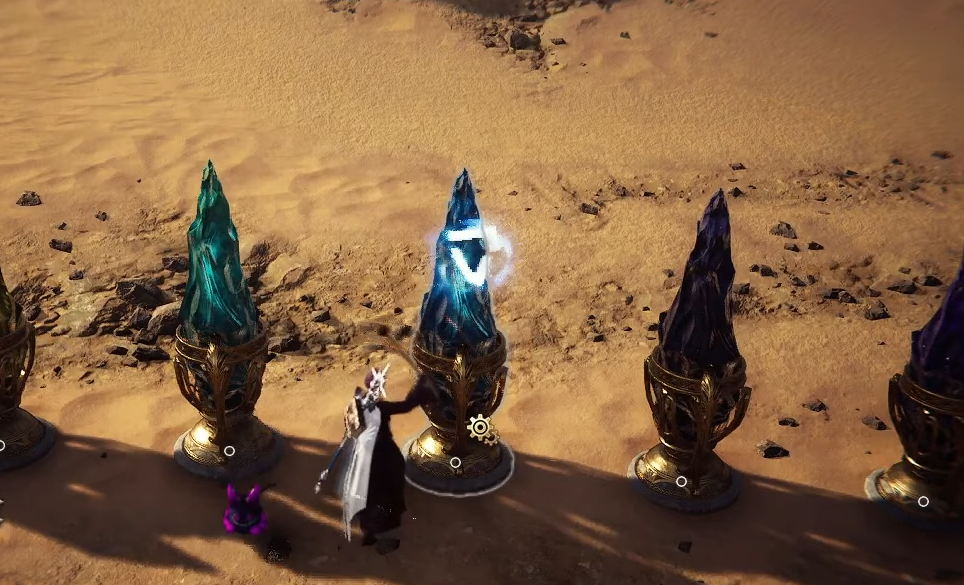
Approach each crystal and interact with it, you will hear a note and see a symbol appear.
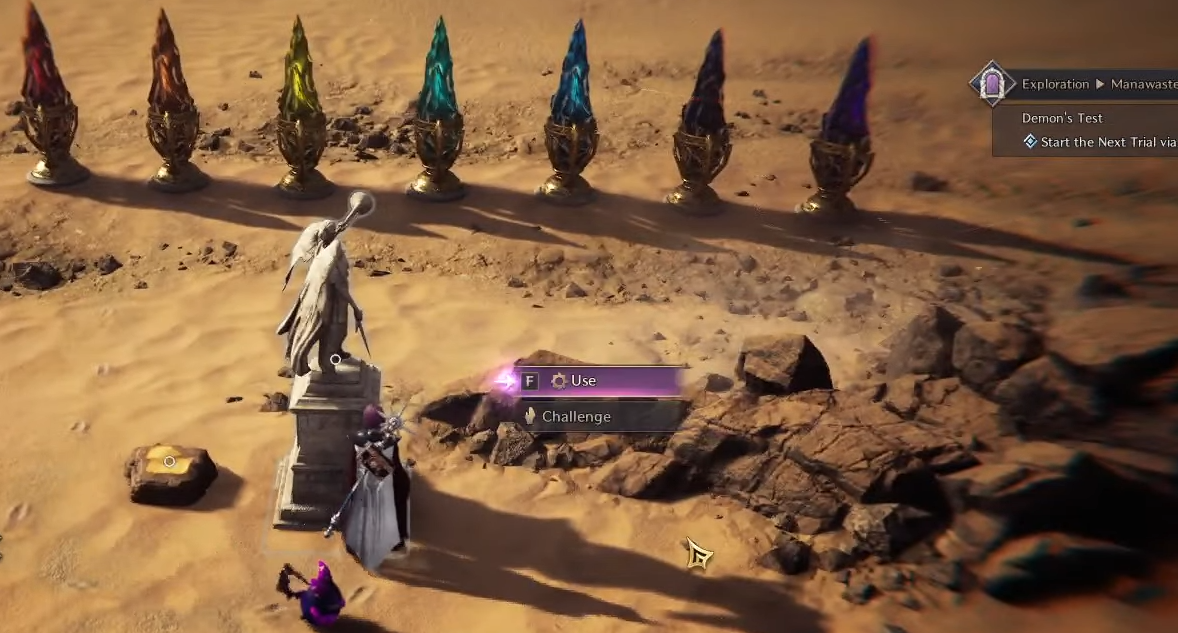
Interact the statue and press Challenge, then play the crystals in the correct order. If you did it correctly the “Teleport Magic Circle” will appear again to take you to the next challenge.
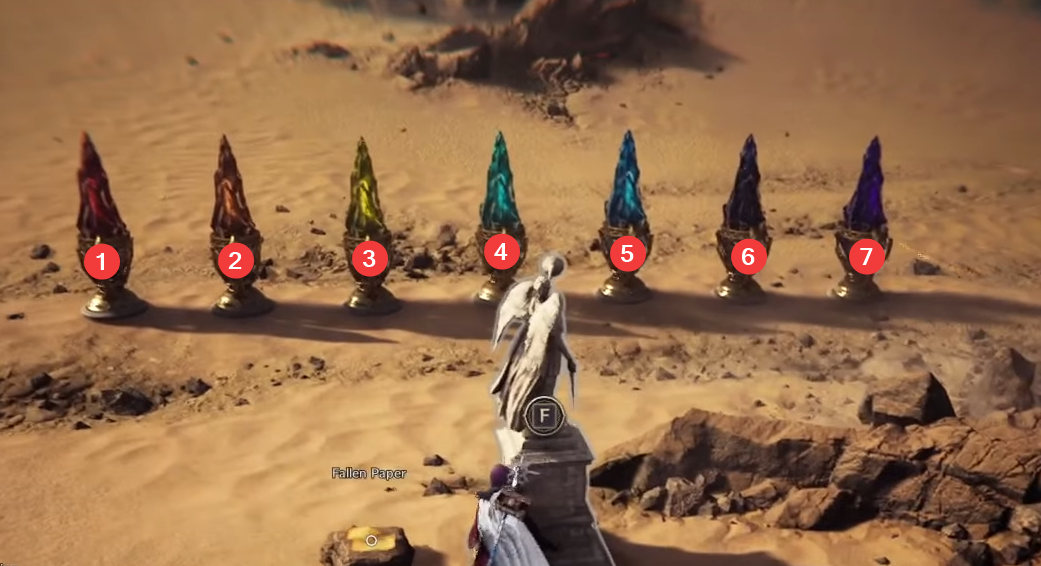
The correct order to play the crystals, from right to left, is as follows:
2, 5, 6, 4, 3, 1, 3, 2.
Third Test | Demon’s Test
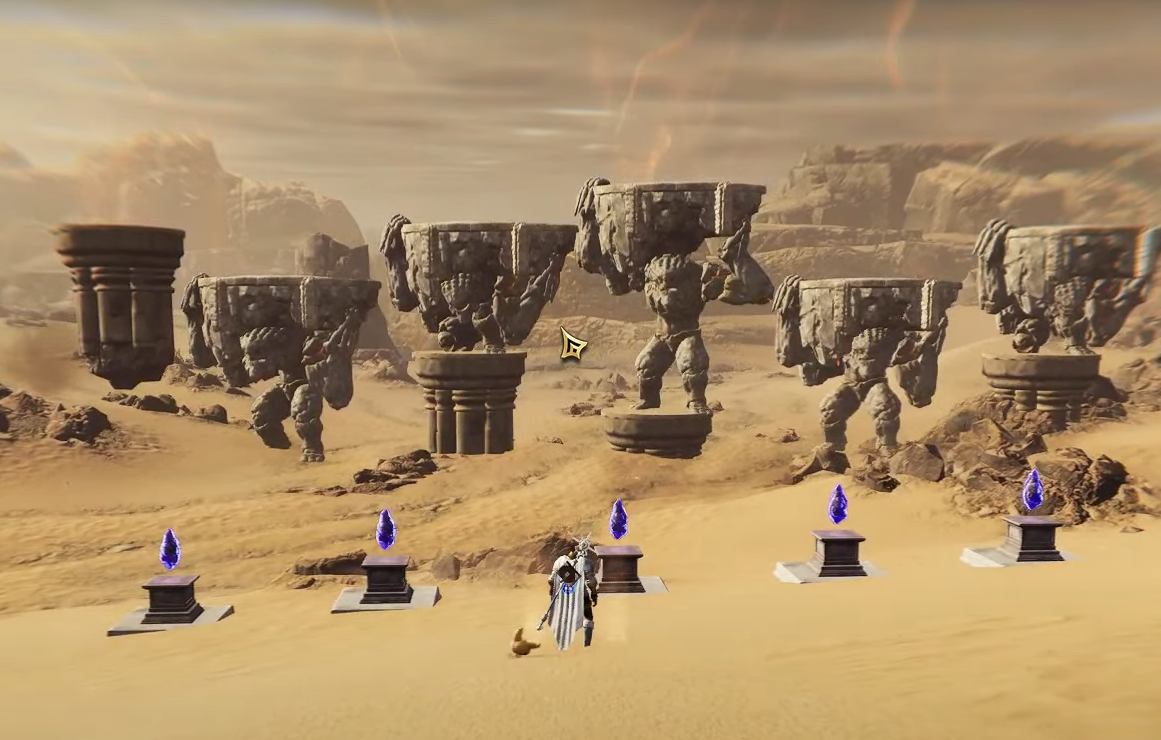
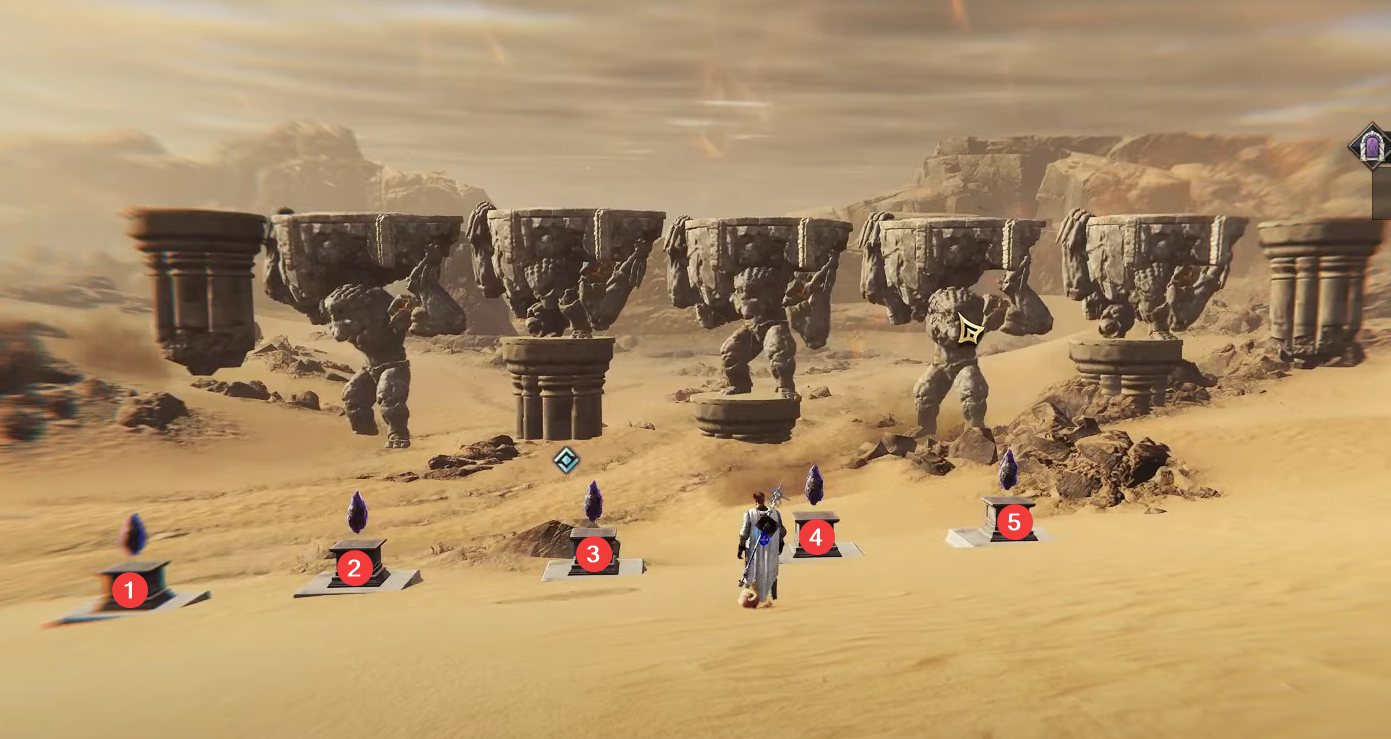
Adjust the Golem’s Height to Solve Junobote’s problem
To pass the last test you must interact with the crystals in front of you considering the following clues.
- The giant sits down
- The giant stands up
- When the wills of all are united
- The way will open
What you have to do is to match the heights of the platforms. You will achieve this by interacting with the crystals, but each one of them makes the 5 giants go up or down in different ways.
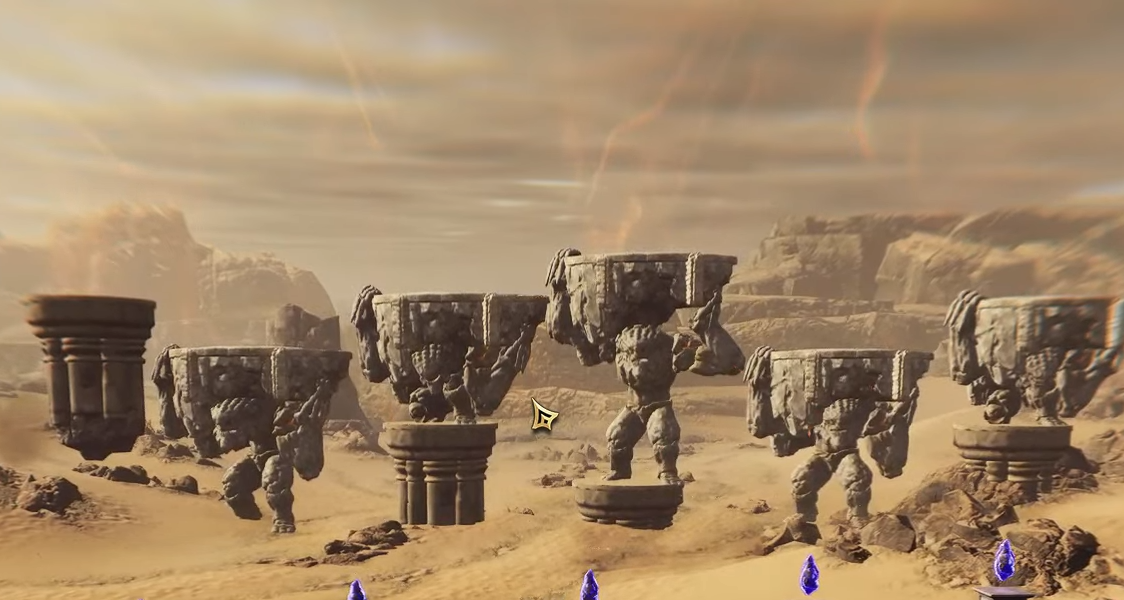
Interact with the crystals in the following order (from left to right):
2, 4, 3, 3, 5, 5.
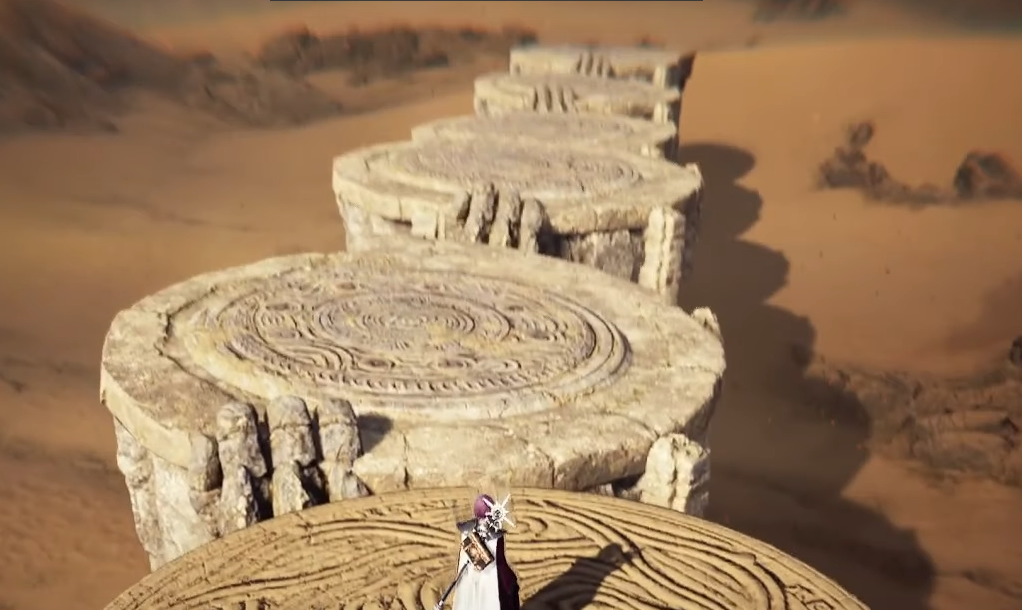
Once again the Teleport Magic Circle portal appears and it will take you to the newly aligned platforms. Cross them to find Junobote’s Records and examine it to get the rewards.
Rewards
- EXP x22517
- Kamarshea Guardian’s Pledge


