This guide will walk you through one of the first solo dungeons, also known as Halls of Illusion. These dungeons offer unique bosses and challenges that must be completed alone. They rotate weekly, and players can claim rewards up to three times per week, making it essential to master them.
Floor 1 – Rift Platform
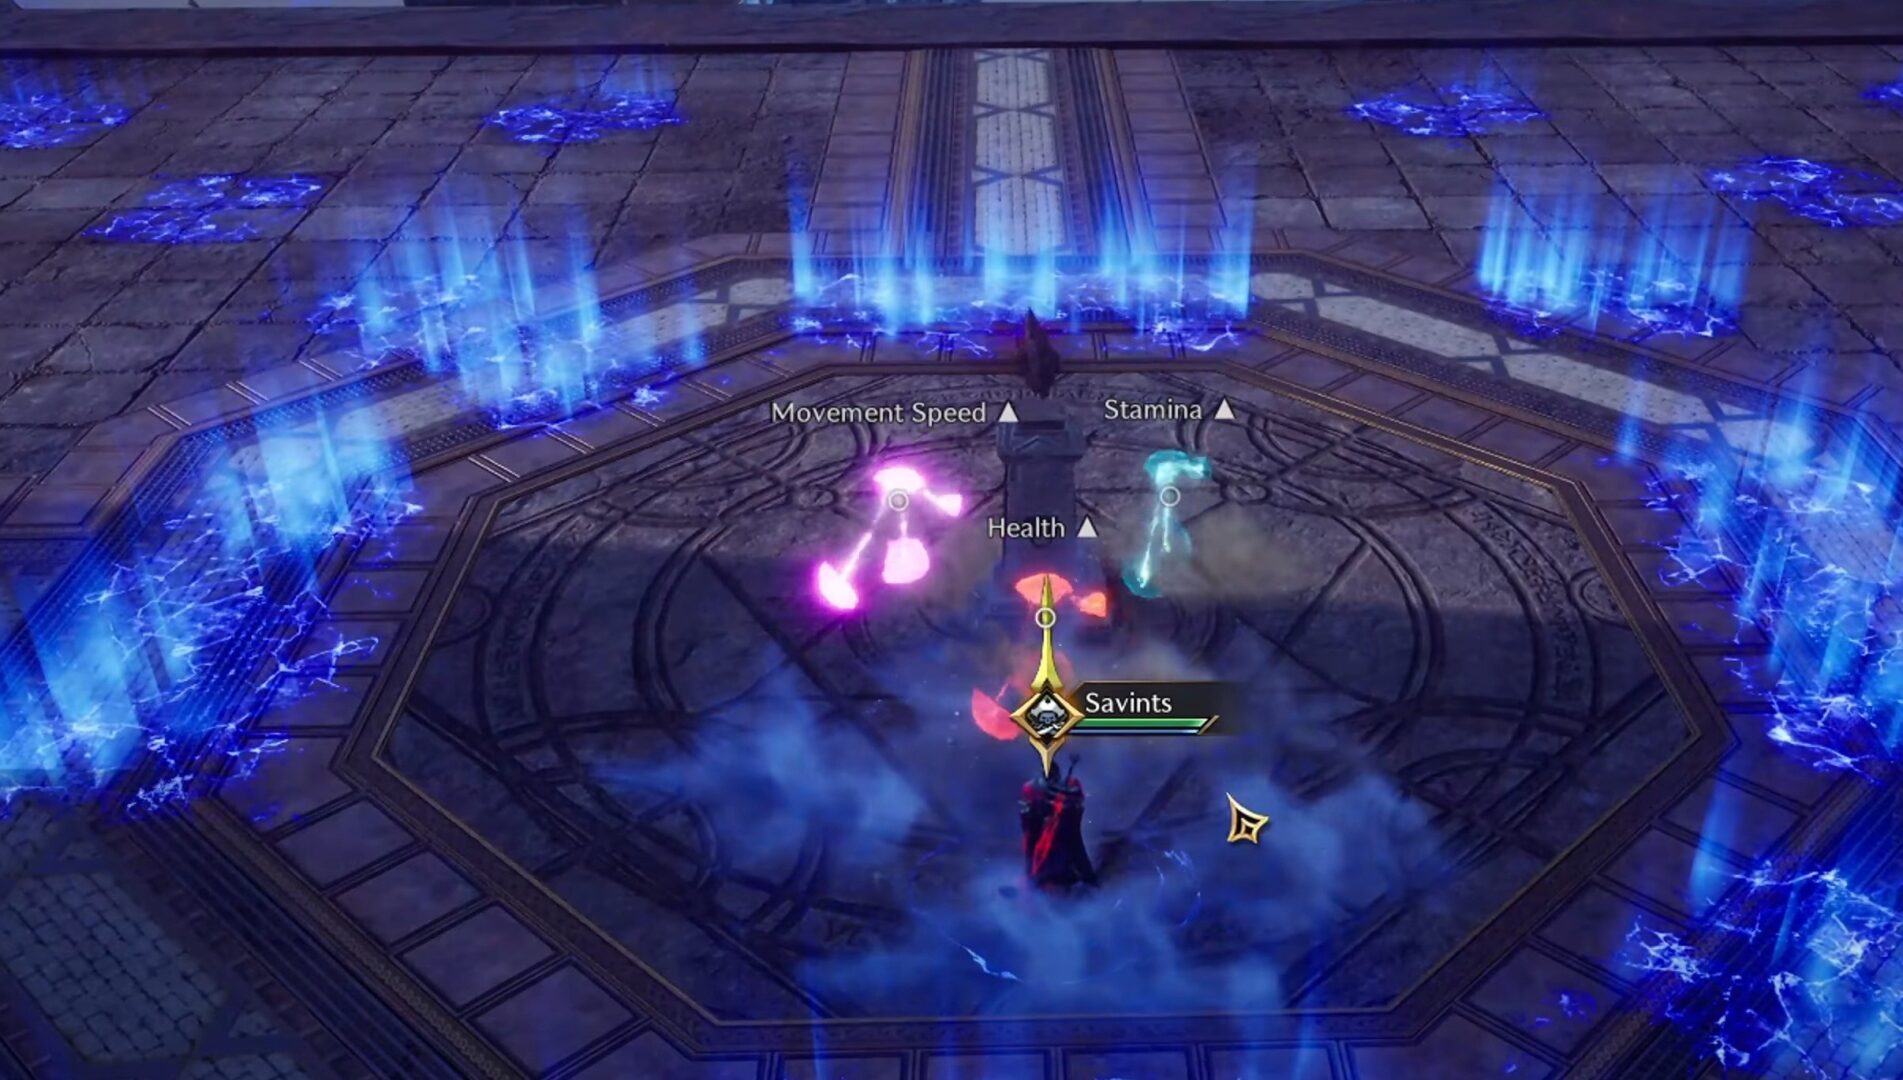
The first floor consists of blue rifts that stun and damage you if touched. Upon entering, you must select one of three power-ups:
- Movement Speed Increase
- Increased Max Health
- Increased Stamina (Recommended for this floor)
After selecting a power-up, waves of enemies will spawn. Your objective is to defeat all mobs while avoiding rift fractures. Each kill sends a golden orb to the central statue, activating a Wrath Attack that must be dodged using a roll. Once all enemies are defeated, proceed to the next floor.
Floor 2 – Molgras (First Boss)
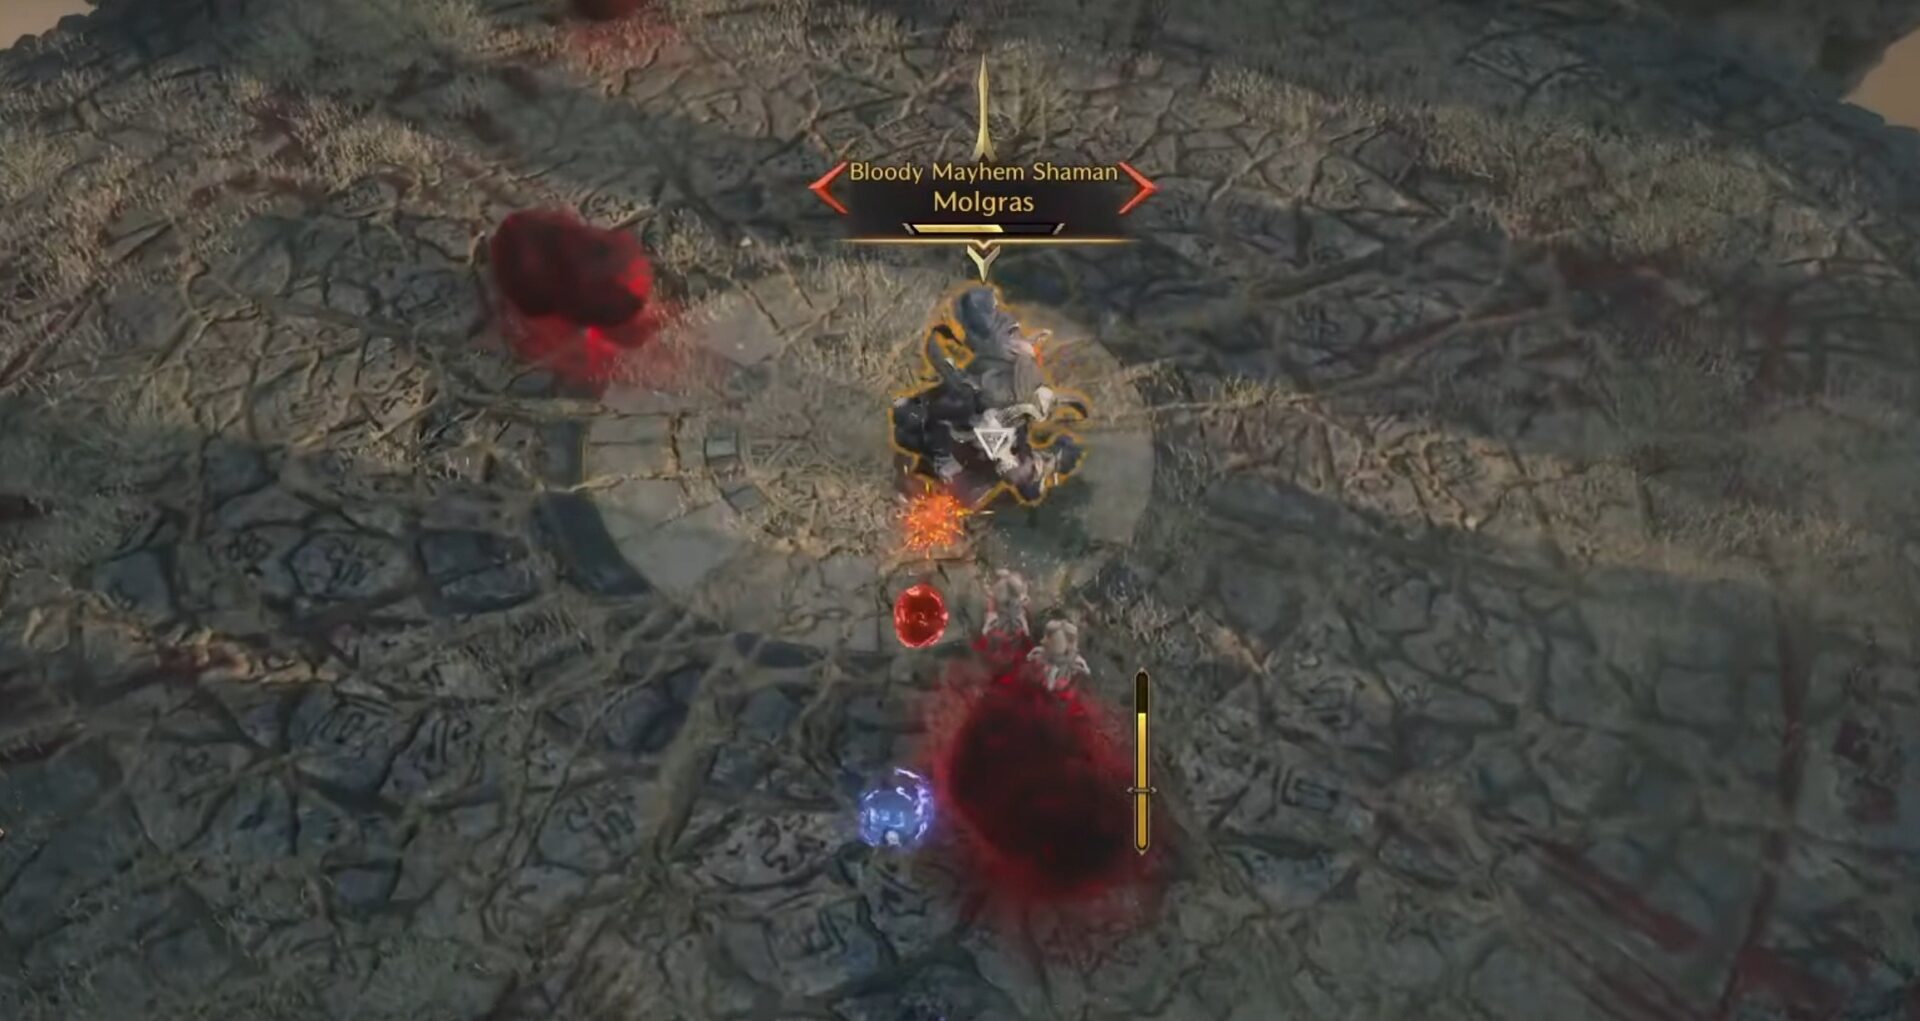
Recommended Buff: Increased Max Health (to withstand damage)
Molgras is a mechanics-heavy boss with basic attacks and totems that spawn throughout the fight.
- Totems appear at your current location—use this to position them strategically.
- Totems shoot blood orbs that deal damage upon contact.
- Molgras channels an AoE attack, which can be jumped over to avoid damage.
- Every 3-4 totems, Molgras teleports and launches a Wrath Attack, firing a destructive beam that eliminates the totems.
After this, Molgras teleports to the center and initiates a high-damage attack, which scales based on the number of active totems.
- Strategy: Bait and position totems close together so they are destroyed before this phase.
Once Molgras is defeated, proceed to the next floor!
Secret Room
A Mystic Portal may appear after defeating Molgras. If it does, you can enter to find a Mystic Key-locked chest.
Floor 3 – Water Maze
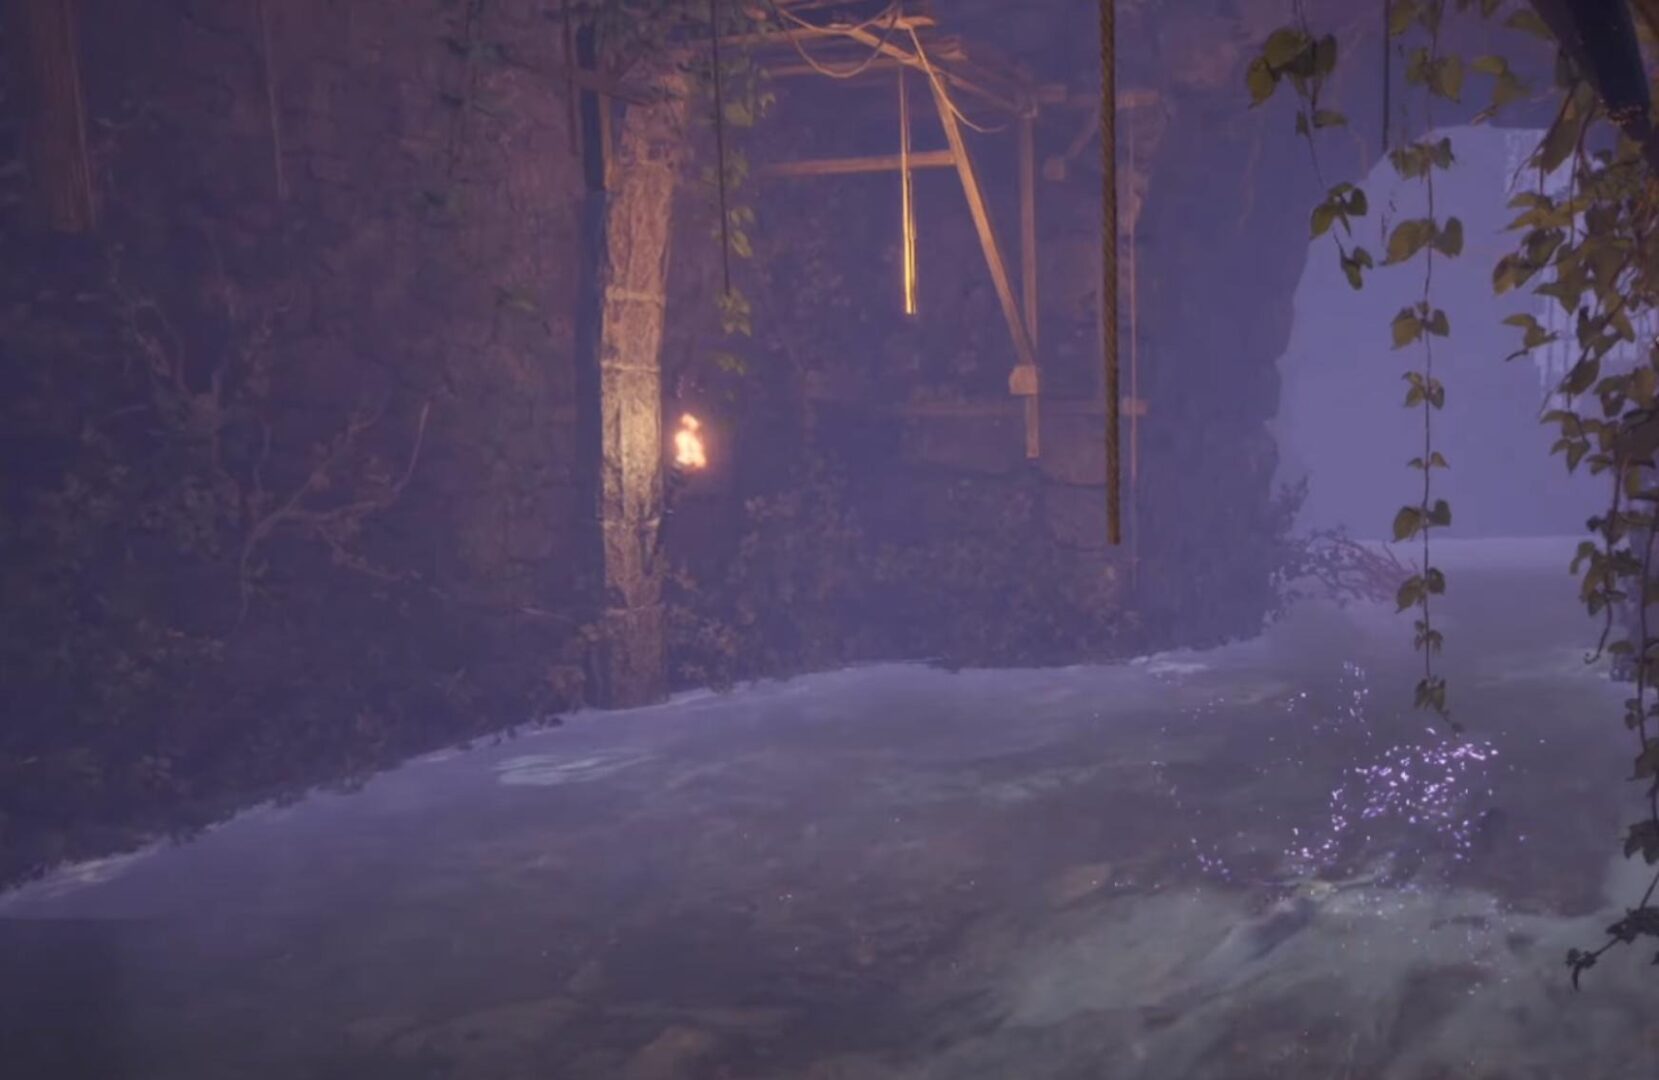
A navigation-based challenge where players must traverse strong water currents and reach the final boss portal.
- Watch out for spikes in the water.
- Use grappling hooks (Pitons) to progress through difficult sections.
- Interact with valve pumps toward the second half of the maze.
- Move toward the lightning-covered sphere with a painting to access the final boss fight.
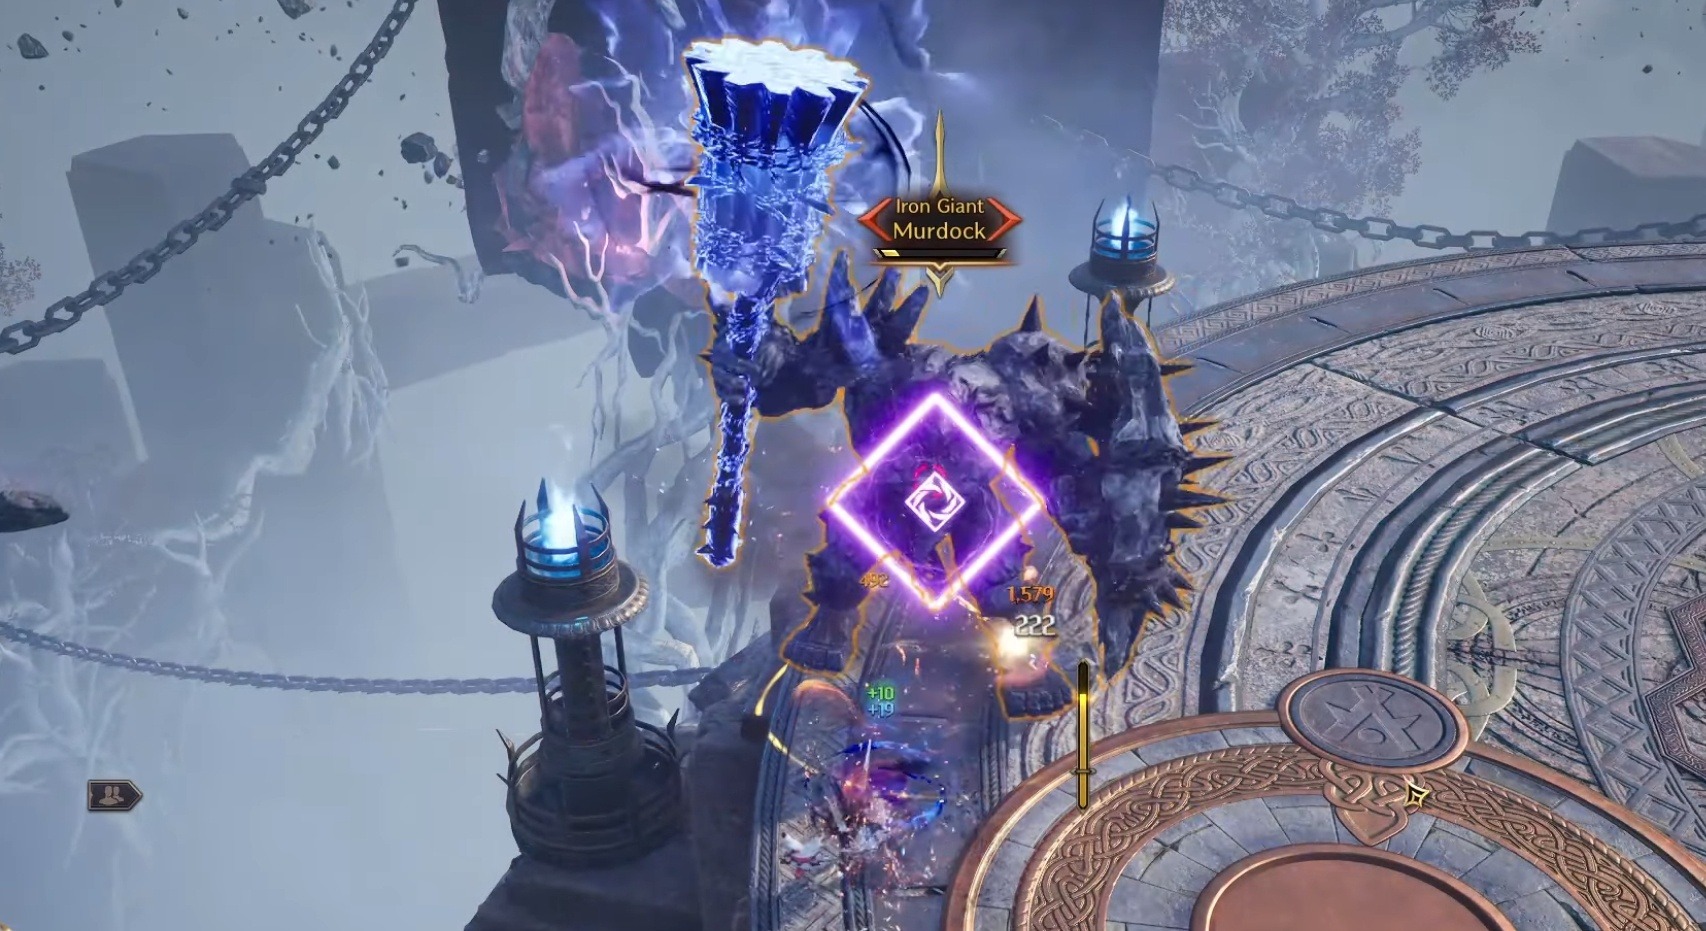
Floor 4 – Murdock (Final Boss)
Recommended Buffs:
- Ranged players: Movement Speed Increase
- Melee players: Increased Health or Stamina
Murdock’s Mechanics:
- Primarily melee-based attacks, making him easy to kite for ranged players.
- Occasionally performs Fury Attacks in a cone shape (moderate damage).
- Portal Phase:
- Summons one or more portals and leaps into the air.
- Clones of Murdock emerge from portals, targeting your location.
- Dodge-roll through Wrath Attacks or use Movement Speed buffs to outrun them.
- After the portal phase, Murdock rushes directly at you.
Rewards & Completion
Defeating Murdock completes the Solo Dungeon!
- Players can claim rewards up to three times per week.
- Rewards include gear, enhancement materials, and currency.


