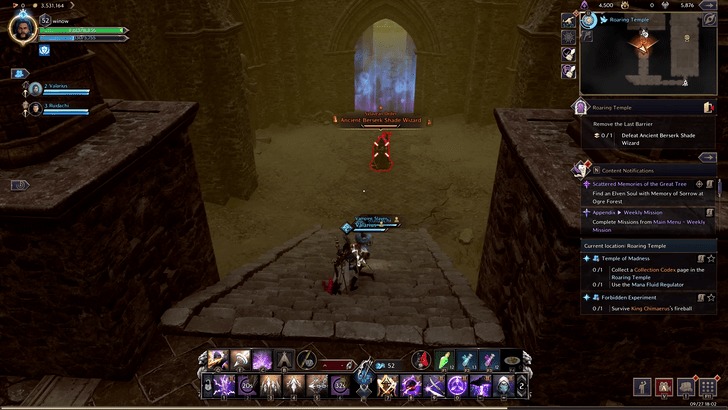
Roaring Temple is a challenging Dimensional Circle dungeon where adventurers in Throne and Liberty must face off against the fearsome King Chimaerus. Known for his deadly mechanics and the potential for team wipes, this boss requires strategy, teamwork, and preparation.
This guide will provide a comprehensive breakdown of Roaring Temple, including an overview of its key features, a detailed walkthrough of its stages, effective tactics to defeat King Chimaerus, and a list of the valuable rewards you can earn.
List of Contents:
- How to Defeat King Chimaerus
- King Chimaerus Attack Patterns
- Recommended Weapon Combos
- Walkthrough
- How to Defeat Ancient Berserk Shade Wizard
- Overview
- Rewards and Drops
How to Defeat King Chimaerus
King Chimaerus Overview
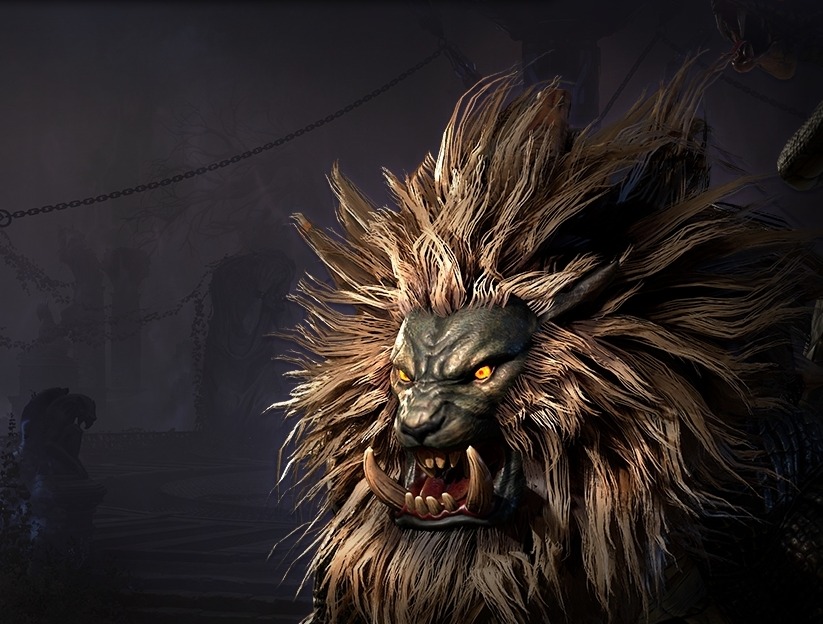
- Type: Demon
- Passive: Dusk Madness: Night: Damage Dealt ▲, Damage Taken ▲
King Chimaerus Mechanics:
Pull the Latches to Prevent Team Wipe
When King Chimaerus leaps to the center of the arena and begins to speak in an alien language, you need to activate two of the four latches present in the area using your grapple hook. Doing this will douse King Chimaerus in water, which is crucial to avoid a complete team wipe.
Fireball Projectile Mechanic
During the encounter, King Chimaerus will target a player with a poison indicator, shown by a green beam of light. He will then launch a fireball at the selected target, which can result in an instant kill. The only way to survive this attack is by having party members block the projectile, reducing the risk of an instant kill.
It’s vital to stay close to your teammates so they can effectively protect you from the attack. Melee users should be particularly cautious, observing King Chimaerus’ movements and retreating as soon as a poisoned player is chosen.
King Chimaerus Attack Patterns
Pounce Attack
King Chimaerus sometimes pounces on a player, stunning them and following up with a series of aggressive attacks. Utilize skills like Salvation Chain or Invincible Wall to shield your allies from excessive damage during this phase.
Poison Pools
The boss will unleash Poison Pools that will rain down at players’ locations, creating hazardous areas that inflict damage on anyone caught in them. Be prepared to use a Cleanse Skill to remove the debuff from yourself or your teammates as needed.
Roaring Temple Recommended Weapon Combos
| Weapon Combo | Recommendation | Role | Explanation |
|---|---|---|---|
| Greatsword / Sword and Shield | ★★★★★ | Tank | This combination forms an excellent tank build, essential for overcoming the dungeon and defeating King Chimaerus. |
| Longbow / Crossbow | ★★★★★ | DPS | A fantastic ranged DPS setup, this combo is crucial during the boss fight, ensuring party members can maintain their positions near the pillars. |
| Staff / Crossbow | ★★★★ | DPS | Another effective ranged DPS build, this combo deals magical damage while allowing players to stay near the pillars for the special mechanics while still dealing damage. |
| Wand / Staff | ★★★★ | Support | A robust healer build that ensures consistent healing for the party, especially for the tank, while also offering offensive options for additional damage. |
Roaring Temple Walkthrough
Roaring Temple Sequences
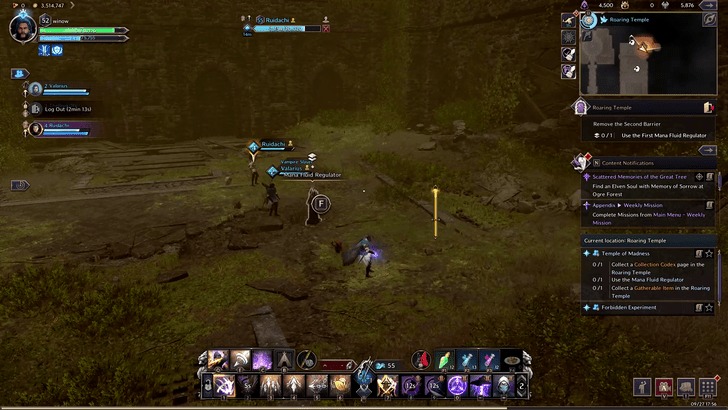
Activate Mana Fluid Regulator:
At the beginning of the second half of the dungeon, descend the stairs into the lower levels and activate the Mana Fluid Regulators to raise the water level.
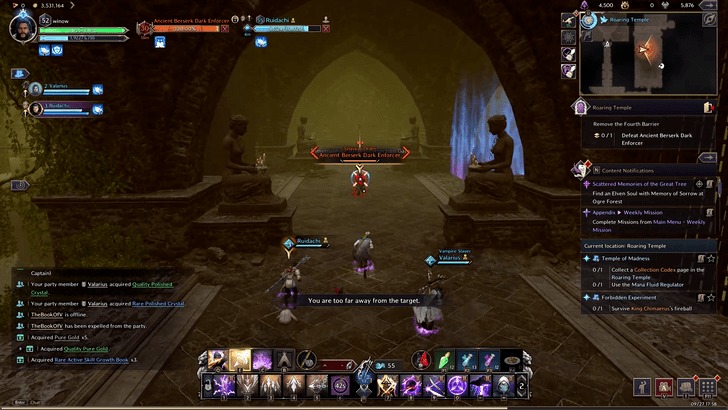
Defeat Ancient Berserk Dark Enforcer
This miniboss is the first challenge you will face. Its primary mechanic involves an attack that can burn a player, which can be negated by jumping into the water. After defeating it, players will need to glide through flaming pillars to progress.
Defeat Ancient Berserk Shade Wizard
The second miniboss encountered in the dungeon is a stronger variation of previous wizards. Be aware of its additional moves.
How to Defeat Ancient Berserk Shade Wizard:
Parry the Shade Wizard’s fury attack to avoid being stunned. If stunned, players can receive several debuffs, so it’s essential to dodge effectively. The Shade Wizard will also summon dogs that can stun players if their fury attack isn’t parried.
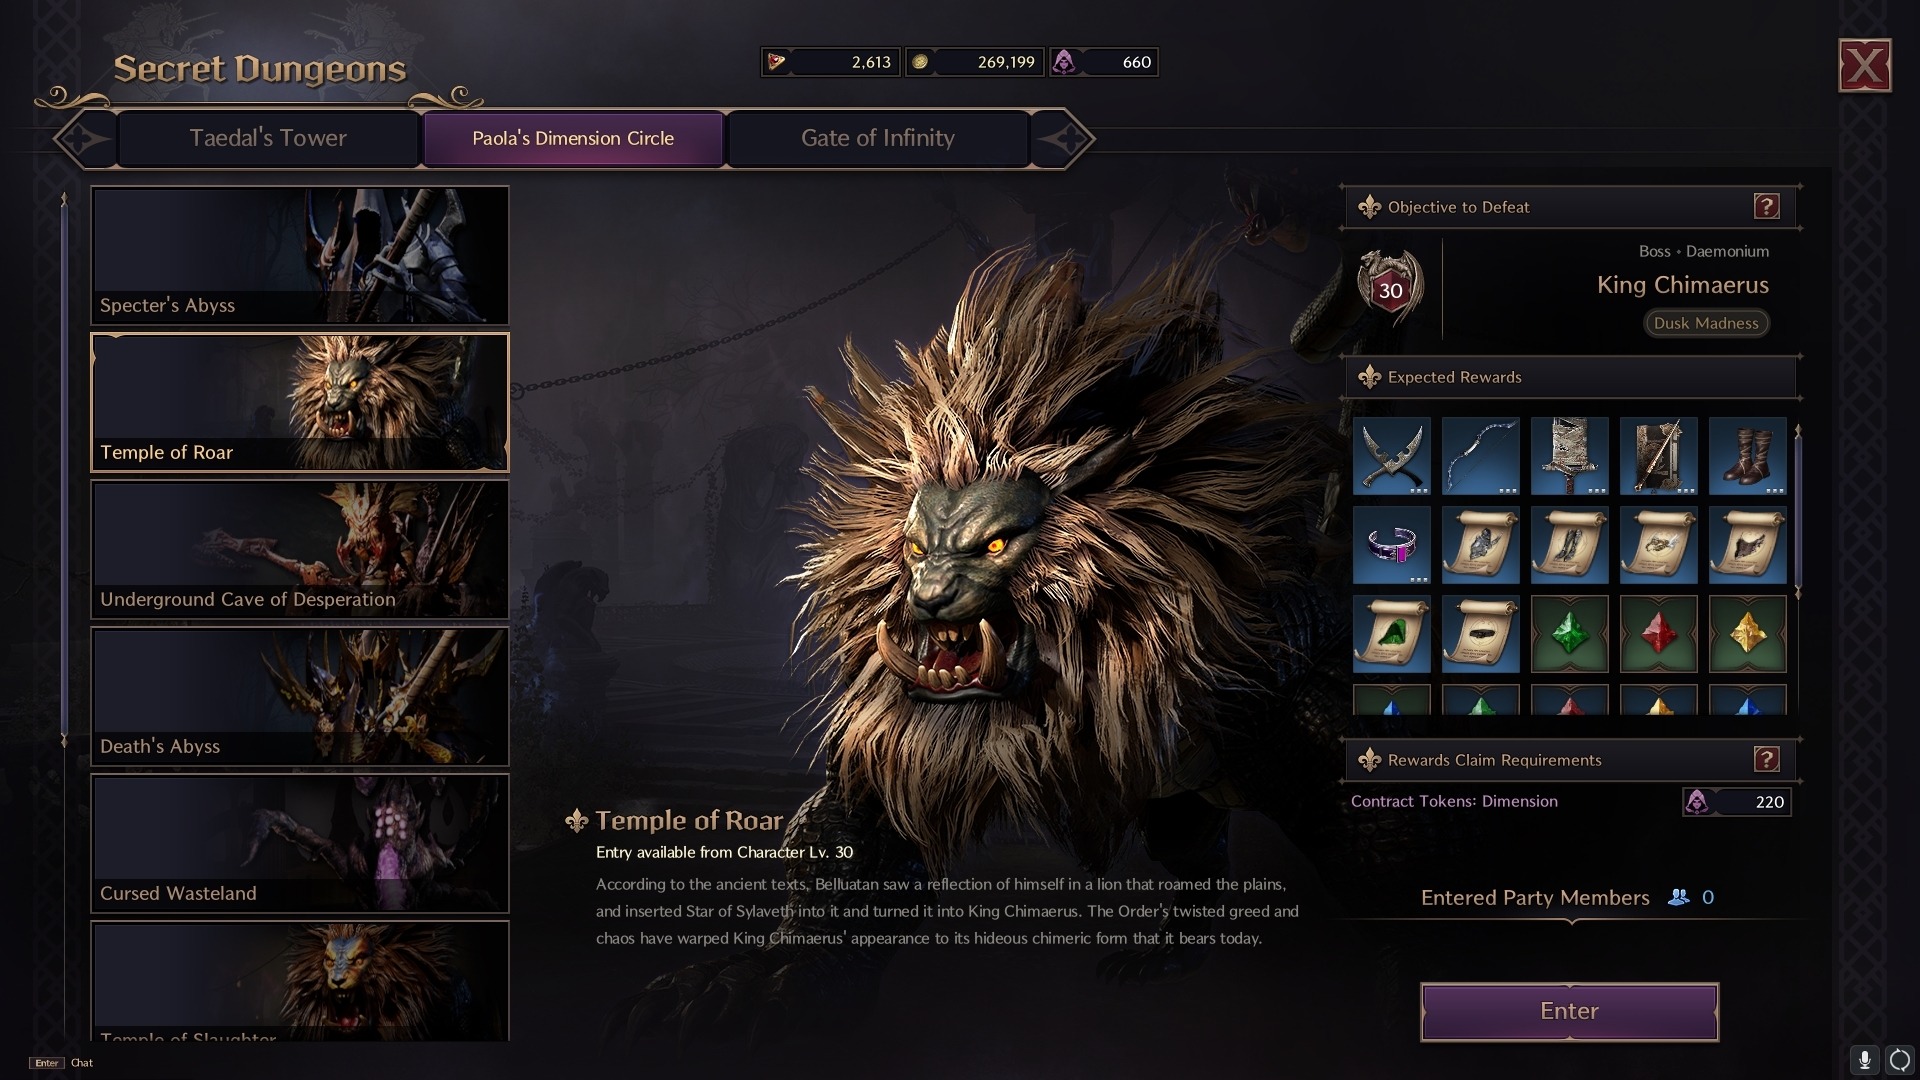
Roaring Temple Overview
- Required Level: Lv. 30
- Type: Dimensional Circle
- Contract Token: [Dimension Contract Token 1 220]
- Min. Combat Power: 900
According to ancient texts, Belluatan gazed across the plains and noticed a lion. Recognizing a reflection of himself in the creature, he embedded a fragment of the Star of Sylaveth within it. Over time, the Order’s greedy and chaotic influence twisted the lion’s form into the grotesque being now known as King Chimaerus.
Rewards and Drops
Upon successfully completing the Roaring Temple dungeon and defeating King Chimaerus, players can earn a variety of rewards, including unique gear, crafting materials, and contract tokens that are essential for progression in Throne and Liberty.
 | Brutal Slaughter Dagger |  | Furious Sniper’s Longbow |
 | Ruthless Worshiper’s Two-Handed Sword | 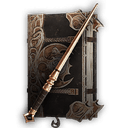 | Foresight Wand |
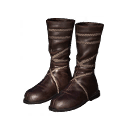 | Impure Witch’s Magic Shoes |  | Wild Resistance Bracelet |
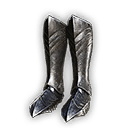 | Darkness Distorted Plate Boots |  | Moonlight Sniper’s Circlet |
 | Flying Dragon Breath Mask |  | Elements of Mother Nature Hood |
 | Passionate Vigor Belt |  | Rare Polished Crystal |
 | Fermented Rotein |  | Mana Blood |
 | Quality Polished Crystal |
Other Drops (Materials)
Precious Rubrix, Stalon, Emeret, Marind, Ore
Precious Polished Crystal
Rare Polished Stone
Reaper’s Soul and Mana Blood


