Welcome to our in-depth guide for Specter’s Abyss, the first Dimensional Circle dungeon in Throne and Liberty. In this guide, we’ll cover everything you need to know to conquer Heliber, the dungeon’s final boss. From strategies to beat each enemy to maximizing your rewards, you’ll find all the tips and tricks here.
List of Contents:
Dungeon Overview
Walkthrough
How to Defeat Heliber
Rewards and Drops
Additional Tips
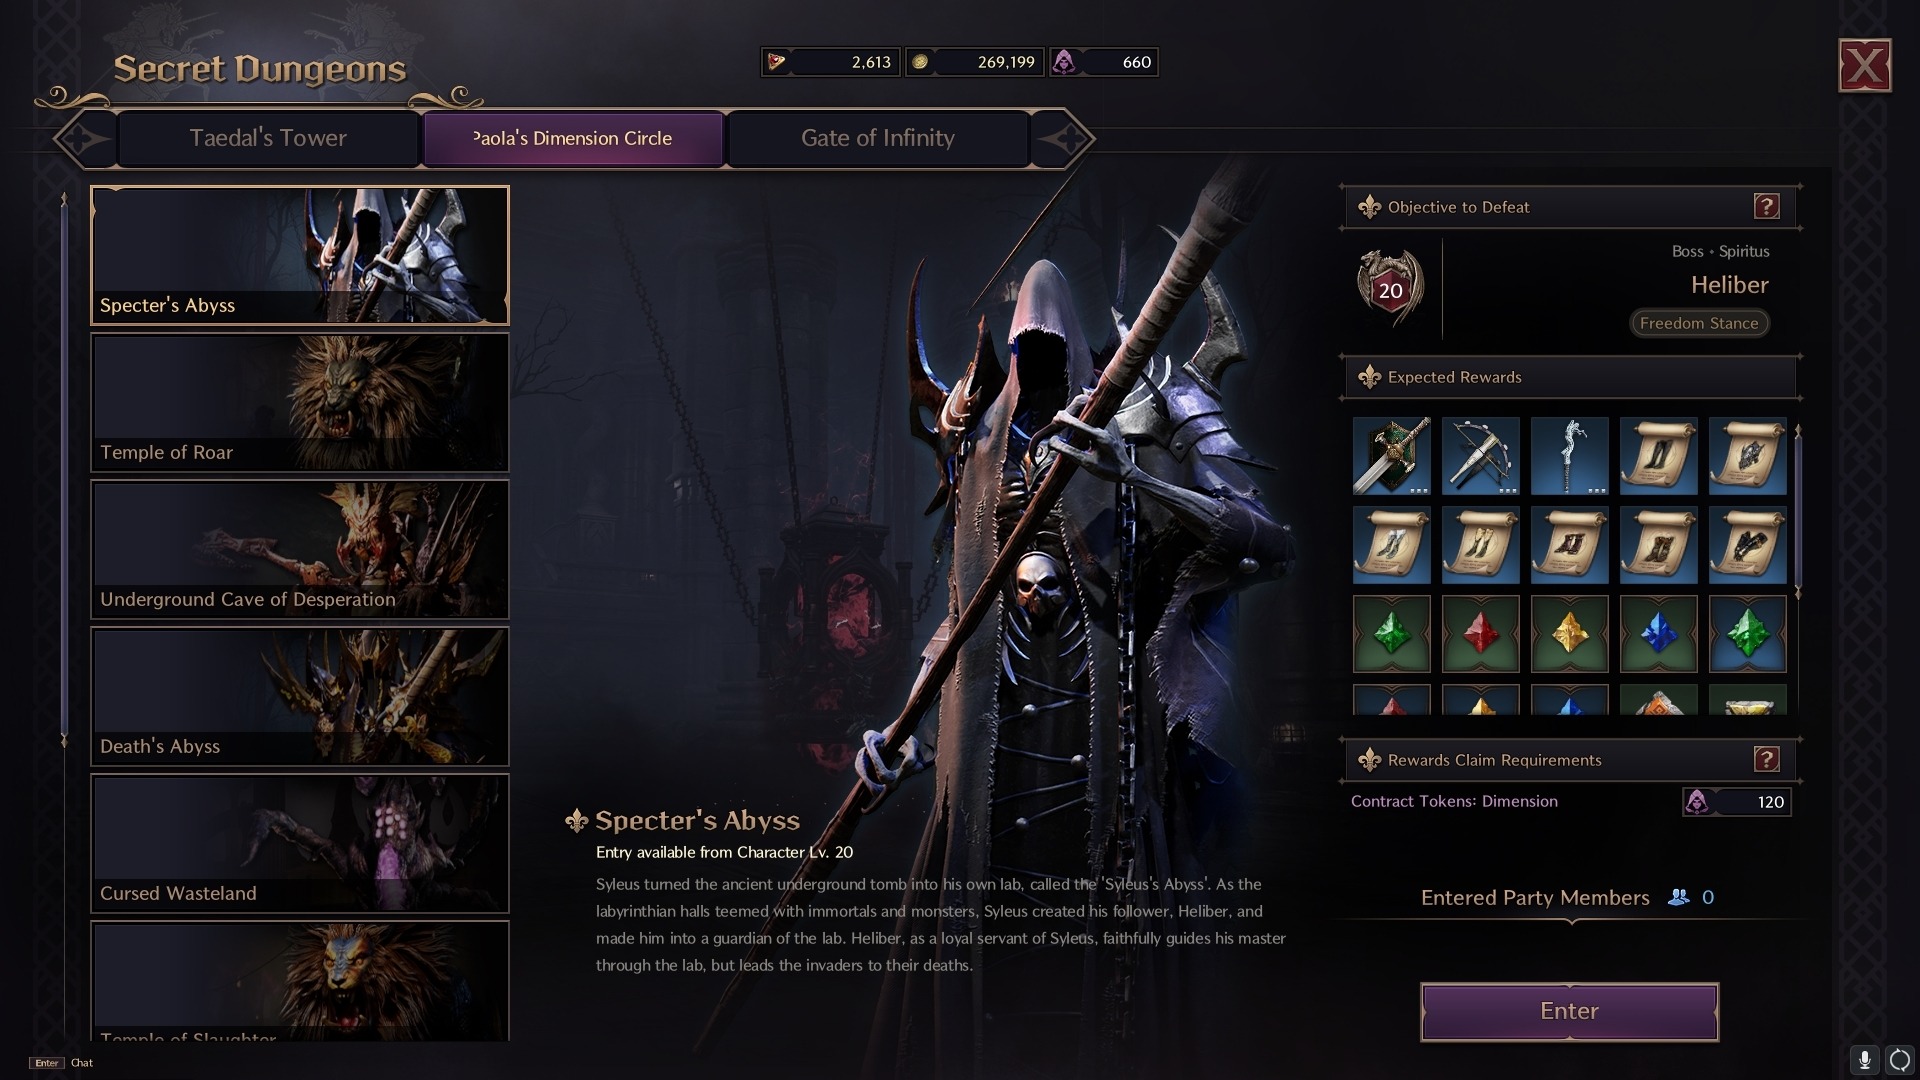
Specter’s Abyss Overview
Required Level: 20+
Dungeon Type: Dimensional Circle
Minimum Combat Power: 600
Dungeon Token: Dimension Contract Token (1x)
The dungeon is an ancient underground tomb repurposed by Syleus as his personal laboratory. As a defense mechanism, he created Heliber, a loyal undead servant that protects the labyrinth filled with immortals and monsters. Your objective is to clear the dungeon’s twisted halls and ultimately defeat Heliber.
Specter’s Abyss Walkthrough
1. Elite Arkeum Shadowmancer

- Objective: Defeat the Elite Arkeum Shadowmancer.
Strategy: Upon entering, you’ll face basic enemies. Defeating these will spawn the miniboss. Focus on crowd control (CC) to disable its Silence attack, which renders players immobile.
2. Lever Puzzle
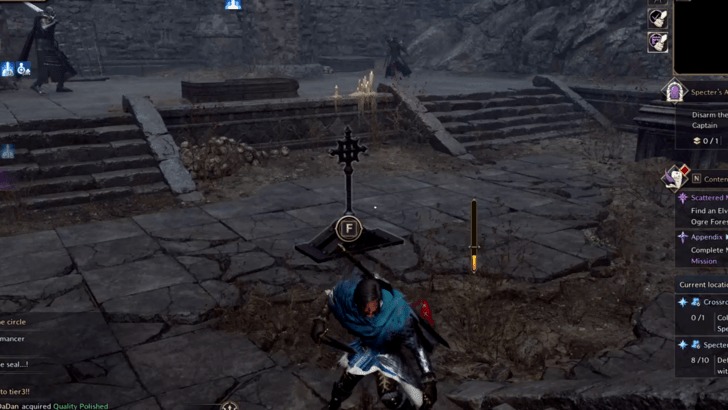
- Objective: Pull the levers to progress further into the dungeon.
Strategy: After defeating the miniboss, you’ll need to clear enemies from both sides of the hall. Pull the two levers to unlock the next area.
3. Elite Arkeum Riot Squad Captain
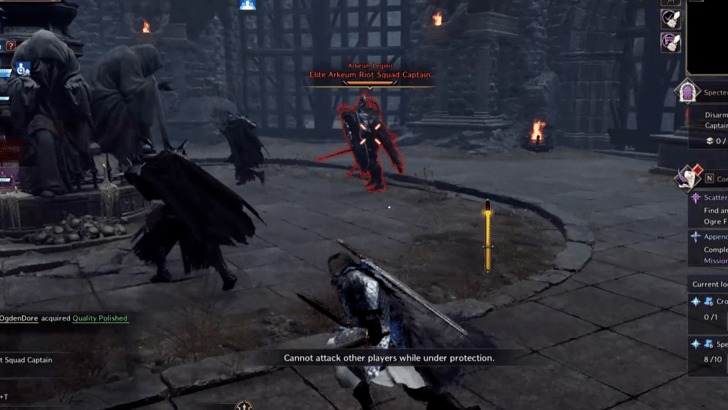
- Objective: Defeat the Elite Arkeum Riot Squad Captain.
Strategy: Before you reach the boss room, you must take down this miniboss. Watch for its charged attack and break its shield using burst skills. Failure to do so can result in a team wipe.
How to Beat Heliber

Heliber Mechanics
Type: Undead
Passive: Freedom Stance (Increases Bind Resistance)
Heliber has a few dangerous mechanics that can easily wipe your party if you’re not prepared. Here’s how to counter his most devastating moves:
Death Sentence:
Mechanic: Heliber casts a Death Sentence which deals massive damage over a wide area.
Counter: To survive this, players must stack together inside the damage radius to distribute the damage across the group.
Salvation Chain:
Mechanic: Use the Salvation Chain ability to pull teammates out of Heliber’s AoE range when needed.
Counter: Communication is key. Make sure your teammates are aware of when to position themselves near each other to be saved.
Heliber Attack Patterns
AoE Cone Attack:
Attack: Heliber slams his scythe into the ground, releasing projectiles in a cone shape.
Avoid: Immediately strafe sideways to move out of the cone’s range and avoid taking heavy damage.
AoE Fury Attack:
Attack: A devastating fury attack that hits players across a wide area.
Counter: Use defensive skills to successfully parry this attack or mitigate the damage.
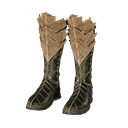
Rewards and Drops
 | Strike Battlefield Sword |  | Enraged Quick Sniper’s Crossbow |
 | Abyssal Witch’s Staff |  | Deadly Stance Plate Boots |
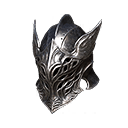 | Dark Warrior’s Visor | 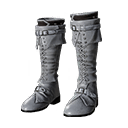 | Moonlight Grace Leather Boots |
 | Flying Dragon Claw Leather Boots |  | Grace of Mother Nature Prayer Shoes |
 | Frost Barrier Magic Shoes | 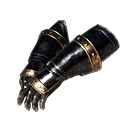 | Deadly Strike Iron Gloves |
 | Training Dew: 10,000 |  | Rare Polished Crystal |
 | Mana Blood |  | Fermented Rotein |
 | Quality Polished Crystal |  | 500 Abyssal Contract Token Points. |
Additional Tips for Specter’s Abyss
- Communication is Key: Use voice chat or quick pings to coordinate movement during Heliber’s Death Sentence mechanic.
- Burst DPS: Equip gear that focuses on burst damage for Heliber’s AoE attacks to quickly bring down his health before he has the chance to cast again.
- Group Composition: Bring a healer to cast shields and buffs, and make sure your tank is prepared to absorb Heliber’s high-damage moves.
By following this guide and mastering the mechanics of Heliber and the dungeon’s minibosses, you’ll conquer Specter’s Abyss and reap all the benefits it has to offer!


