To complete Tyrant’s Isle and defeat Toublek in Throne and Liberty (TL), you’ll need to dig down and rush to the blue flower as a rat, then stand on the active geysers to avoid dangerous attacks before dealing damage. Read on to see an overview of Tyrant’s Isle, a complete walkthrough, how to beat Toublek, and the possible rewards upon completion.
List of Contents
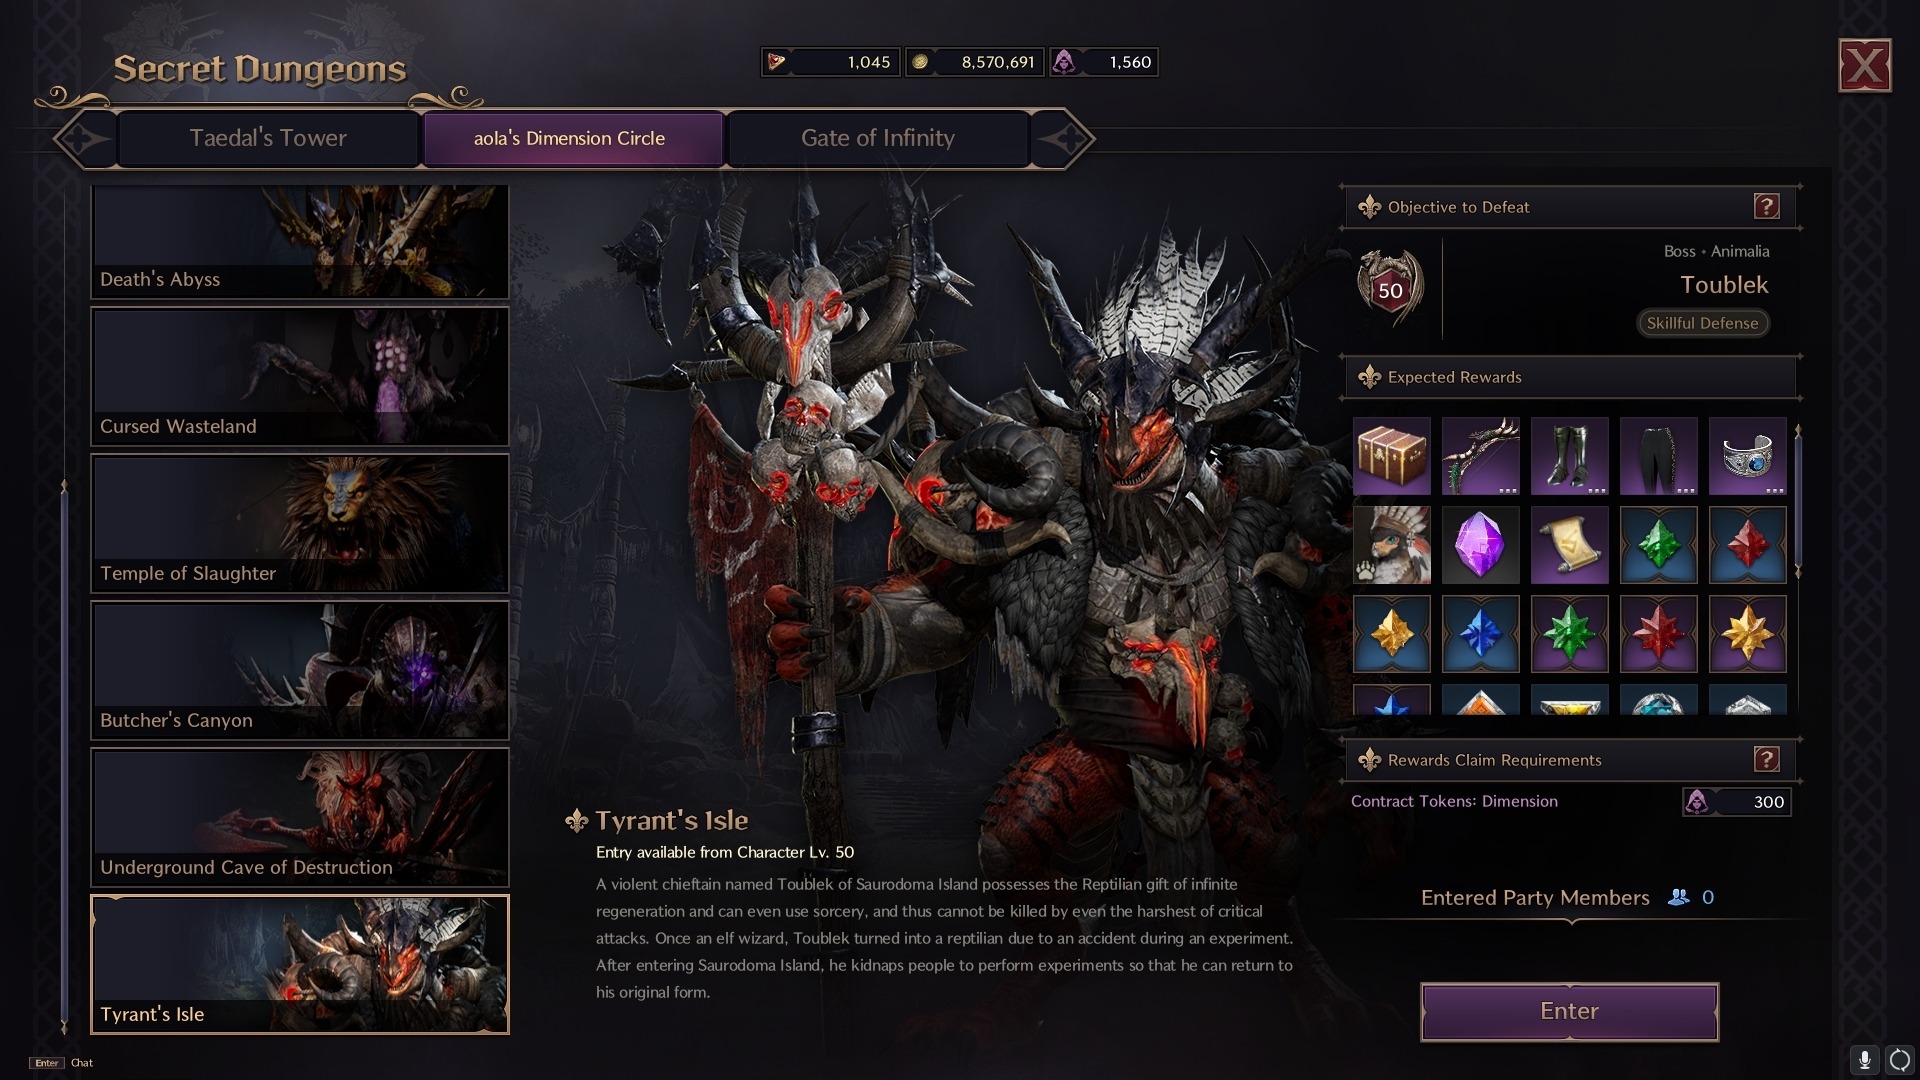
Tyrant’s Isle Overview
Required Level: Lv. 50
Type: 1-Star Dimensional Circle
Min. Combat Power: 1600
Toublek, the tyrant of Saurodoma Island, possesses infinite regeneration and powerful sorcery. Originally an elf wizard, Toublek’s transformation into a reptilian was the result of a failed experiment. Now, he’s a terror, experimenting on innocent victims in an attempt to reverse his condition.
Tyrant’s Isle Walkthrough
Marsh Section
You’ll start in a marsh filled with Reptilians and a Reptilian Butcher as the mini-boss. Clear mobs before engaging the Butcher, who will summon nearby enemies for help during the fight.
- Mini-boss: Reptilian Butcher
Cavernous Section
Proceed into the cavern after defeating the Butcher. Use Oil Jars to group enemies together and ignite them for faster kills. Watch out for Reptilian eggs, which will spawn hatchlings if you get too close. Clear these from a distance before taking on the next mini-boss.
- Mini-boss: Bloodthirsty Reptilian Executioner
Rescuing the Kidnapped Sailors
After defeating the Executioner, rescue kidnapped sailors as you progress. The first sailor is in a cage on the right side. The second can be freed after defeating the next mini-boss.
- Mini-boss: Bloodthirsty Reptilian Gladiator
Geyser Gliding
After freeing the second sailor, activate the nearby geyser to launch into the next area. Glide down to the second geyser to reach the final boss: Toublek.
How to Beat Toublek
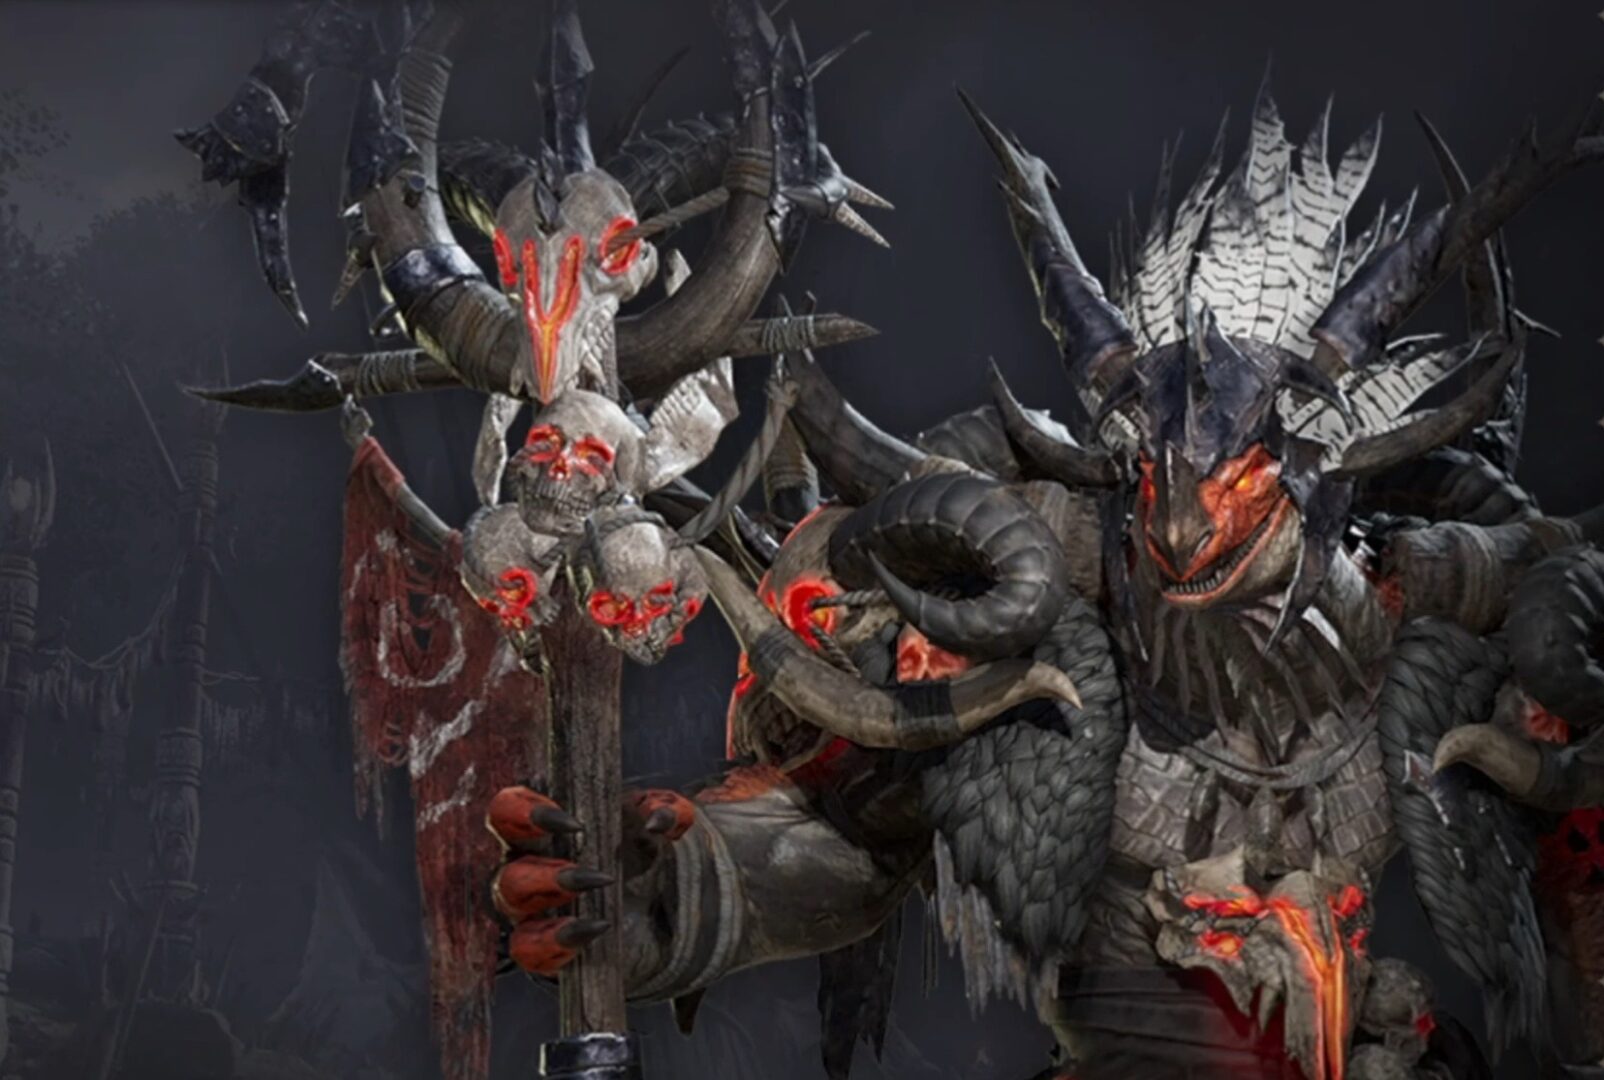
Toublek Overview
Type: Wildkin
Passive: Skillful Defense: All Endurance ▲
Toublek Mechanics
Dig Then Get the Blue Flower
Toublek will morph you into a rat, and your only action is to dig. You must tunnel underground when he slams his staff to avoid being stunned and eaten, which results in instant death. After tunneling, resurface and rush to a blue glowing flower to return to human form. Each flower is single-use, so coordinate with your team to ensure everyone gets one.
Get Launched by the Geyser
When Toublek triggers a geyser, stand inside it to avoid his AoE attack. You will be launched into the air. Morph into your glide form to avoid fall damage. Use tools like the Staff’s Salvation Chain to pull in distant allies and avoid unnecessary casualties.
Toublek Attack Patterns
Force Balls
Toublek’s basic attack involves flinging energy balls at a party member, dealing moderate damage. While not deadly, the damage adds up quickly if not managed.
Tail Spin
Toublek will spin his tail in a sweeping attack. Stay close to parry the attack and gain defense bonuses.
Rat Morph
This mechanic morphs all players into rats. Follow the “Dig” mechanic to survive this phase.
Cross Meteors
Toublek will charge a blue infernal ball and fire meteors that explode in a cross shape. Avoid the meteors by moving diagonally or morphing into a different form.
Geyser Boost
Toublek will activate geysers to perform a deadly AoE attack. Stand on the geyser to launch into the air and avoid the damage.
Toublek Battle Flow
Toublek follows a predictable rotation during the battle:
- Force Balls ▶ Tail Spin ▶ Rat Morph ▶ Force Balls ▶ Tail Spin ▶ Cross Meteors ▶ Geyser Boost ▶ Rat Morph
Mastering these mechanics and coordinating with your team is key to defeating Toublek.
Rewards and Drops
 | Toublek’s Thunderous Soul |  | Toublek’s Strafing Bow |
 | Grand General’s Unbeaten Armor |  | Black Lion Dash |
 | Specter’s Frost Bracer |  | Specter’s Frost Bracer |
 | indomitable Kinght’s Plate Armor |  | Deadly Fighter’s Visor |
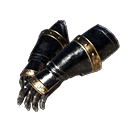 | Deadly Strike Iron Gloves |  | Deadly Stance Plate Boots |
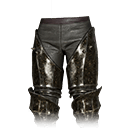 | Deadly Barrier Chain Gaiters | 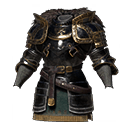 | Deadly Fighter’s Plate Armor |
 | Guardian’s Bracelet | 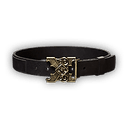 | Passionate Vigor Belt |
 | Beak Diatrima |


