Welcome to the Valley of Slaughter guide! This comprehensive walkthrough will help you conquer the Tier 2 dungeon in Throne and Liberty.
While the dungeon shares similarities with Butcher’s Canyon (Tier 1), it is significantly more challenging and requires well-geared players. For a smooth experience, ensure you have at least +9 Epic Grade gear or higher.
Section 1: The Start and the First Mini-Boss
Initial Encounter
At the beginning of the dungeon, you will encounter three mobs guarding an elevator. One of these mobs, the Administrator, holds the key to activate the elevator. Quickly eliminate them and proceed upward.
Speed-Clearing Strategy
After crossing the first bridge, use your tank to aggro mobs on the bridge while the rest of your party advances to clear the next group of enemies near the fog gate. Once cleared, the Resurrection Gate activates, and the tank can purposefully die to reset the aggro. This allows your team to skip part of the encounter efficiently.
With the path cleared, proceed to face the first mini-boss.
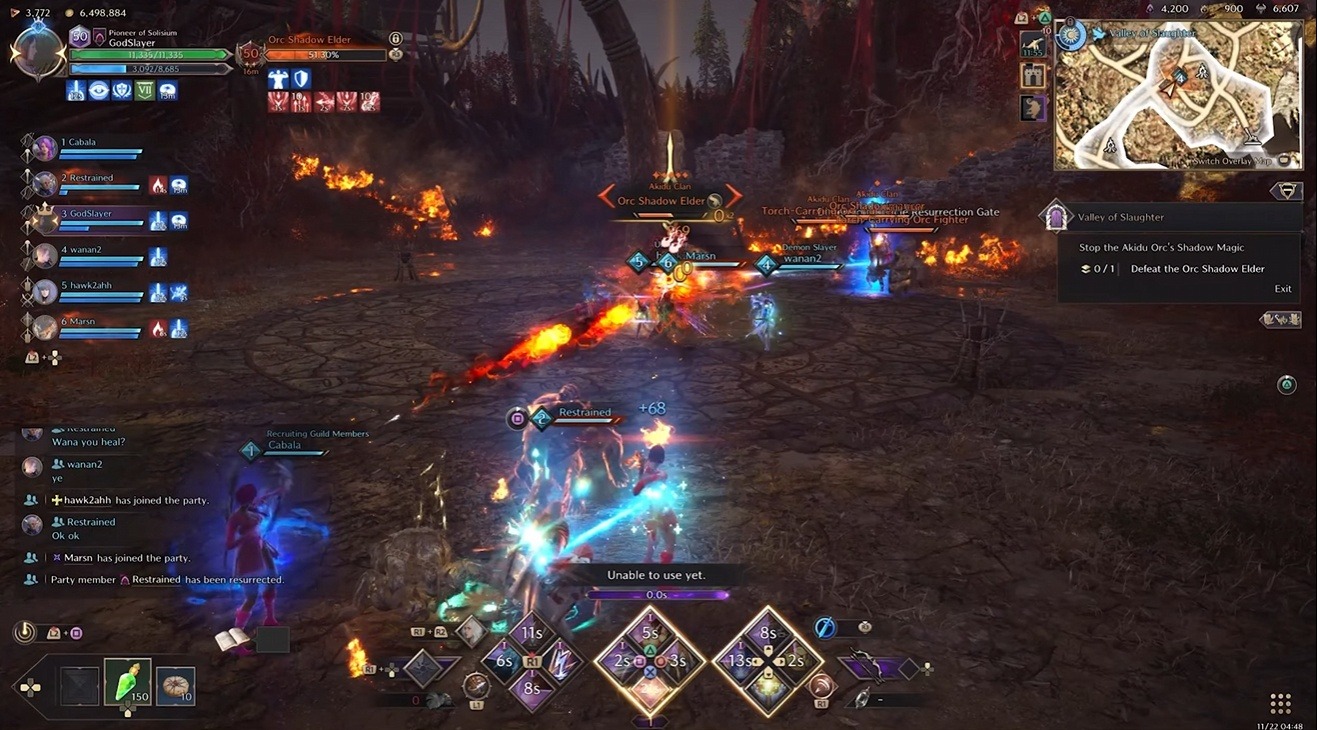
Mini-Boss: Orc Shadow Elder
The Orc Shadow Elder is similar to the mini-boss from Butcher’s Canyon but with additional mechanics:
Phase 1 Mechanics
- Tether Mechanic:
- The Elder marks a player with a red aura and tethers the closest player to them with a purple beam.
- A red circle appears around the marked player, indicating the maximum range of the tether. Breaking the tether stuns both players briefly.
- Explosive Sheep:
- The Elder summons a curse caster that spawns an explosive sheep. If not dealt with quickly, the sheep causes a devastating meteor AoE that wipes the party.
- Use the tether beam to damage the sheep by pulling it toward the tethered players.
Phase 2 Mechanics
- At 30% HP, the Elder summons a Shadowmancer to assist in the battle. Quickly eliminate the Shadowmancer with your tether partner to avoid complications.
Once the Elder is defeated, move on to the next section.
Section 2: Path to the Second Mini-Boss
The second section primarily involves running through mobs to reach the next mini-boss. Your tank can again hold aggro while the rest of the party clears the way.
Mini-Boss: Orc Shadowmancer Trio
The trio of Orc Shadowmancers is protected by blue tethers, making them invincible until the tethers are broken.
- Clear the Curse Caster:
- Before engaging the Shadowmancers, eliminate the nearby curse caster to ensure safety.
- Break the Tethers:
- Coordinate hard crowd control (CC) abilities to simultaneously break the tethers.
- Once the tethers are broken, the Shadowmancers become vulnerable, and you can take them down.
With the trio defeated, proceed to the final boss.
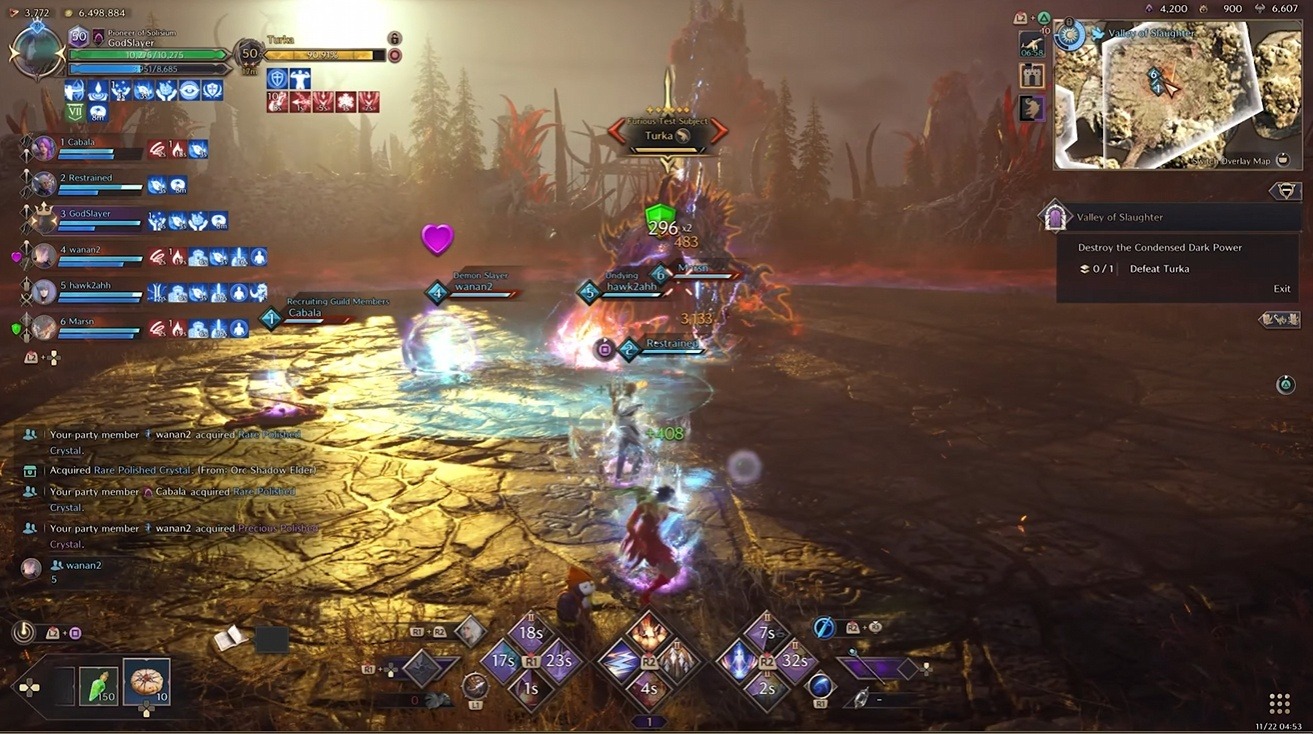
Final Boss: Turka
The battle with Turka is mechanics-intensive, so preparation is key. Assign roles and positions beforehand to streamline the fight.
Phase 1 Mechanics
- Cone Flame Slam:
- Turka opens the fight with a cone-shaped flame attack aimed at the tank. Position yourself on the opposite side to avoid damage.
- AoE Damage:
- Turka deals unavoidable AoE damage (~9000 HP per player). Stack together for group healing.
- Sheep Phase 1:
- Turka marks two players and tethers them, similar to the Elder fight.
- Turka spawns 6 sheep. Pull the sheep to the tethered players to deal significant damage using the beam.
- Once the sheep are defeated, an interactive object spawns. Avoid meteors before interacting with it to gain immunity from Turka’s AoE wipe.
Phase 2 Mechanics
- Explosive Sheep:
- Turka summons a single explosive black sheep. Kill it quickly using the tether beam to prevent a team wipe.
- Sheep Phase 2:
- At 30% HP, Turka spawns 8 sheep instead of 6. Use the same strategy to eliminate them.
- Dash Attack:
- Turka performs a long dash attack that can only be avoided with a movement dodge (directional key + block). Use this to your advantage by baiting Turka to dash through sheep, damaging them.
Continue repeating the mechanics and dealing DPS until Turka is defeated.
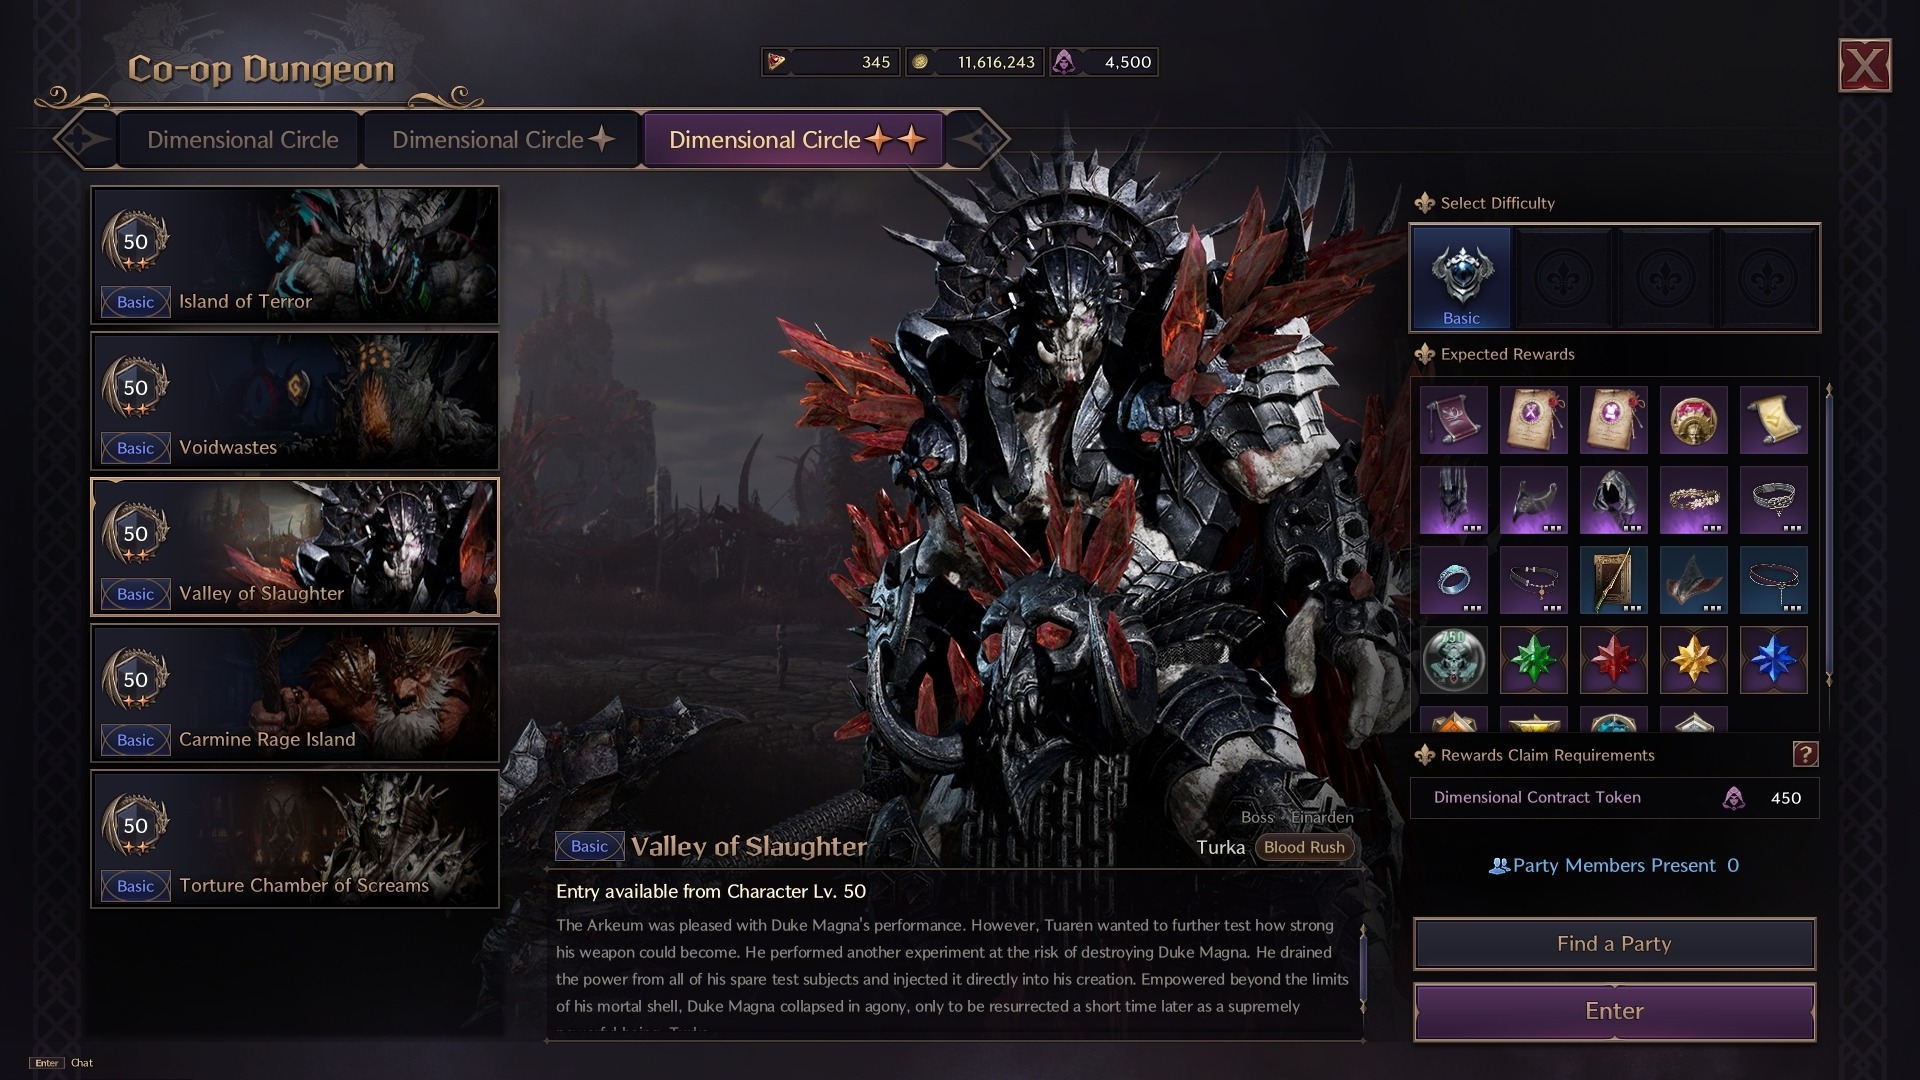
Rewards for Tier 2 Dungeons
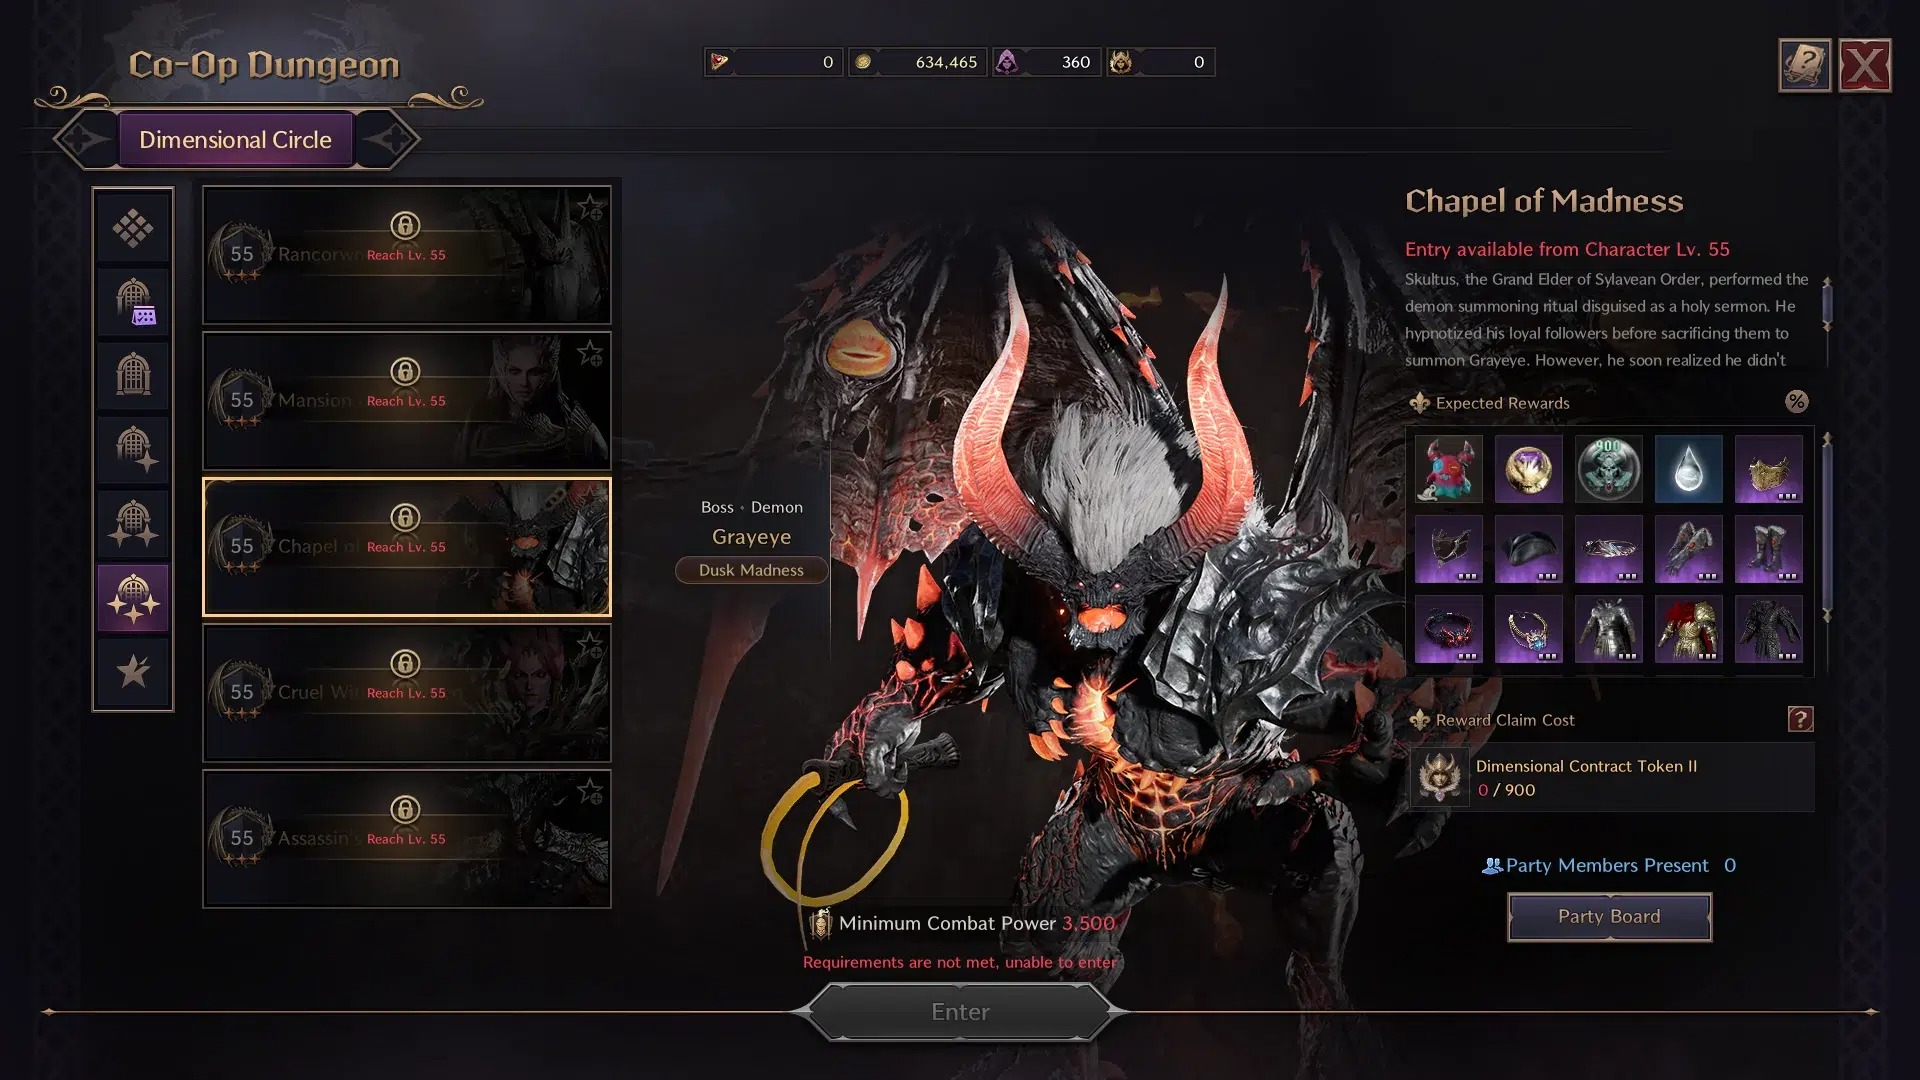
- Dimension Tokens: Each chest in Tier 2 dungeons costs 450 Dimension Tokens, compared to 300 in Tier 1.
- Upgraded Gear: Receive materials, weapons, and armor that significantly boost your progression.
Challenge Difficulty and Affixes
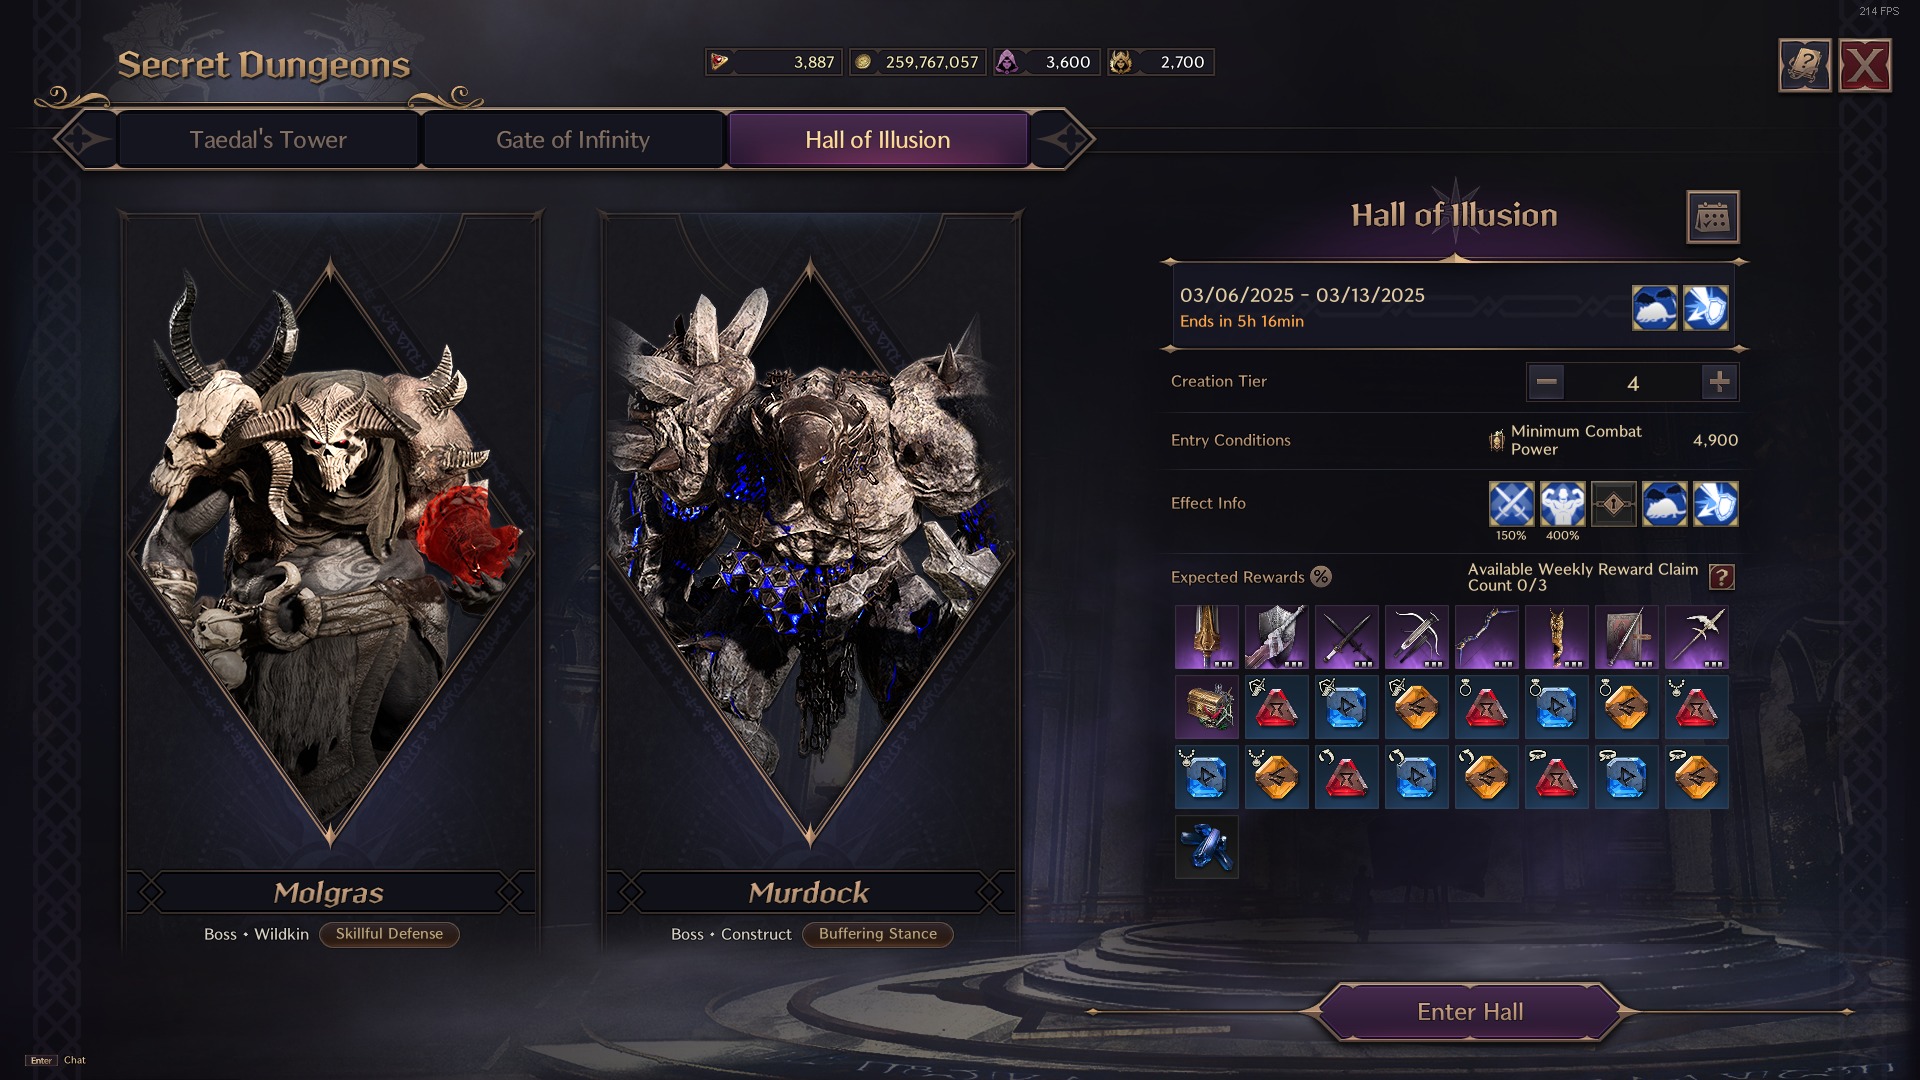
The Challenge Mode introduces new mechanics based on difficulty tiers (Tier 5, 9, and 13):
- Additional Sheep: Increased sheep count in the sheep phases.
- Dual Tethers: Two players are tethered simultaneously.
- Black Sheep Mechanic: Summons explosive sheep alongside standard mechanics.
Each week, two dungeons are featured in Challenge Mode with unique affixes that modify dungeon rules, such as stunning totems or other environmental changes.


