Welcome to the ultimate guide on defeating Aridus, the challenging Level 50 guild boss in Throne & Liberty. Here, we cover all mechanics, effective strategies, and tips to help your guild secure victory and reap valuable rewards. Whether you’re encountering Aridus on the fifth floor of the Syleus Abyss Dungeon or in your Guild Hall (unlocked for guilds level 17 and up), teamwork, positioning, and awareness are critical to success.
List of Contents
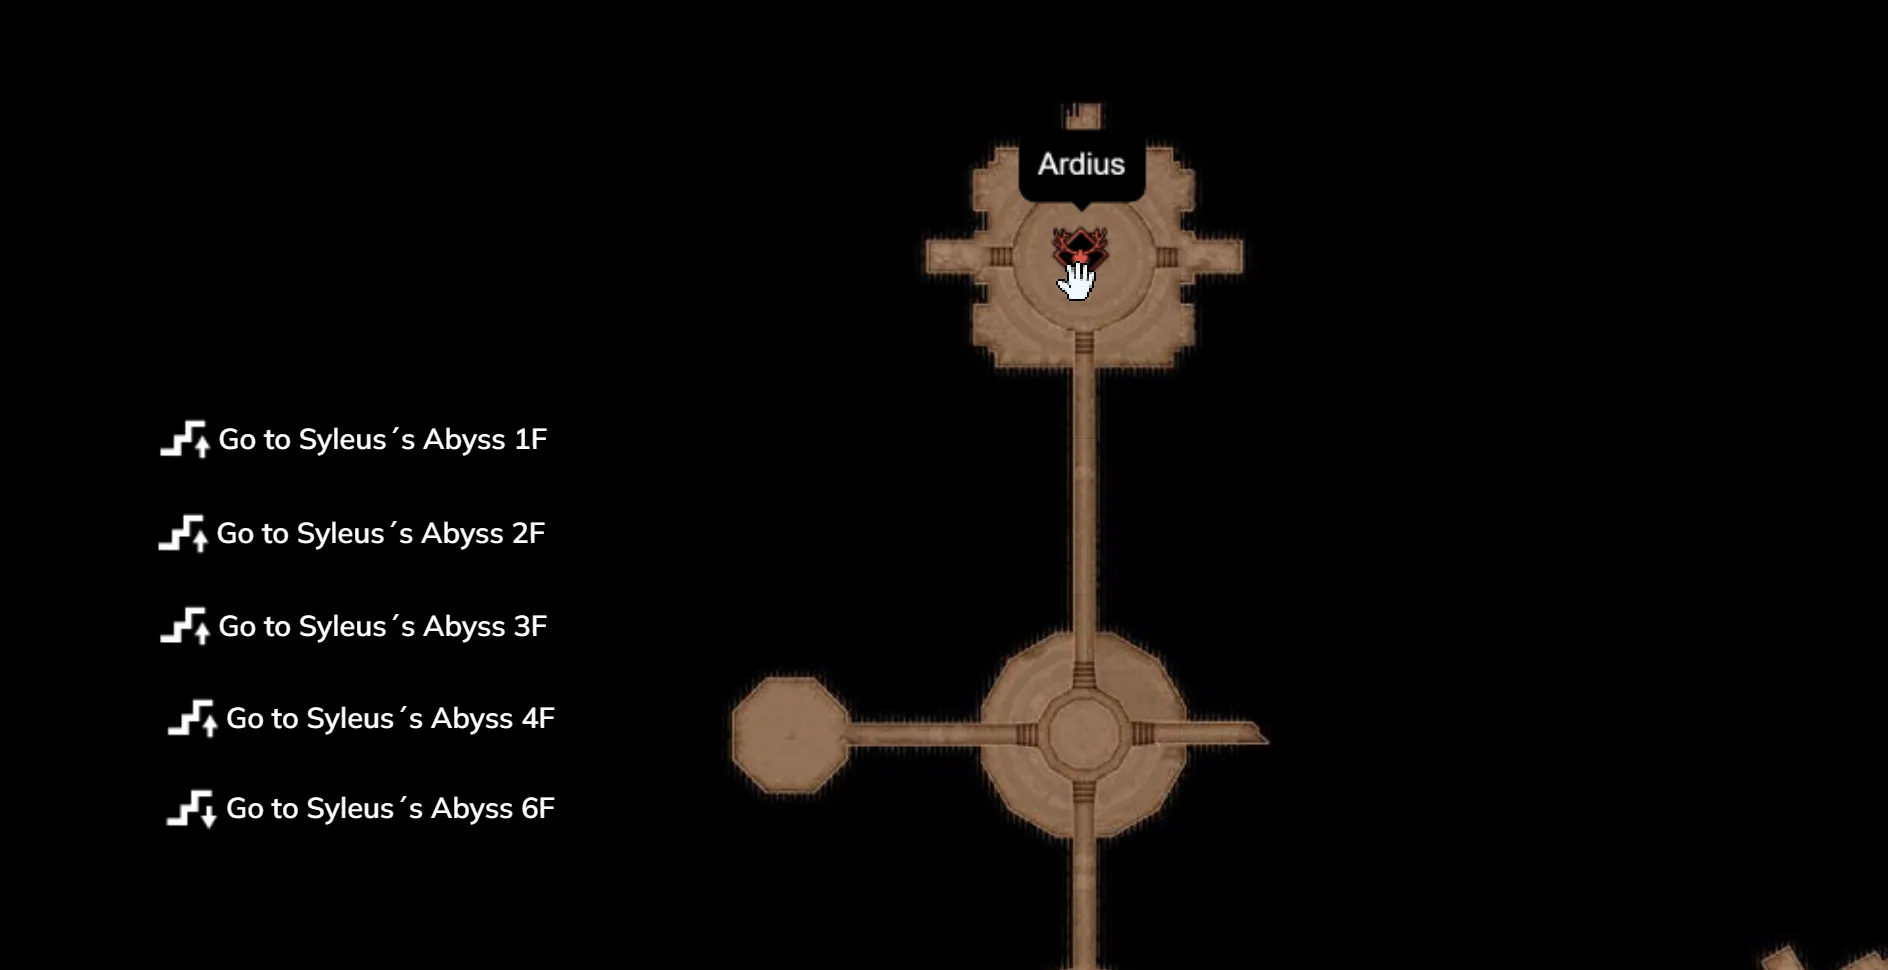
Ardius Location
Aridus Boss Mechanics
Aridus Boss Fight Strategy
Additional Tips
Aridus Boss Rewards
Ardius Location – Interactive Map – Here
Aridus Boss Mechanics
Summoning Wasps
Aridus summons three aggressive Wasps that follow three random players marked with a green orb. These Wasps deal damage in a small AoE when they’re near players, which will play a pivotal role in the Sleep Mechanic:
Kite the Wasps: The marked players should kite the Wasps around the outer edge of the arena to avoid accidental damage to teammates. The Wasps are essential for a later phase, so do not kill them.
Gaseous Cleave
Aridus casts Gaseous Cleave, a narrow cone-shaped AoE attack of green gas that inflicts substantial damage:
Avoidance: Watch for the telegraphed animation, resembling a portal, and quickly sidestep to avoid major health loss.
Gas Donut
This mechanic covers the arena’s outer edge with a deadly blue-green gas that deals heavy damage over time to anyone within it.
Movement Strategy: During this phase, move to the center of the arena to avoid the gas. Stay away from the edges until the gas dissipates.
Sleep Mechanic (Signature Move)
The Sleep Mechanic is Aridus’s most complex ability and requires precise coordination:
- Aridus puts the entire raid group to sleep.
- The three players marked with Wasps are the first to awaken, as Wasp damage will trigger their wake-up.
- Wake-Up Coordination: These three players must guide the Wasps over sleeping teammates to “wake” them up, especially those on the outer ring who are at risk of instant death.
- Inner Circle Safety: Players asleep within the inner circle are safe from instant death, so position yourself here if possible.
- Salvation Chain: A Staff-wielder can use this ability to help wake teammates, providing an additional tool for teams needing precise timing.
Aridus Boss Fight Strategy
Positioning and Kiting
- Kite Wasps Safely: The marked players should kite Wasps along the arena’s outer edge, moving either clockwise or counterclockwise to ensure Wasps don’t accidentally damage others.
- Gas Donut Phase: Move to the arena’s center to avoid the blue-green gas on the outer ring.
Avoiding AoE Attacks
- Dodge Gaseous Cleave: Keep an eye out for Aridus’s portal-like animation and sidestep the cone attack to avoid substantial damage.
- Center Positioning for Gas Donut: Stay in the arena’s center during this phase to prevent health loss from the hazardous outer gas.
Sleep Mechanic Coordination
- Team Communication: The three players marked with Wasps need to wake their sleeping teammates efficiently by leading the Wasps over them. Prioritize outer-ring players at risk of instant death.
- Salvation Chain Use: If available, Salvation Chain can save those at the outer edges, offering a backup wake-up option.
Additional Tips
- Balance DPS with Kiting: Maintain damage output while kiting Wasps to maximize DPS without losing valuable time.
- Coordinate Movements: During the Gas Donut phase, ensure everyone relocates to the center to avoid damage.
- Practice Positioning: Familiarize your team with positions and movement paths before engaging to minimize avoidable damage.
Aridus Boss Rewards
Defeating Aridus rewards guilds with a variety of valuable items and resources:
Guaranteed Loot
- Conquest Participation Award: Aridus
Random Loot
- Aridus’s Gnarled Voidstaff
- Phantom Wolf Breeches
- Breeches of the Executioner
- Belt of Bloodlust
- Golem Chiseling Daggers
- Viperstrike Arbalests
- Golem Destruction Staff
- Malevolent Staff
- Duskblood Gloves
- Ruby Bangle
- Forest Light Grover


