Cursed Wasteland is a 1-Star Dimensional Circle dungeon in Throne and Liberty (TL) where you’ll face the boss Shaikal. Below is a detailed guide, including an overview of the dungeon, walkthroughs, strategies to defeat Shaikal, recommended weapon combinations, and potential rewards upon completion.
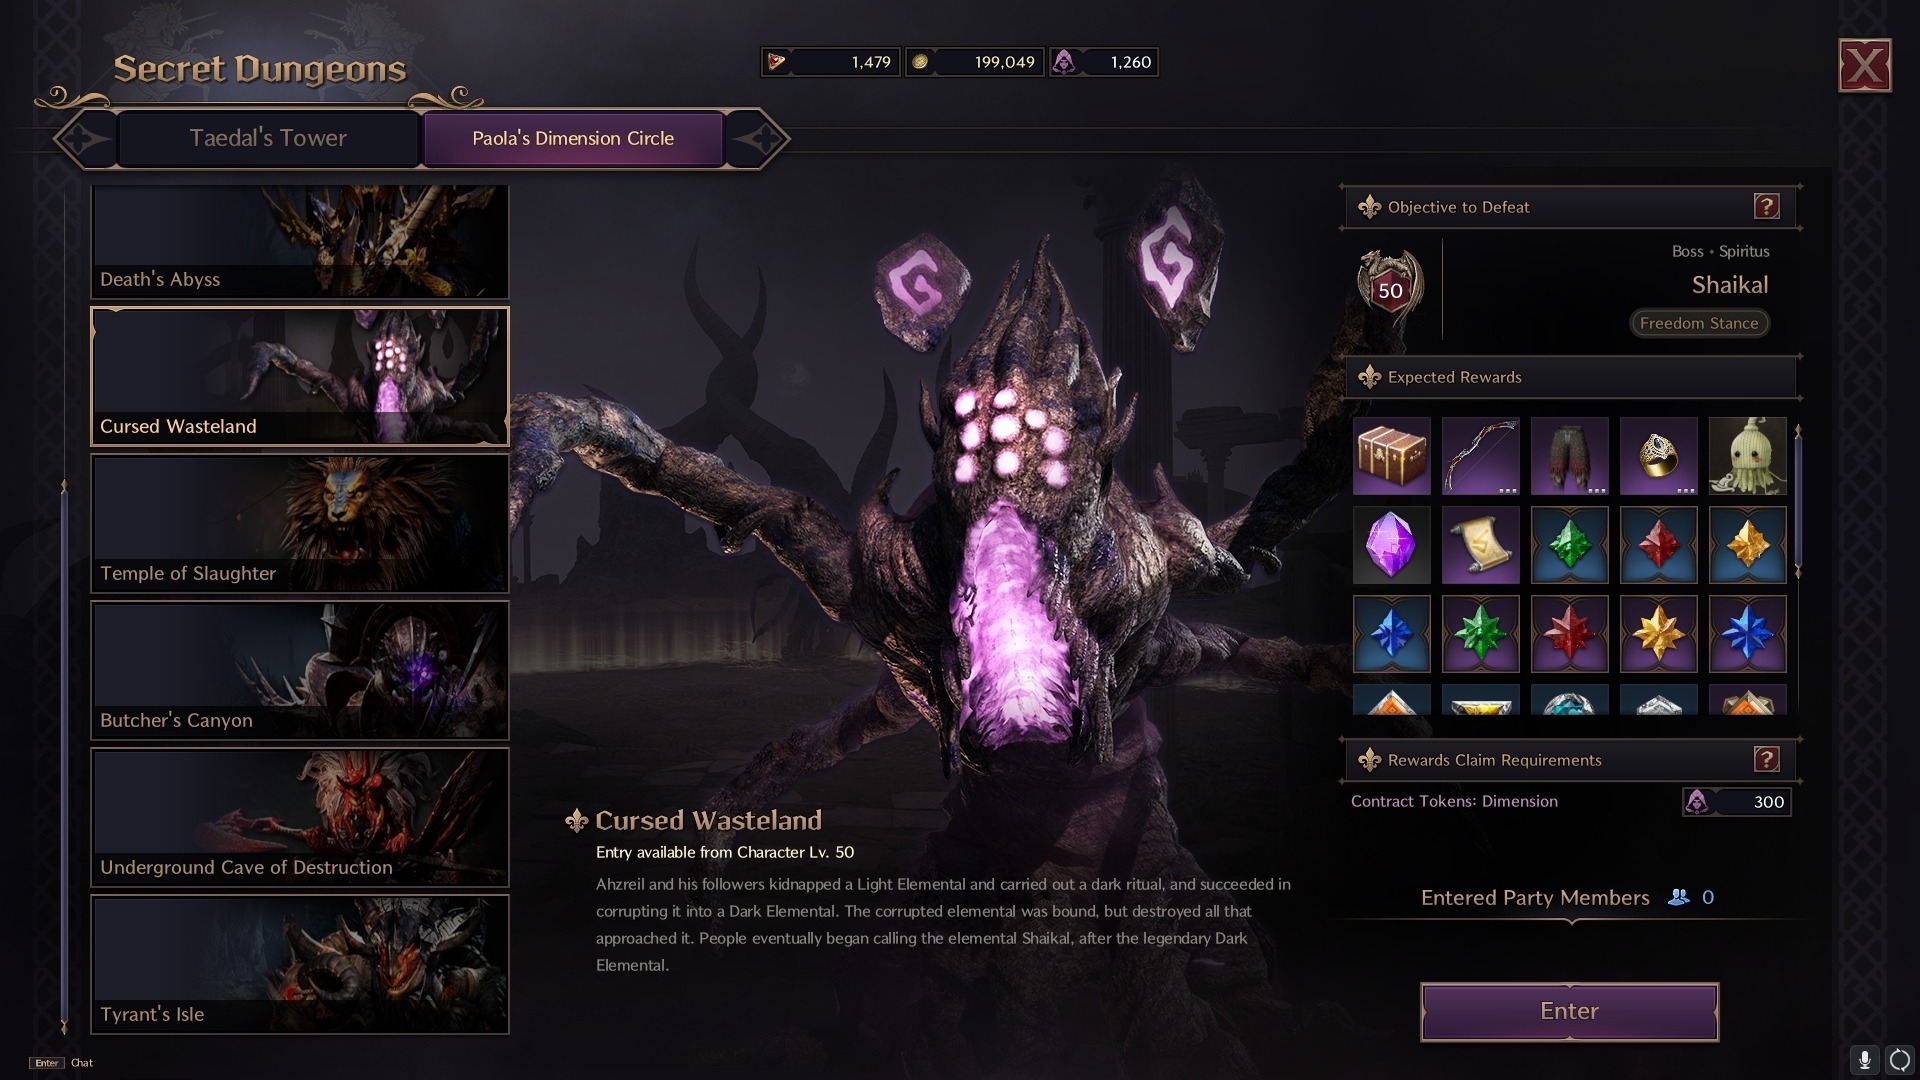
Table of Contents
- Dungeon Overview
- How to Defeat Shaikal
- Shaikal’s Attack Patterns
- Recommended Weapon Combos
- Complete Walkthrough
- Rewards and Drops
Cursed Wasteland Overview
| Required Level: | Lv. 50 |
|---|---|
| Dungeon Type: | 1-Star Dimensional Circle |
| Minimum Combat Power: | 1600 |
| Contract Token: | 300 |
Dungeon Lore
The Cursed Wasteland was the site of a ritual performed by Ahzriel and his followers, where they kidnapped a Light El
How to Defeat Shaikal
Shaikal Overview
- Type: Undead
- Passive Ability: Freedom Stance: Bind Resistance ▲
Shaikal Mechanics
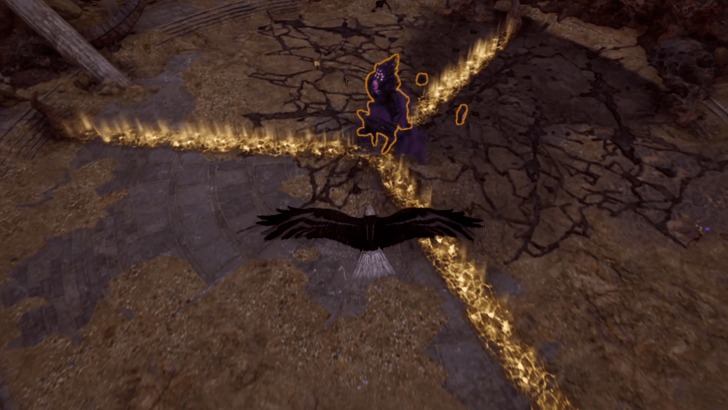
Glowing Floors
In the fight against Shaikal, the arena is divided by glowing floors, which also appear throughout the dungeon. These floors deal damage and can stun players who step on them. The only way to remove these glowing barriers is by interacting with devices located at the end of each barrier. These devices temporarily deactivate the barriers, allowing players to reposition safely.
Shaikal’s Attack Patterns
Dark Nova
Shaikal raises its arms, charges, and unleashes a ring of dark energy. This is blockable and is usually the first attack.
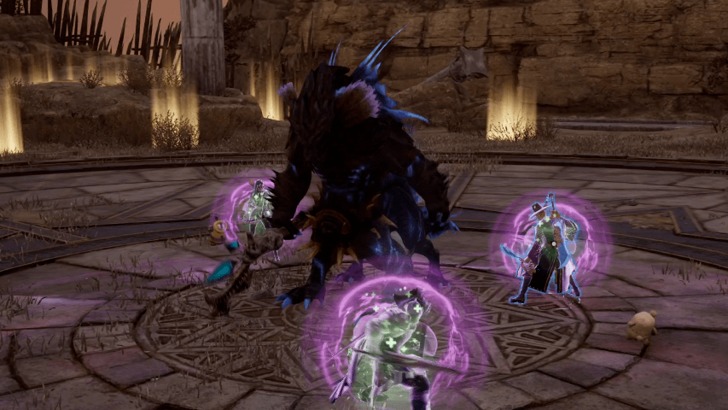
Astral Zones
Shaikal creates purple zones beneath two targets. Simply moving out of these zones is enough to avoid damage.
Red Sinkhole
Shaikal turns red and marks a target with a red orb. After a short delay, a large AoE appears on the ground, pulling in targets and dealing damage. The marked player should move away from the party and then reposition once the AoE spawns.
Void Breath
Shaikal marks a target with a purple orb, then releases a wave of purple energy that follows the marked target. To avoid this attack, players need to interact with the devices that remove the barriers and relocate to a safer area.
Recommended Weapon Combos
| Weapon Combo | Role | Description |
|---|---|---|
| Greatsword / Sword and Shield | Tank | Ideal for tanking through dungeon mobs and playing a key role during the Shaikal fight. |
| Longbow / Crossbow | DPS | Provides excellent ranged DPS, effective against Elites and Shaikal. |
| Dagger / Crossbow | DPS | Another great DPS setup, particularly effective for dealing with Elites and Shaikal. |
| Wand / Staff | Support | A strong healer build, providing reliable support to the tank and party with some offensive capabilities. |
Cursed Wasteland Walkthrough
Uphill Climb
The dungeon begins with an uphill path filled with enemy encounters and glowing floors. Avoid the glowing floors as they will damage and stun you. Defeat all enemies as you make your way up.

Blath Arena
At the end of the climb, you will face Blath, the dungeon’s first mini-boss. Defeat Blath to proceed further.
How to Beat Blath: Blath has a pull-in attack followed by summoning glowing floors and AoE explosions. Avoid the glowing floors and get out of the attack radius quickly, as getting stunned almost guarantees death.
Belrog Arena
After Blath, continue to the arena where you will encounter Belrog, the second mini-boss.
How to Beat Belrog: Belrog uses a similar mechanic to Blath, pulling players towards the center and creating glowing floors. In this case, players will be trapped inside. To escape, interact with the dark orbs around the arena to remove the glowing floors, then move away from Belrog to avoid the AoE explosions.
Rewards and Drops
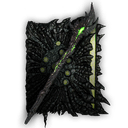 | Shaikal’s Purity Specter | 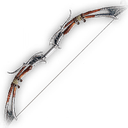 | Shaikal’s Torment Bow |
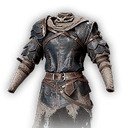 | Ghost Wolf Alter Ego Armor |  | Grim Judicator’s Mask |
 | Lethal Frost Ring |  | Brutal Slaughter Dagger |
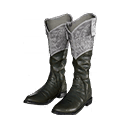 | Reflection Breakthrough Leather Boots | 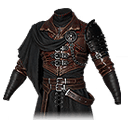 | Bloody Fog Leather Armor |
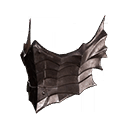 | Flying Dragon Breath Mask | 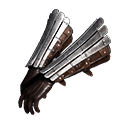 | Flying Dragon Scale Gloves |
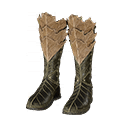 | Flying Dragon Claw Leather Boots |  | Flying Dragon Scale Secret Art Pants |
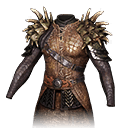 | Flying Dragon Heart Secret Art Armor |  | Lethal Fortune Ring |
 | Light Shaiki |
Other Drops (Materials)
- Precious Rubrix, Stalon, Emeret, Marind, Ore
- Precious Polished Crystal
- Rare Polished Stone
- Reaper’s Soul and Mana Blood


