Nirma is a formidable Guild Raid Boss in Throne and Liberty, known for its devastating mechanics and the precise coordination it demands from players.
Found in Syleus Abyss, an open-world dungeon, Nirma is also accessible in Guild Raids once your guild reaches level 17. This guide will help you understand and overcome Nirma’s challenges in both Normal Difficulty and open-world encounters.
Location Nirma
Nirma Location Interactive Map
Nirma’s Mechanics
Targeting System
- Primary Target: The furthest visible player becomes Nirma’s primary focus, marked with a Glowing Orb above their head. This target remains fixed throughout the battle unless they die.
- Group Positioning: Allies must position themselves behind the boss while the targeted player moves strategically to avoid collateral damage.
Key Abilities and Mechanics
- Fury Attack
- Targets the marked player with bouncing AoE damage.
- Allies must stay opposite the marked player to avoid chain damage.
- Lightning Zones (“Pizza Slice”)
- These zones shift based on the marked player’s position.
- Keep movement minimal to control the placement of hazardous areas.
- Cry in Desperation (Electrical AoEs)
- Nirma casts Electrical AoEs in large cones, targeting the marked player.
- The marked player should move clockwise or follow an agreed path to kite these away from the raid.
- Healing Debuff: Avoid the AoE; stacking this debuff reduces healing significantly.
- Arena-Wide Lightning Blast
- When Nirma spins and gathers electrical currents, an arena-wide AoE blast is imminent.
- Avoidance Tip: Time your jumps to evade the damage. Alternatively, tank the damage and rely on healers.
Nirma Boss Fight Strategy: Normal Difficulty
Phase 1
- Target Selection: Nirma locks onto the furthest visible player, marking them with a glowing ring.
- Positioning:
- Allies: Stay behind Nirma to maximize DPS.
- Marked Player: Maintain position while minimizing movement to control the lightning zones.
- Key Mechanics:
- Watch for the “P Slice” Lightning Zones, and avoid their shifting placement.
Phase 2
- Transition Signal: Nirma lifts its staff and begins casting large lightning cones.
- Cone Strategy:
- The marked player moves away from the group to kite the cones safely.
- Guild members move to the original position of the marked player while avoiding lingering AoE zones.
- Repeat this cycle until the phase reverts to Phase 1.
- Raid-Wide Lightning Blast:
- Jump to avoid taking 40-50% HP damage.
- Missing the jump? Coordinate with healers to recover quickly.
Tips for Success
- Assign Roles Strategically:
- Pair the marked player with a long-range healer familiar with Nirma’s mechanics.
- Rotate healing cooldowns if the marked player accumulates healing debuffs.
- Practice Movement Coordination:
- Predetermine movement paths for the marked player to kite AoEs effectively.
- Ensure guild members are aware of their positioning relative to Nirma.
- Master the Lightning Blast Timing:
- The arena-wide lightning attack can cause severe damage if poorly timed. Practice jumping to ensure your raid survives this mechanic.
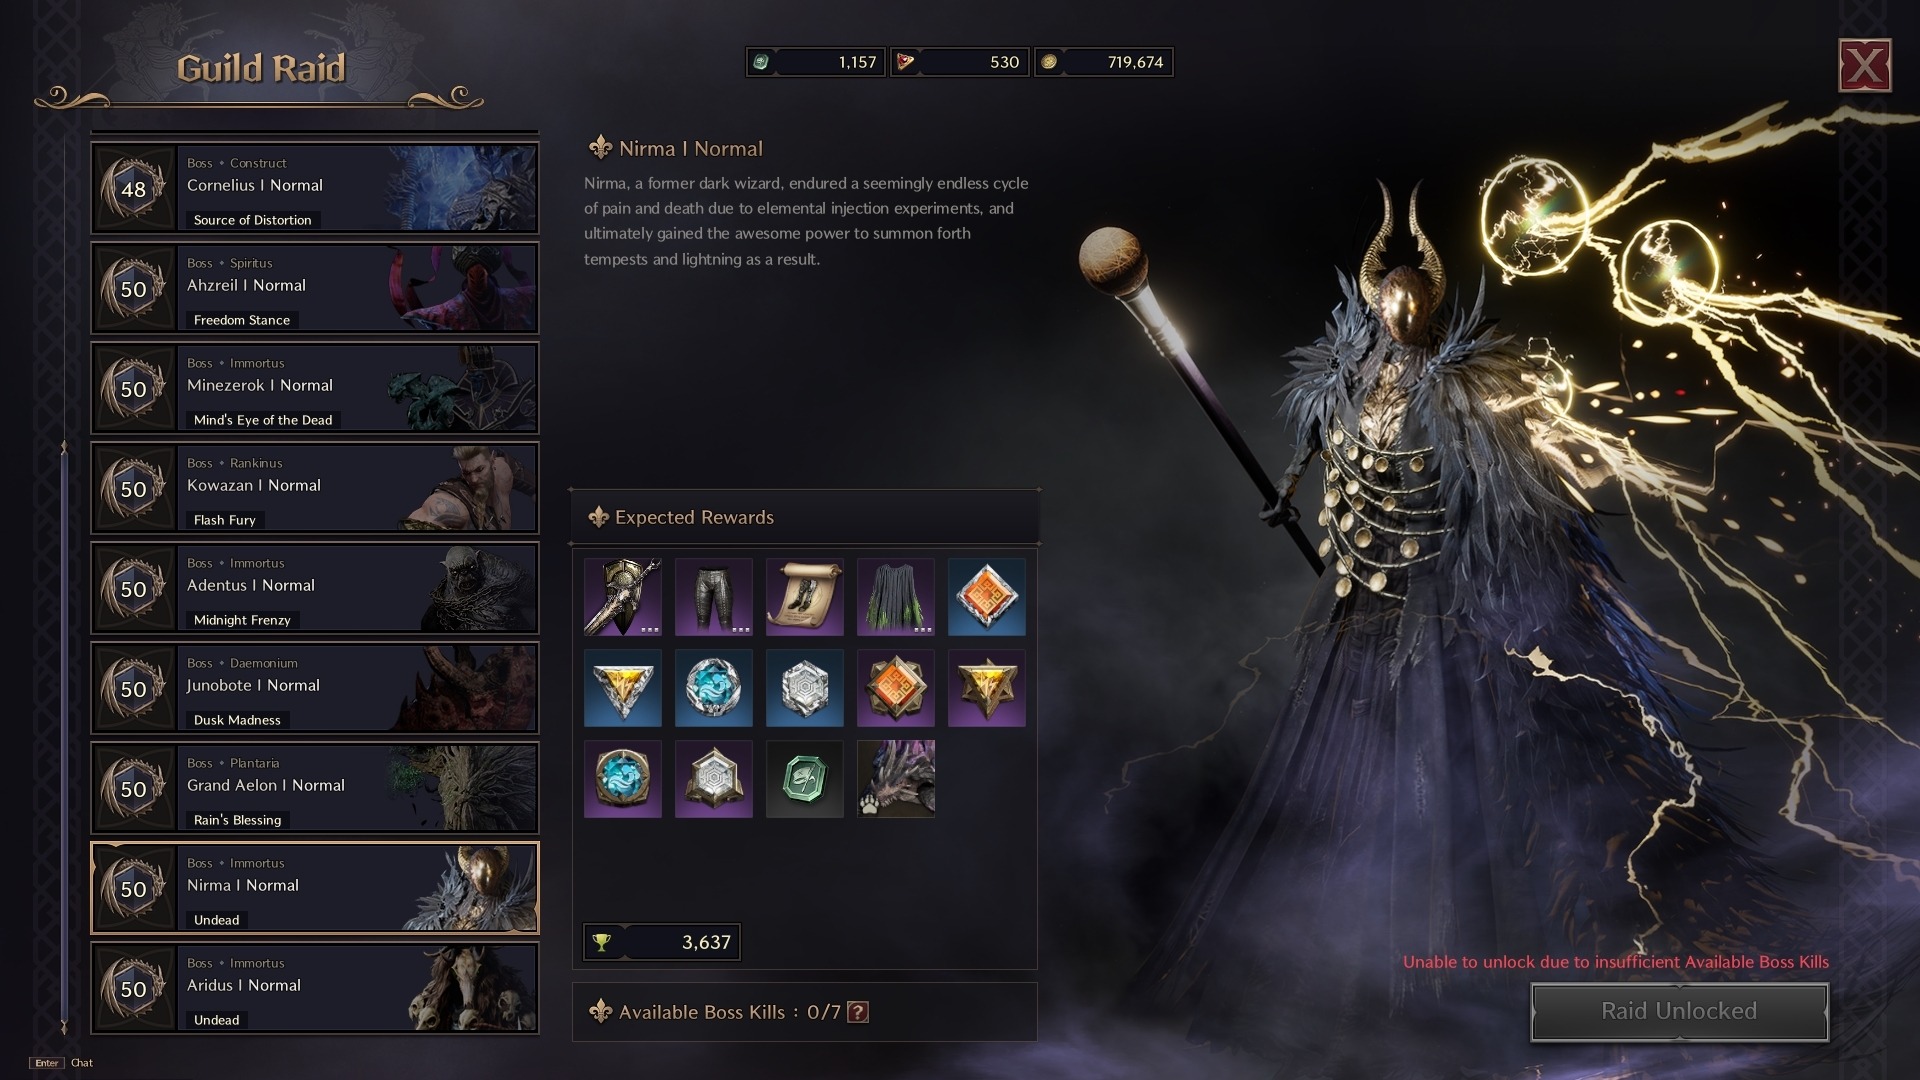
Rewards and Loot from Nirma
Nirma’s Sword of Echoes
Ascended Guardian Pants
Divine Justiciar Shoes
Clasp of the Overlord
Golem Grinding Greatsword
Shadewalker Daggers
Golem Dismantler Crossbows
Wand of Skyward Blessing
Alacritous Invoker Gloves
Alacritous Invoker Pants
Geode Dracoryft Turtle


