Throne and Liberty developers published a new video guide explaining how the Weapon Combination system and the Environment works. You can watch here the full video, and below the video you will find the translated summary of the most important points.
Weapon Combination System
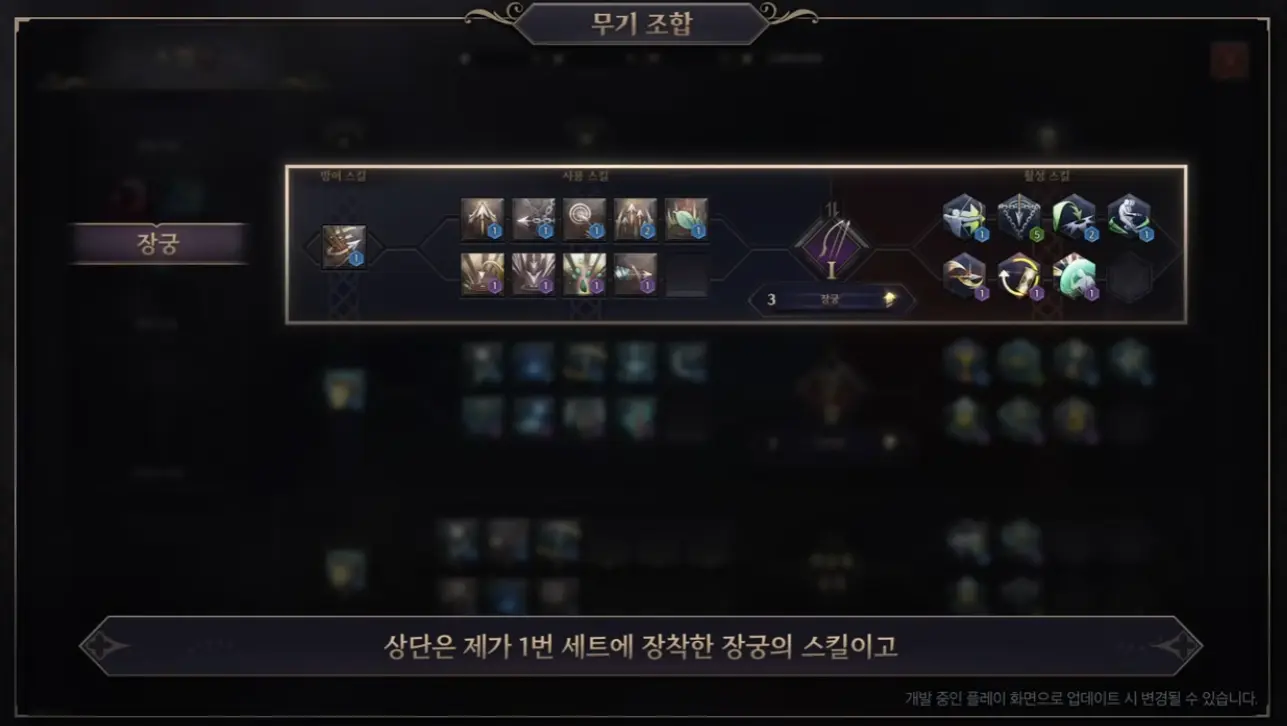
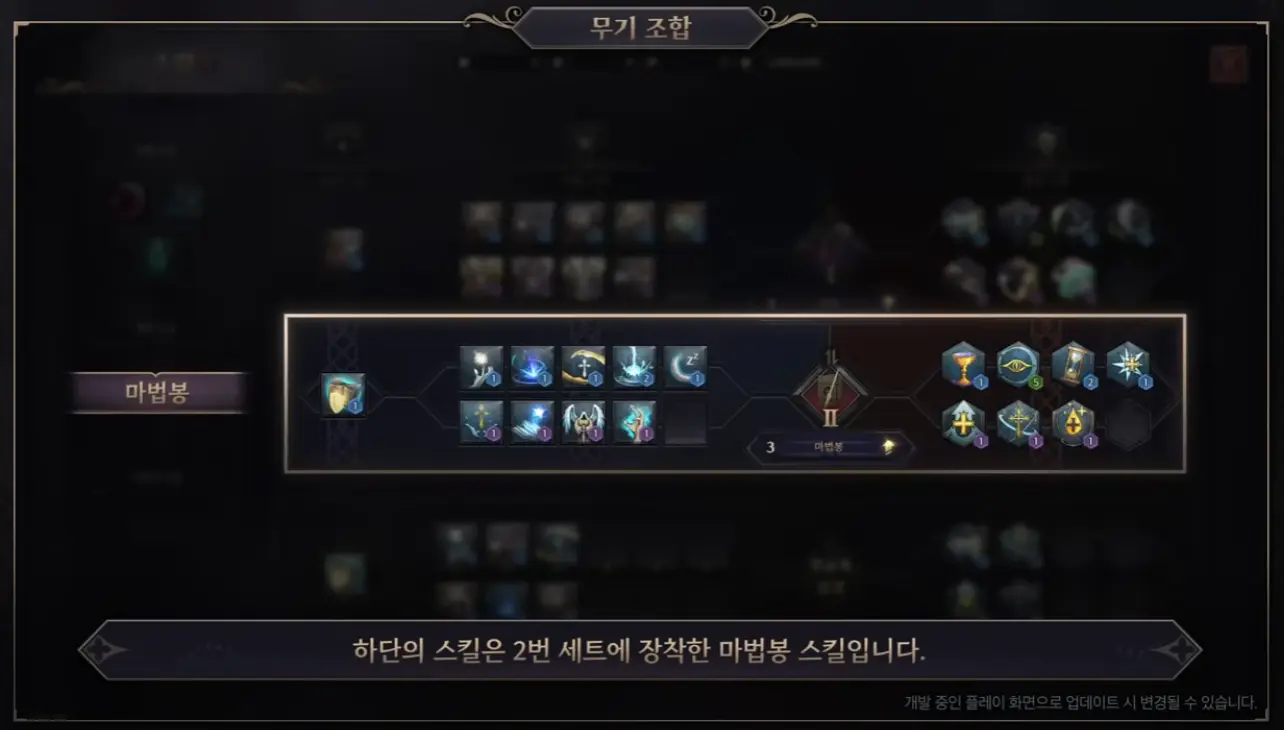
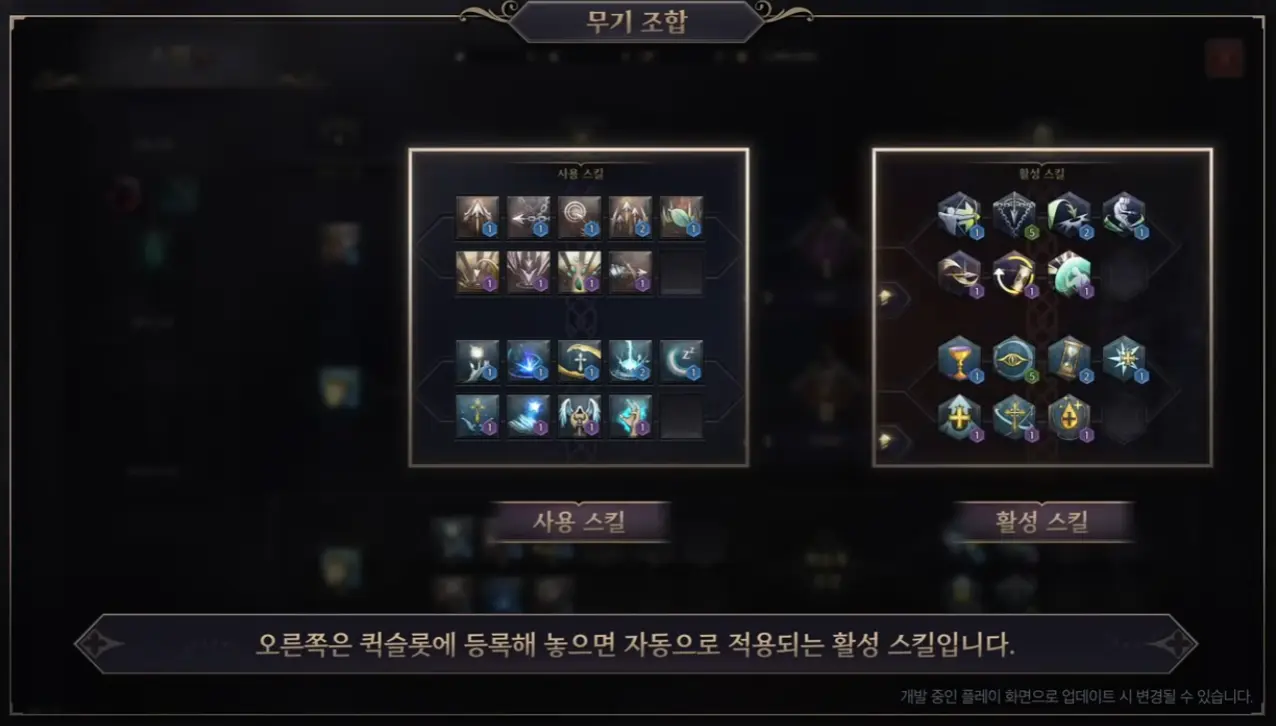
In Throne and Liberty you will be able to have two weapons equipped and combine them freely to use them in different ways. Here you can see how the Abilities window looks like when you have equipped the Longbow and the Wand.
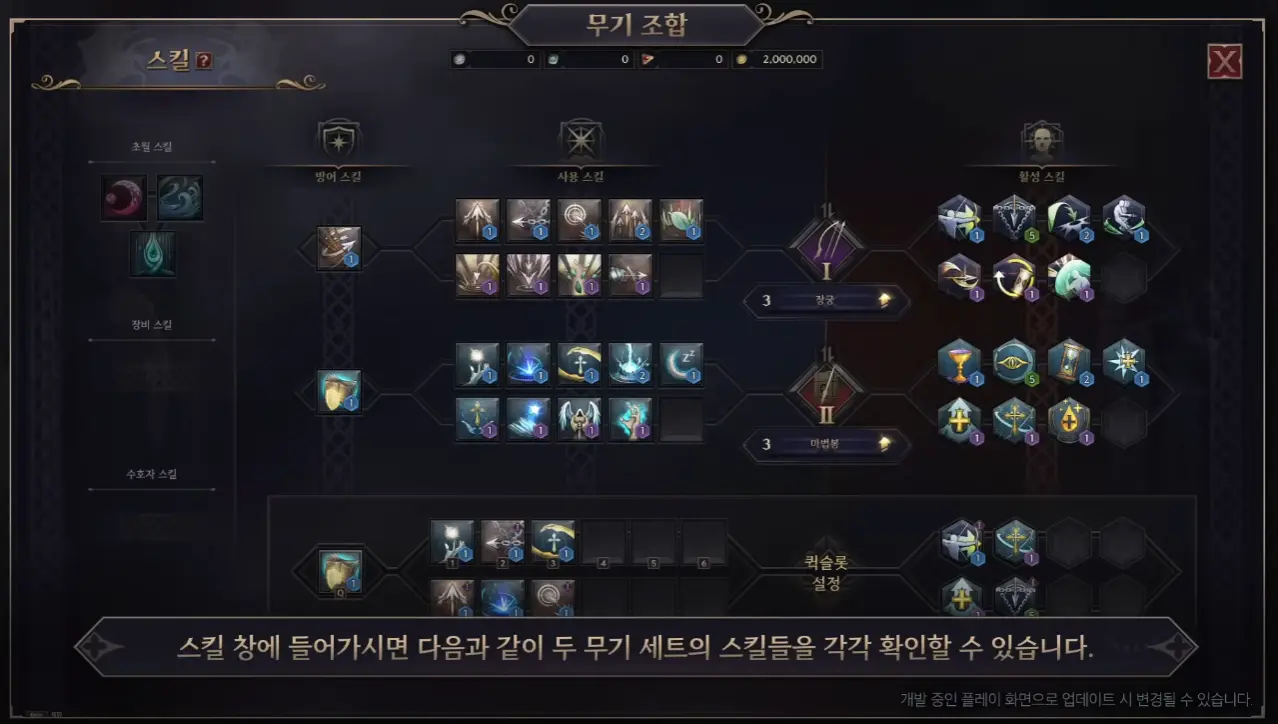
There you will see the skills divided into three rows, in the top row the skills of the weapon you have equipped in the first slot, in the middle row the skills of the weapon in the second slot, and in the third row your selected skills.
In the three rows the skills are divided into columns. In the left column you will find the active skills and in the right column the passive skills. Active skills are the ones you need to use actively, by pressing the assigned key. Passive skills will be activated automatically once they are assigned to a quickslot.
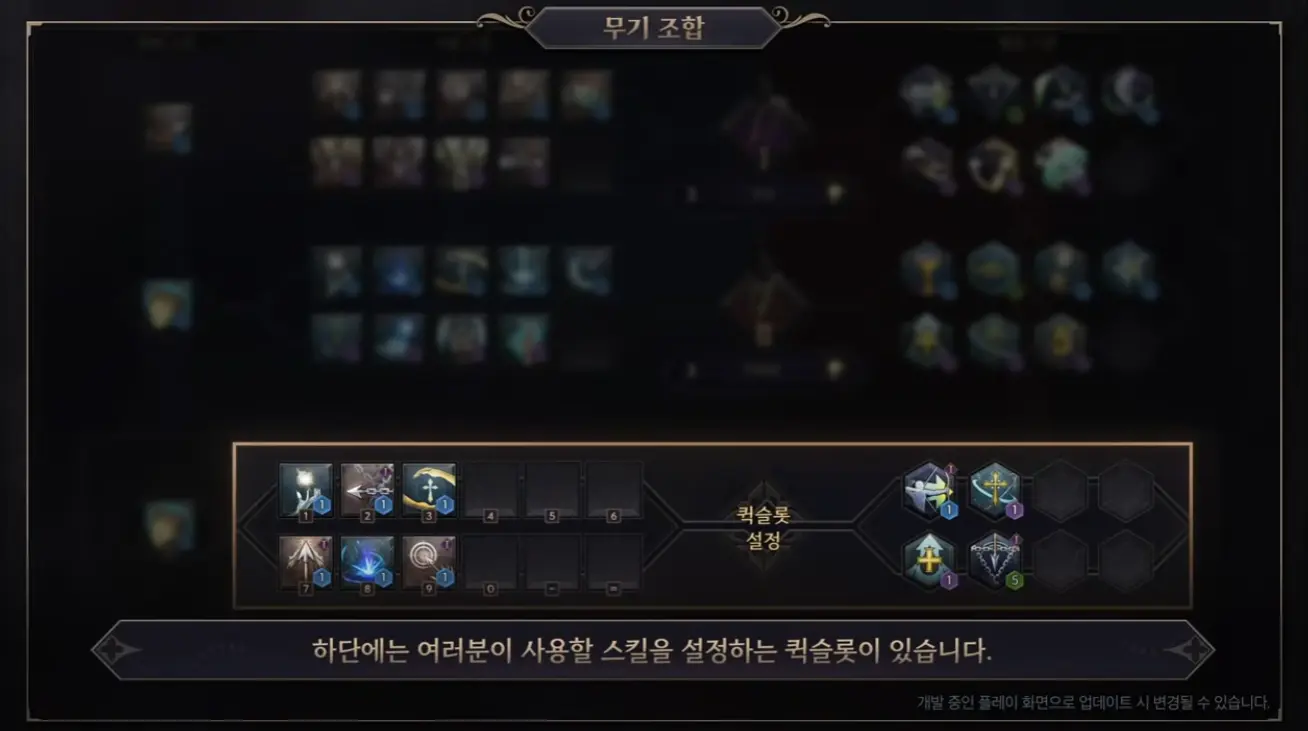
To select the skills you want for your character simply drag them from the top rows to the last row. If you want to remove a selected skill you can do it by dragging it out or by double clicking on it.
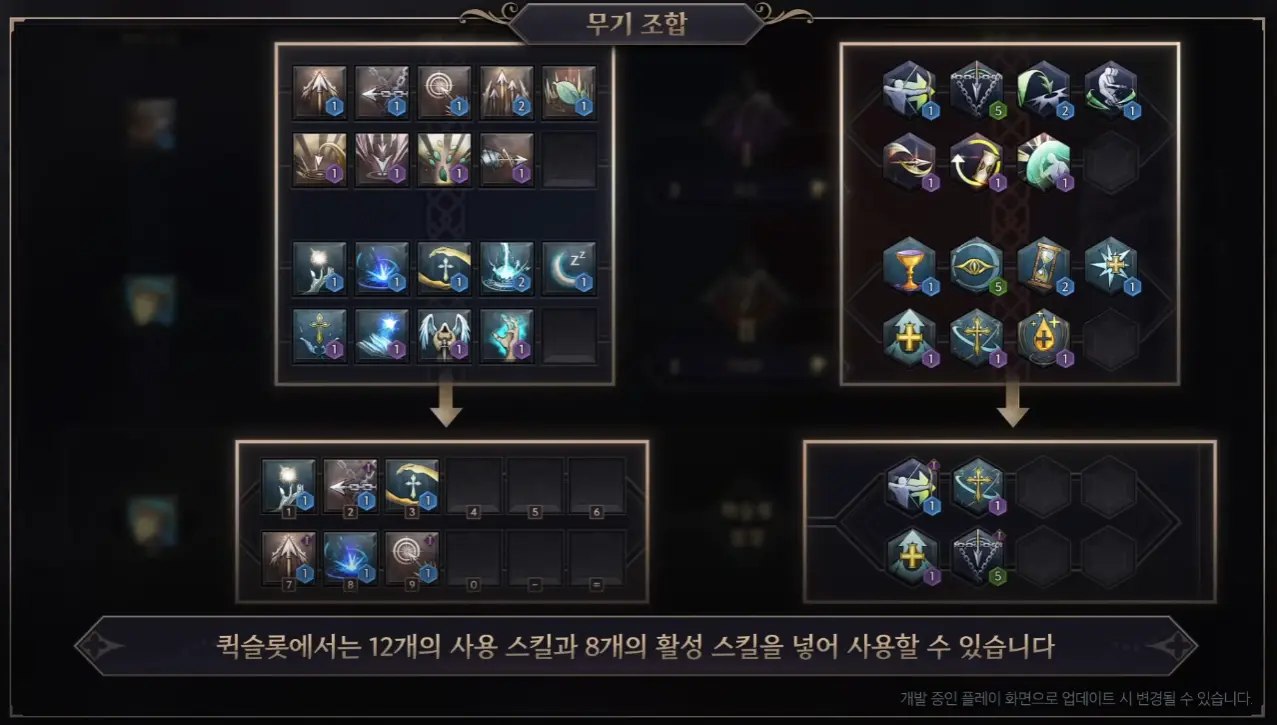
You can select a total of 12 active skills and 8 passive skills. This means that you can freely mix the skills of the two weapons you have equipped. It will not be necessary to actively switch weapons manually to use the skills associated with each of them, your character will switch between the two equipped weapons automatically according to the skill you use. With the passive skills something similar happens, you will receive the effect of all the passive skills you select regardless of the weapon you have in your hands.
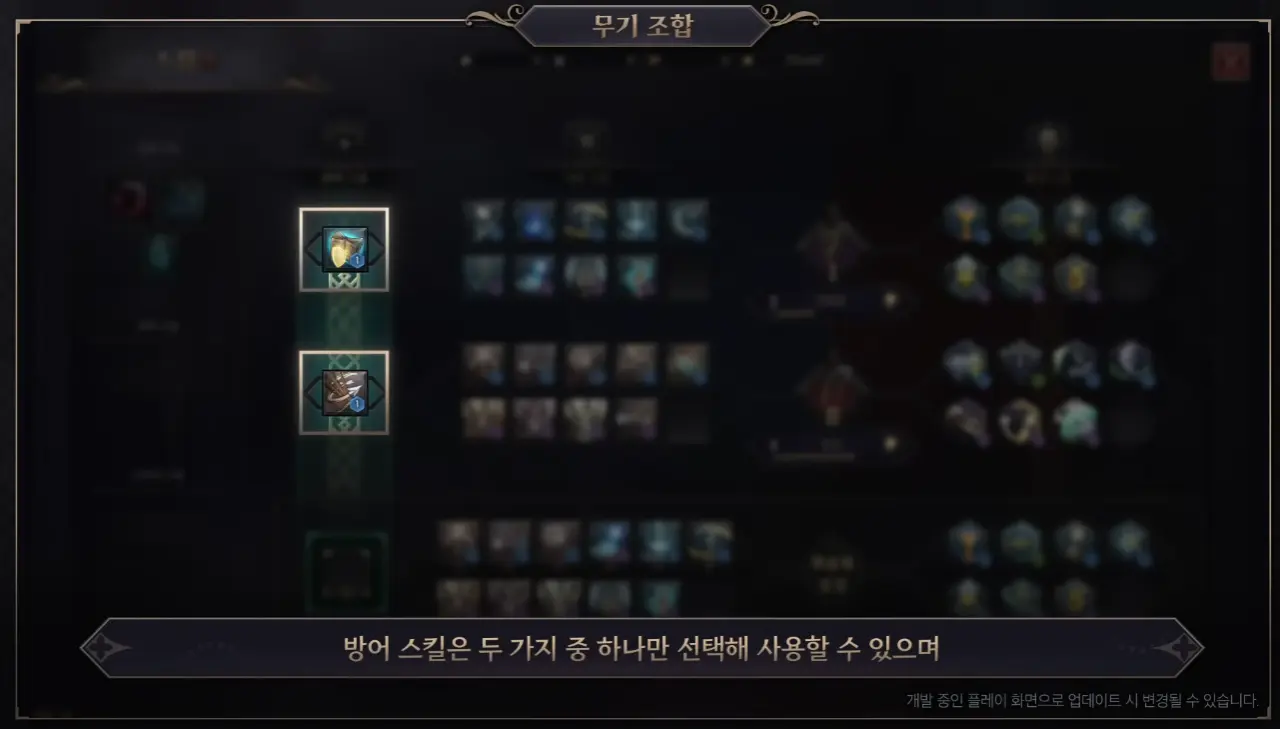
In addition to the active and passive skills you will find in each weapon a defensive skill, you can select only one of them.
Environment
Another factor that affects combat is the Environment. To see the weather conditions, hover the mouse over the icon on the left side of the minimap.
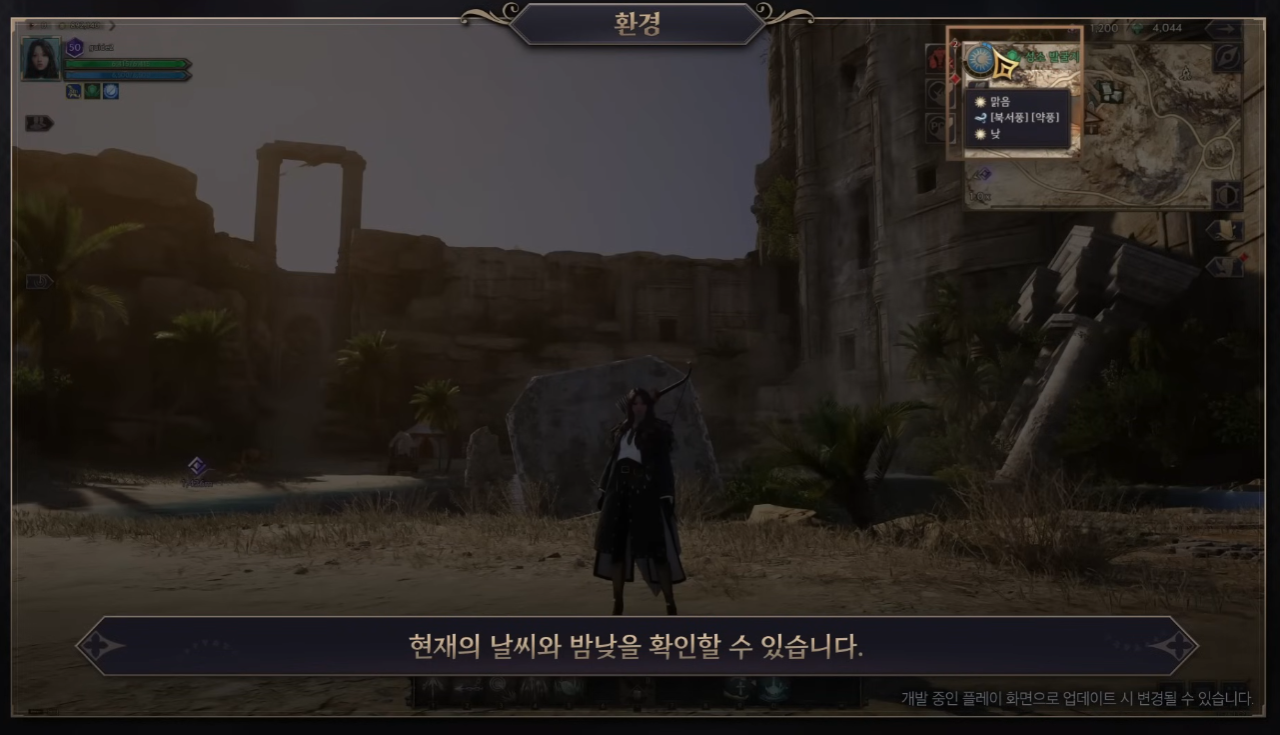
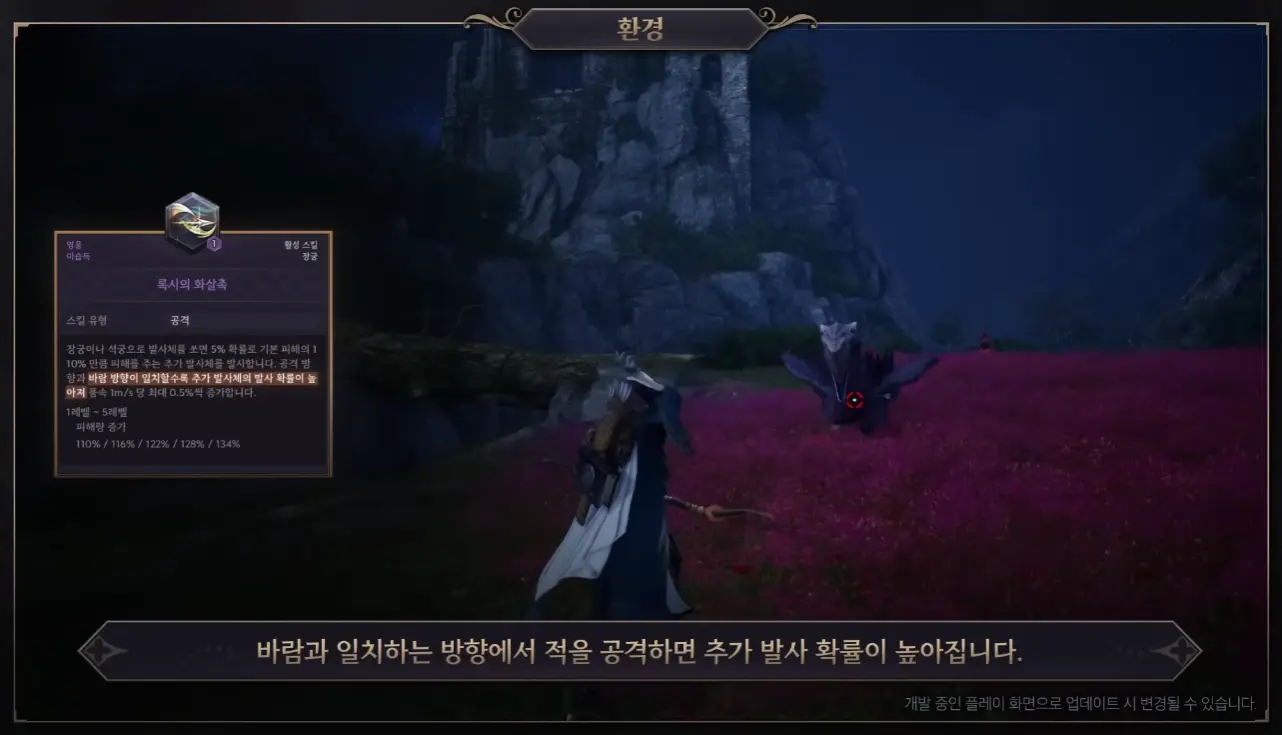
Weather conditions will affect combat in different ways. For example, some Longbow and Crossbow abilities will be affected by the wind direction, some locations can be visited only during the day or if it rains. Field monsters are also affected by the weather, some monsters only appear at night, others sleep during the night and cannot be attacked. Rain also affects them, for example, plant monsters take less damage during rain.
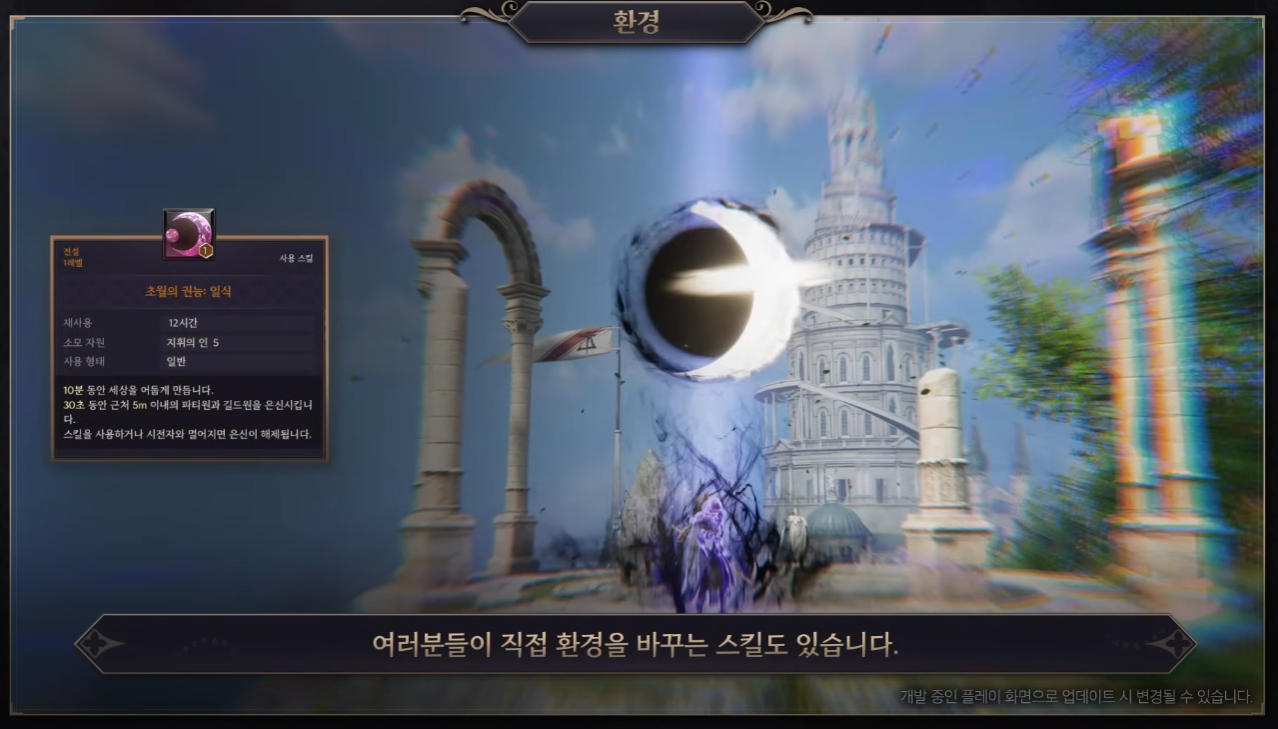
In addition to the automatic weather changes, a few players on each server will be able to affect the weather with special abilities: change the wind direction, unleash rain or produce an eclipse. These abilities can only be used by the best players on each server and have a long cooldown, so make sure to use them only when absolutely necessary. Find out more about weather effects and how to control them in this guide.
Throne and Liberty Environmental Changes: Day, Night and Weather


